Difficulty:
1 2 3 4 5 6 7 8 9 10
Time:
2-6 hours
Cost: $499 (2/2013)
Purchased from:
The Car Stereo Company
Tools Needed:
5.5mm socket (door speakers)
6mm socket (lower door panel screws)
7mm socket (passenger grab handle)
8mm socket (upper door panel bolts)
Wire strippers/crimpers
Phillips head screwdriver
Large Flat head screwdriver
Small Flat head screwdriver
Stiff putty knife
(4) 18ga-22ga "crimp and seal" butt connectors
5 ft 18ga speaker wire
Heat gun/ lighter
Speaker harness clip adapters (optional but recommended)
3/4" Weatherstrip foam (1/4" thick)
1. Remove the door panel. There's no secrets here, no clips to break. It's very quick, clean and easy to remove the door panels.
- Use a small flat head screwdriver and a hook tool to remove the trim covers from the door grab and behind the door handle.
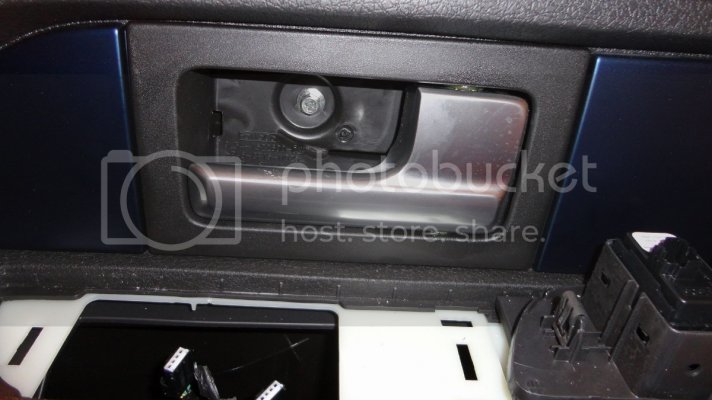
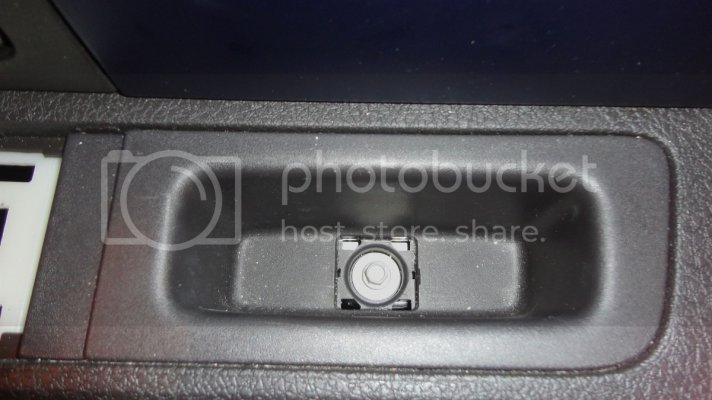
- Use a stiff putty knife and a large flat head to gently pry the window switch panel from the door. Disconnect the harness plugs.
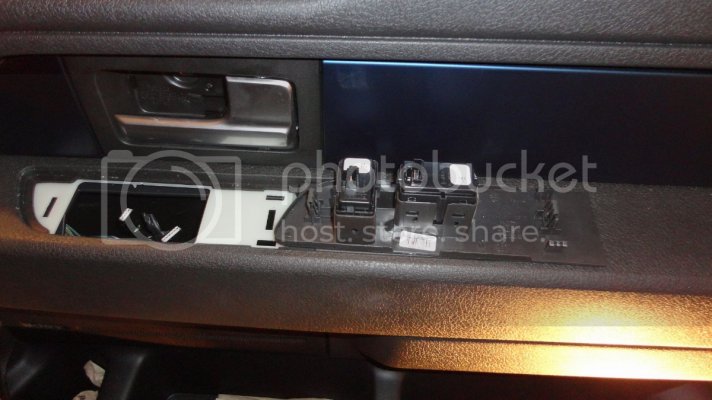
- Remove the bolts from behind the door handle and inside the grab handle using an 8mm socket.
- Remove the 2 screws from the bottom of the door panel using a 6mm socket.
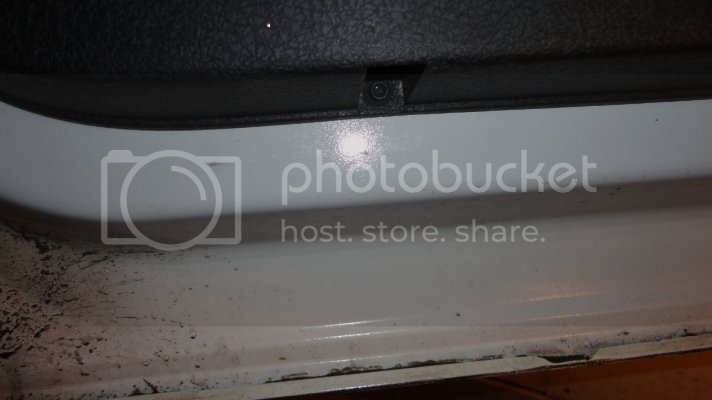
- Grab the door and gently pull straight up. The door panel will now be loose but you will need to disconnect the door handle cable and the side mirror wire harness (Driver's side)
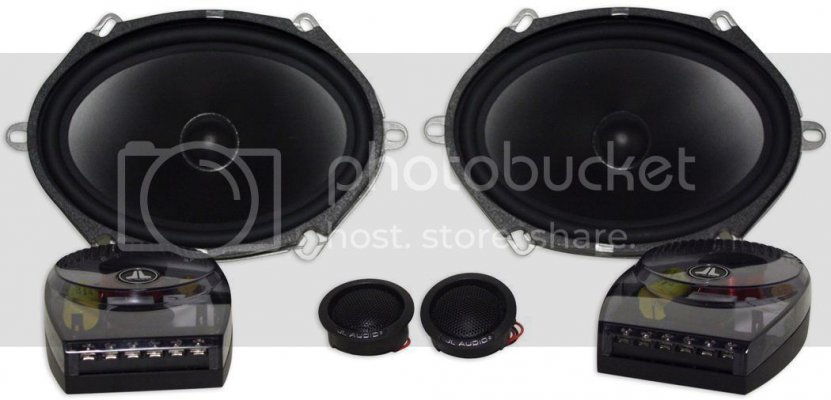
2. Install the JL 5 x 7 woofer.
- Use a 5.5mm socket to remove the 4 stock speaker screws and disconnect the harness clip. Save the screws.
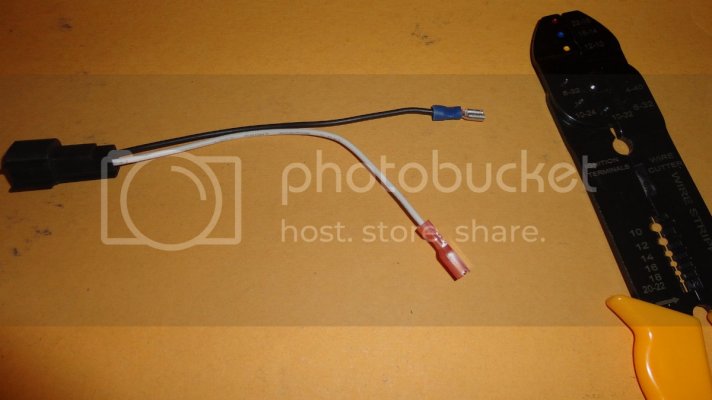
- Prepare the speaker harness adapter. The JL negative speaker terminal is larger than the supplied female terminal. The correctly sized female terminal is supplied with the speakers. Connect the larger female terminal to your harness adapter. The positive terminal fits perfectly, leave that one alone.
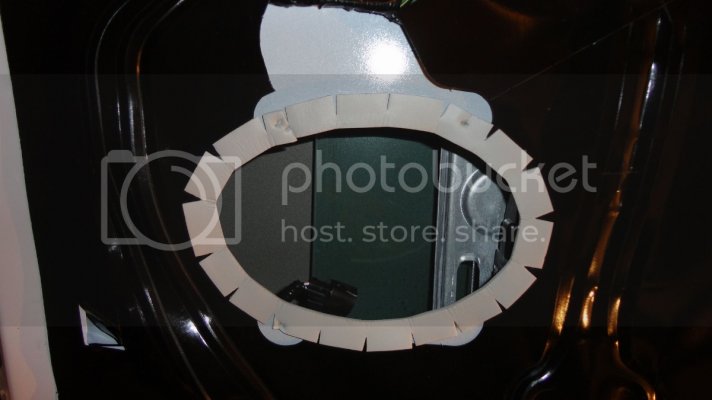
- The frame of the 5 x 7 JL C5 570s are just a tad smaller than stock. You will want to use some weatherstrip foam to line the perimeter of the speaker opening to ensure an air tight seal with no gaps.
- Secure the adapter terminals to the speaker, plug it in to the factory harness, and secure the speaker using the factory screws. The JL will line up and fit perfectly, no drilling or cutting necessary. We are not connecting the 5 x 7 to the crossover and I'll tell you why later.
- Make sure you tighten the screws evenly in crisscross pattern to prevent warping the speaker frame. Go around and snug them down but don't over-tighten them.
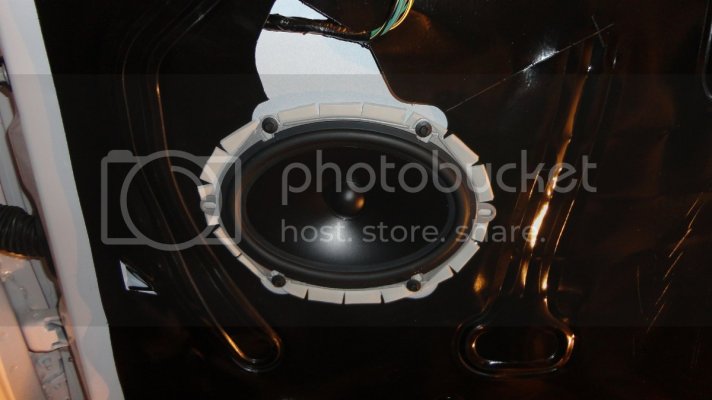
- Test the speaker and reinstall the door panel, you're done!
3. Install the A-pillar tweeters and crossovers.
- Remove the A-pillar trim
- Pull down the door weatherstripping.
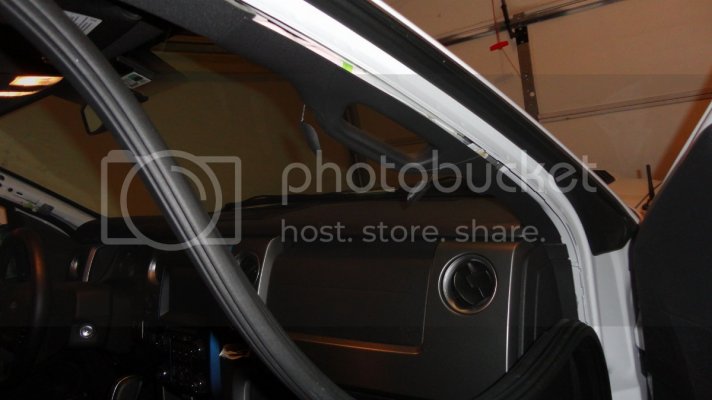
- Pop the side panel off the dash and disconnect the tweeter wire clip.
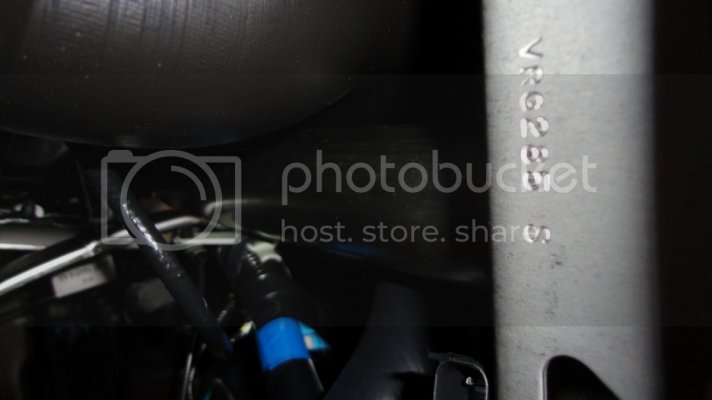
- On the Passenger side you will need to remove the 2 grab handle bolts using a 7mm socket. Pop the caps off (you can use your fingernail -easy) and remove the bolts.
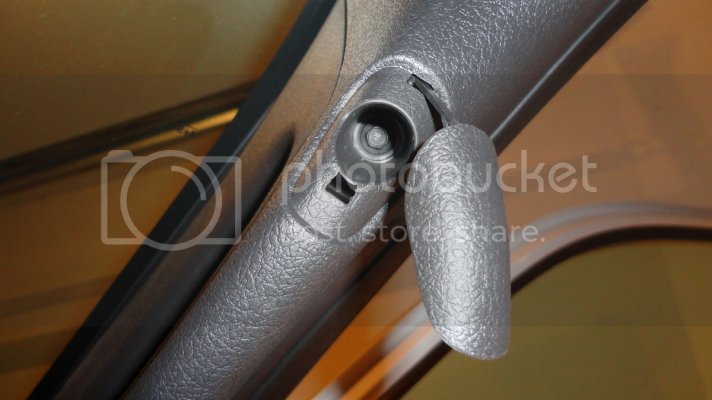
- On the drivers side you will have a panel clip and the airbag clip. Once you pull down the weatherstrip you will be able to see the clips. Use a small screwdriver to depress the metal retainer clip and pull straight out. Once that is loose you should be able to slide the trim piece up to release the air bag clip from its slotted hole.
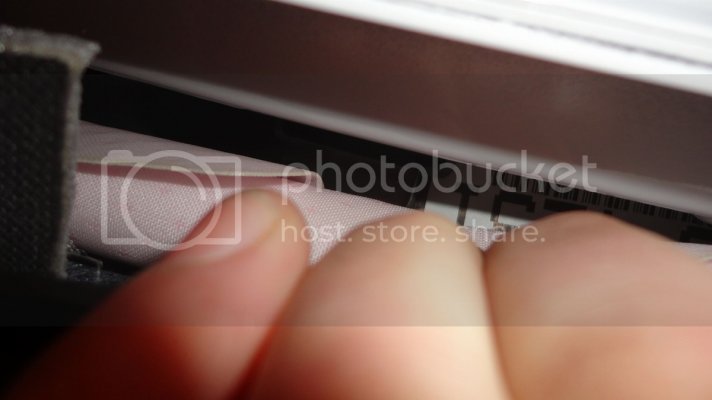
- Passenger side there is only 1 clip and you can use the same method to depress the metal clip and pull straight out. Once the clip is out, slide the trim up out if the tabs holding the bottom in the dash.
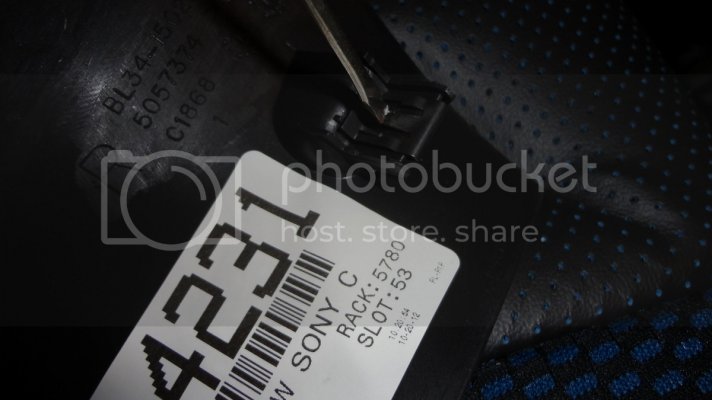
- Install the tweeter speaker in to the A-pillar trim
- Remove the factory tweeter which is held in with 2 Phillips head screws
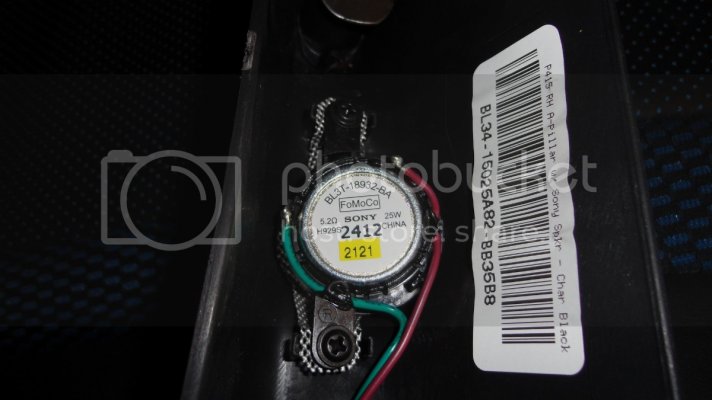
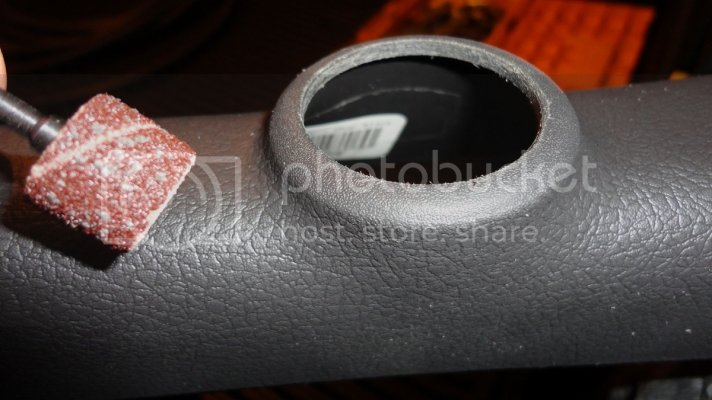
- With the factory tweeter out you will need to sand out the opening just a little for the JL tweeter housing to fit in the A-pillar. You do not need to use a Dremel, this is really just a minor smoothing of the inside to clean up the plastic lip. I just used a coarse barrel sanding attachment from a Dremel kit and ran it around the inside of the opening by hand - it doesn't need much.
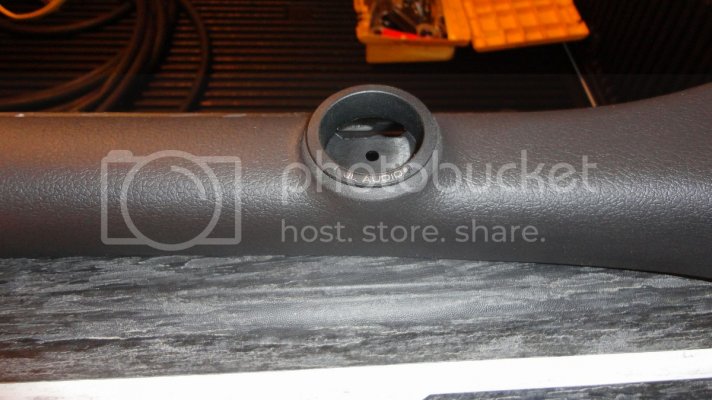
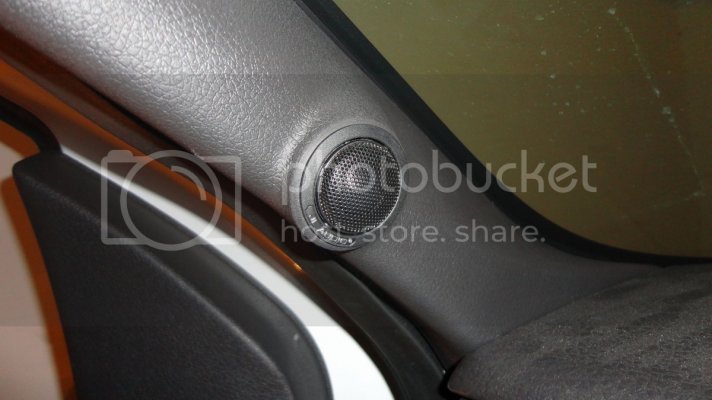
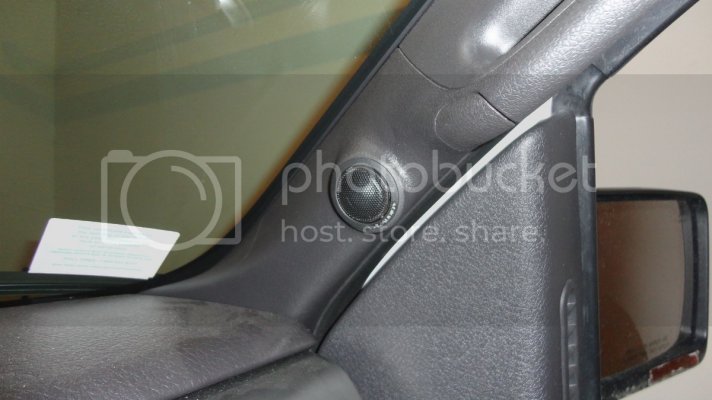
- Push the JL tweeter housing in to the A-pillar trim.
- Install the spring clip to the back side of the tweeter housing. You will need to cut the set screw in half because if left at full length the screw will hit the A-Pillar.
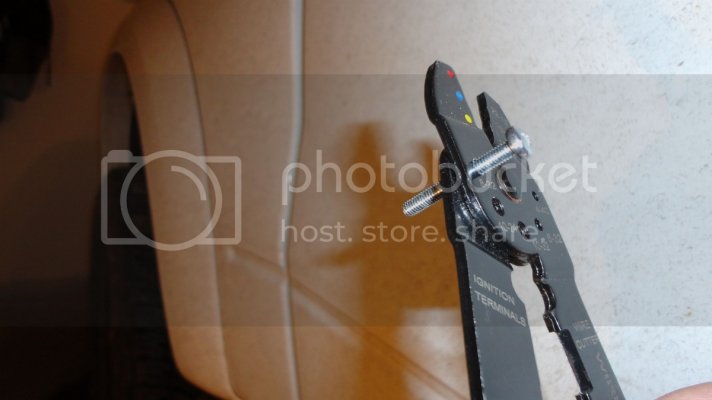
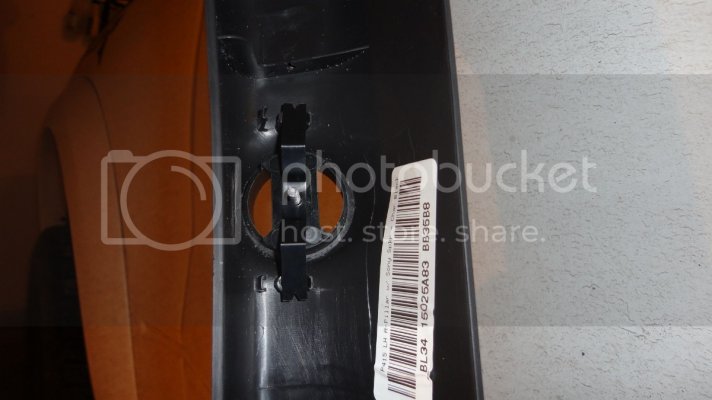
- Place the tweeter retainer on the speaker and press in to the housing - it will clip in securely.
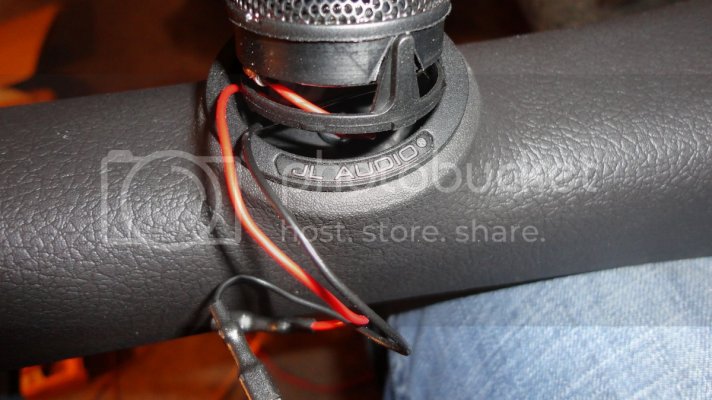
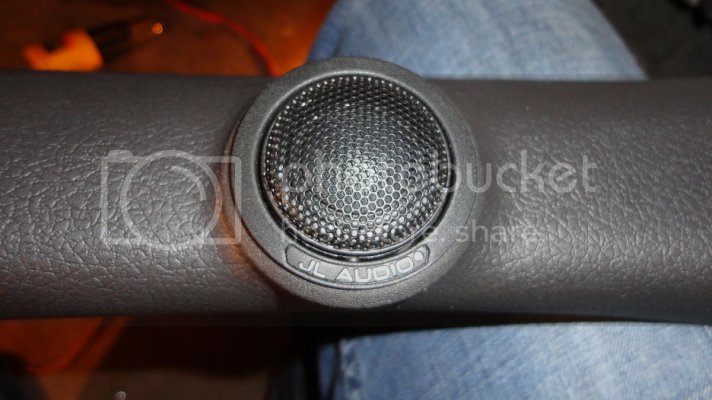
- Prepare your wiring. If you are using a crossover, cut the factory tweeter line before the in-line cap that is installed. Use seamless "crimp and seal" butt connectors to extend the speaker line about 12". Use a heat gun or lighter to shrink the butt connector ends.
Purple/Green = Positive
Green = Negative
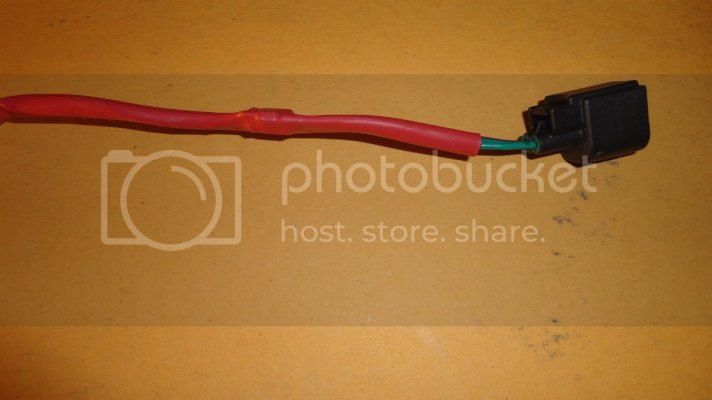
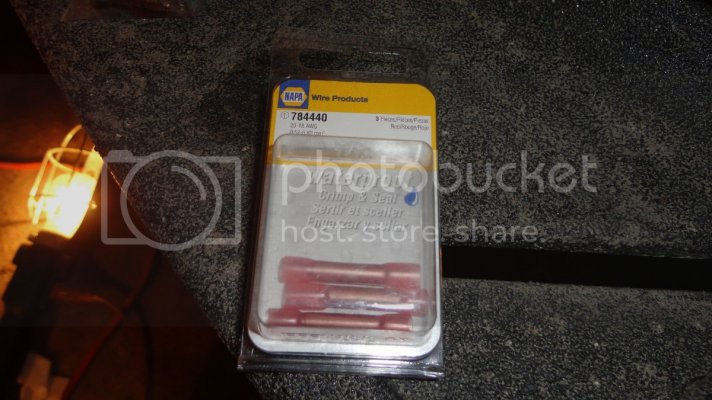
- Crimp the supplied spade connectors to the other end. This wire will go from the factory tweeter harness clip to the crossover IN +/-
- This is dependent on where you mount your crossover, but next prepare a length of speaker wire that will go from the JL tweeter to the crossover. In my case I needed about 24" of wire. Leave yourself plenty of room to work outside of the dash!
- On one end crimp the spade connectors that will go to T+ / T- on the crossover and the other end attach the supplied male terminals to connect to the tweeter.
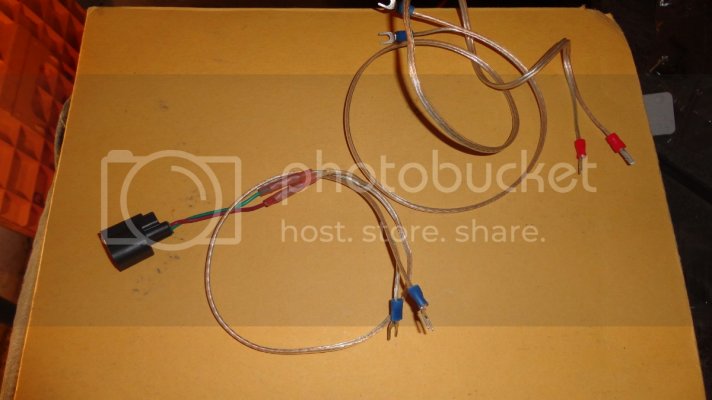
-Make your connections to the tweeter and route the wire down the A-pillar trim. Tape off the connections so they won't fly around and touch any metal or each other.
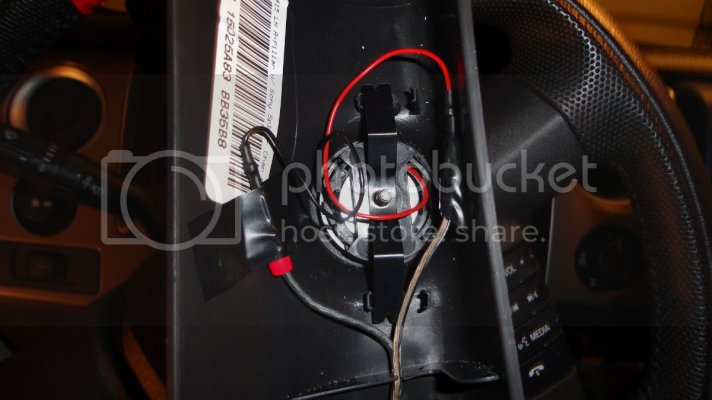
- Reinstall the A-pillar trim, routing the speaker wire behind the dash and pull it out the side opening.
- Connect the tweeter input to the crossover input. We are not connecting the W+ W- outputs to the door speaker because the signal is split from the factory amp. The crossover would be more usable if we had coaxial speakers from the factory with both mid and high signals coming through 1 wire. However, in our case the mid bass signals are sent to the door speaker and the high frequency signals are sent to the tweeter. We wouldn't want to use one or the other input signal to power both the tweeter and the woofer. For this method we will only use the crossover for the tweeter for output adjustability and frequency range control.
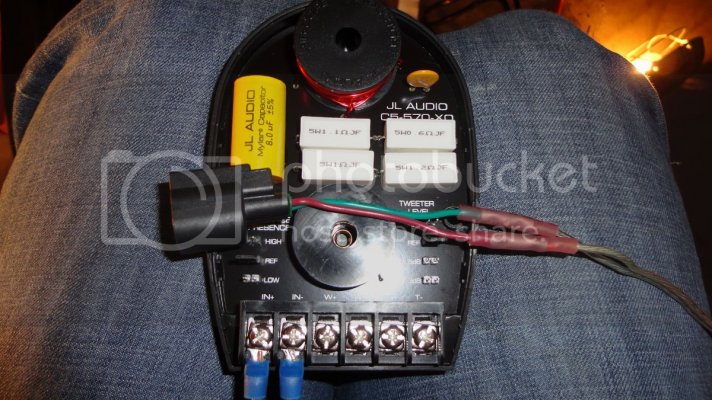
- Connect the wire from your tweeter to the T+ / T- terminals.
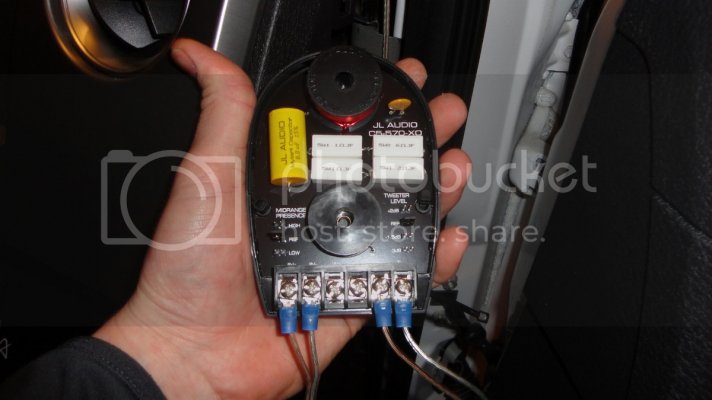
- Now, there's plenty of space to mount the crossover. The important thing is that it's in a dry location and away from any large power wires that might cause interference. I got creative with some zip ties and used the metal framework of the dash to secure it. This method will be fine, in my opinion. It's recommended to secure the crossover with screws but this won't go too far either.
- Mount the crossover and be prepared for flashbacks of wiring the AUX switches in the respect that you will probably cut your hands and get your head stuck in glove box
 .
.- Connect the harness clip to the factory location.
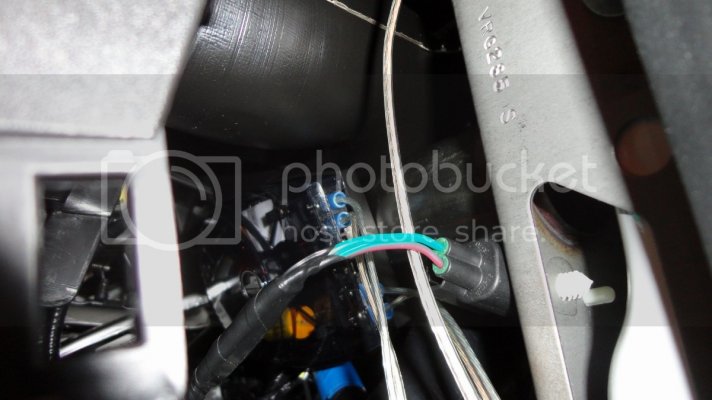
- Use zip ties to strap any excess wire neatly.
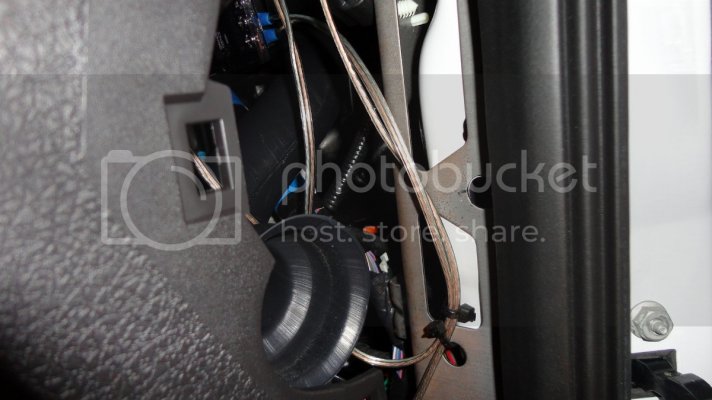
- Reinstall the side panel on the dash and press the door weatherstripping back in to place. You're done!
REVIEW
Overall I am very happy and actually pleasantly surprised with how much of an improvement the JL Audio C5-570 system is over the factory Sony speakers. It's not a "night and day" difference, but very noticeable nonetheless. For a reference, I would consider a full aftermarket speaker/amp replacement to be a night and day difference.
My 2010 Raptor's Sony speakers weren't awful, but for some reason Ford must have changed the factory system for 2013. I immediately noticed that my 2013 system was not as loud as my 2010 and very distorted at high volume. The tweeters seemed very quiet and the door speakers would "mute out" when the bass hit at high volume. To me it seemed like the factory speakers couldn't handle the power from the factory amp although we know it's not much.
I spoke with Noah at The Car Stereo Company and explained my wants and needs. He listened to my rants, quickly listed a number of options for me and recommended a JL Audio component system with an aftermarket amp. I was not at the time looking to spend the time or money necessary for a full aftermarket replacement so we decided to start with the speakers. If you are just looking to replace the speakers, I can tell you that you will definitely be happy with the JL C5-570. However, according to Noah it shouldn't be considered a long term solution as the factory amp may under power the JL speakers and you won't get the full potential of what a system should really sound like.
Shameless plug: For all of your car audio and video needs definitely give Noah a call at The Car Stereo Company 650-938-3511. This guy knows his stuff and as a Raptor owner himself he understands how fanatical we can be!
With the system complete, the JLs virtually eliminated all of the distortion and bass muting issues I had with the factory system. With installing the crossover for the tweeters, I left the tweeter level at the REF point which I believe allows the amp to drive the tweeter more than the factory tweeter. The JL tweeter is also 4ohm as opposed to the Sony tweeter which is 5.2ohm so maybe I am having increased power due to lower resistance?
In any event, the highs are MUCH louder and MUCH cleaner. This is where I notice an increase in volume over the factory system. Songs that previously I would listen to at MAX VOLUME I now cannot turn up all the way without it being uncomfortably loud. The 5 x 7 door woofers keep right up too and put out plenty of bass with little or no distortion at high volume. The bass vibrates my pant leg from the door speaker which I don't recall happening with the factory speakers.
The quality and fitment of the JL C5-570 is exceptional. No drilling, no cutting. I was expecting to drill holes in the door to mount the 5 x 7's - nope...the mounting points lined right up with the factory screw holes.
The tweeter fixtures as you saw fit perfectly with a little sanding and the finished product looks like it could have been factory. In fact, at the end of the day this setup solved another pet peeve of mine. I have the Blue Accent interior and everything (door speaker grilles, vents, etc) is black except for the tweeter grilles - they were silver. That bugged me and I thought it was kind of cheesy looking. Well, not anymore because the black JL tweeters match the A-pillar trim perfectly!
That's about it, if you have any questions please feel free to ask.


