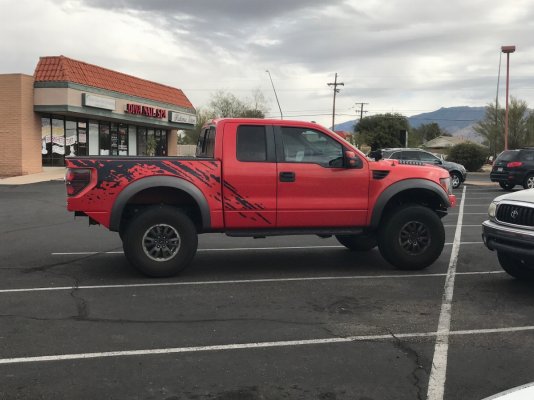
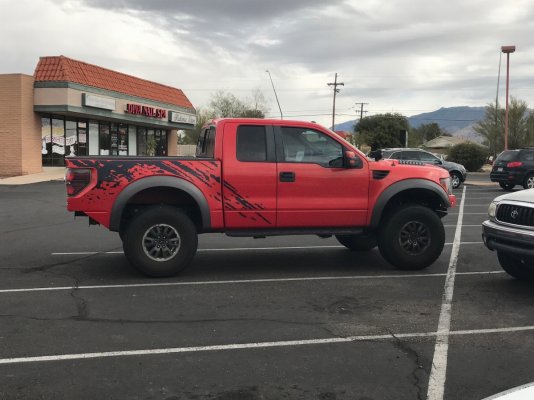
illegal in ca too, from what i hear
You are using an out of date browser. It may not display this or other websites correctly.
You should upgrade or use an alternative browser.
You should upgrade or use an alternative browser.
Aarons419's 2010 Raptor Build
- Thread starter Aaron
- Start date
Disclaimer: Links on this page pointing to Amazon, eBay and other sites may include affiliate code. If you click them and make a purchase, we may earn a small commission.
Long overdue update. There's been a few changes to this thing in the last 5 years 
So starting out, I changed up the lighting situation a bit. I scored some cheap HIDs (1 spot and 1 flood) and two more amber Rigid Duallies from a forum member, and decided the HIDs belonged up high on the hood mounts. then I looked at the ambers and figured they'd go really nicely on the grille supports behind the hood.
I had to disassemble the mounting bracket on one to take the stud out and then used the stud on the other one to slide through a hole in the grille bracket and the mounting bracket of the other light. Put the nut on that side and tightened it down and they were good to go.
Lastly I moved the M&R 6" LEDs down onto the sides of the ADD bumper. I really liked the light this setup produced
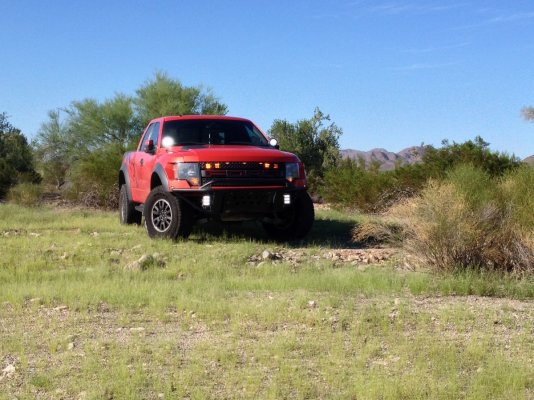
Some other notes since the last update. My E-cutout from Badlanz HPE died and their warranty was basically a joke. They told me they weren't going to replace it, so I straight piped the truck instead since I knew I liked the sound anyhow.
Went through a few sets of tires including a set of Falken Wildpeaks that I really enjoyed. Duratracs weren't that awesome for AZ heat though. That brings us to more current events. My Wildpeaks were on their last legs and I managed to find a deal on some BFG Baja T/A KRs in 37x12.50x17 so I jumped on that. I actually really like these, but anywhere that gets more rain than AZ would not be a good place to be running these. Wet traction isn't awesome. They're a little noisy on the freeway, and they do flat spot slightly on cold mornings. Overall they're good tires.
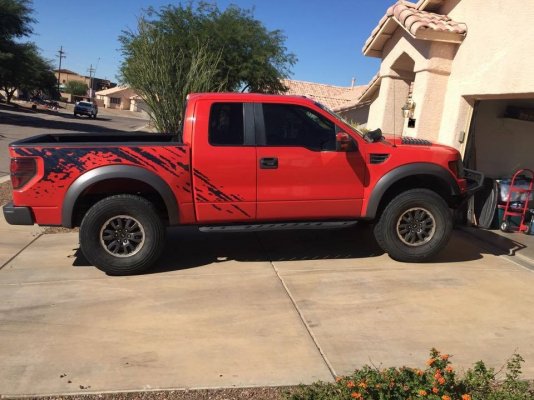
After a bit I decided that the ADD bumper had served its time on my truck and it was time to find it a new home. Plans are in the works for a more simplistic and clean bumper that is tucked up under the front valance. Turns out the no bumper look is actually kind of cool too...
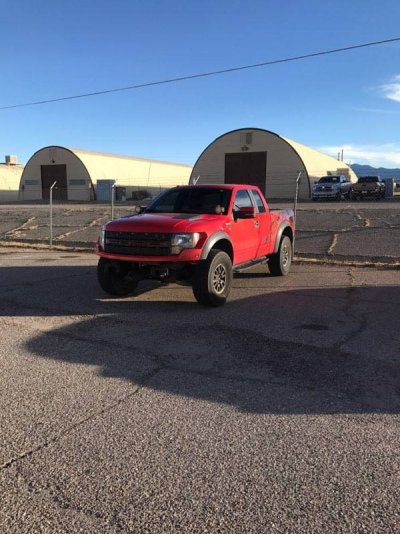
Got the frame horns cut back in preparation and just waiting on the metal to come in before we build the bumper.
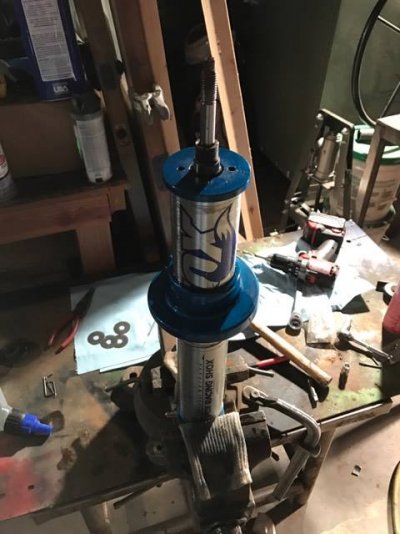
Next, was a looooonng overdue shock rebuild session. Using ROCs DIY guide it wasn't too difficult to figure out, but lots of small lessons learned that will help me do it better and faster next time. While I was in there I also did some research and home-brewed a flutter stack for them (you can see the shims I replaced laying on the table behind the shock). Overall I'm really happy, I get top perch ride height, but it's still really soft over small bumps. I'd liken it to somewhere between bottom-mid perch. I'll be playing with the shim stacks more on the next set of shocks as well to fine tune a bit.
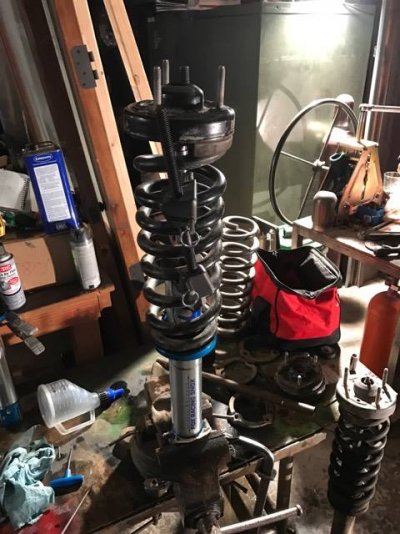
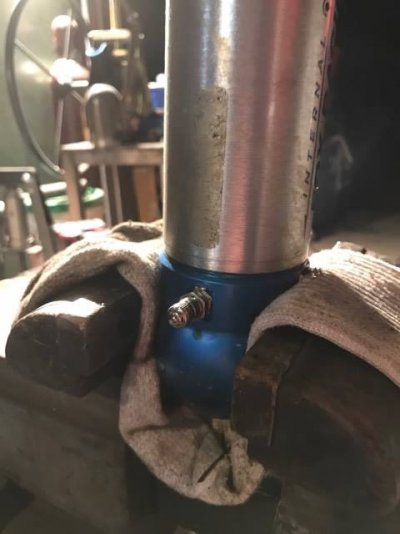
Also added Schrader valves to the fronts and will be doing the same to the rears. overall a great mod that is in no way difficult to perform. it took me about 15 mins per shock to drill, tap and tighten the valves. While doing this I also learned that my walmart special Slime Digital tire pressure guage works great for measuring shock PSI. Who knew?
Then we got to looking at the rear bumper and it had to go. So we removed it, decided on a Dovetail line, and started cutting. Hitch is going to tucked up between the frame rails and similar to the front I'll be running a tucked, clean single tube style bumper in the rear as well.
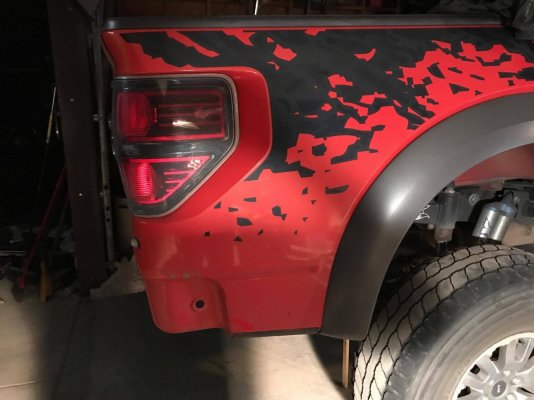
Getting prepped for her cosmetic surgery (We used tape as well)
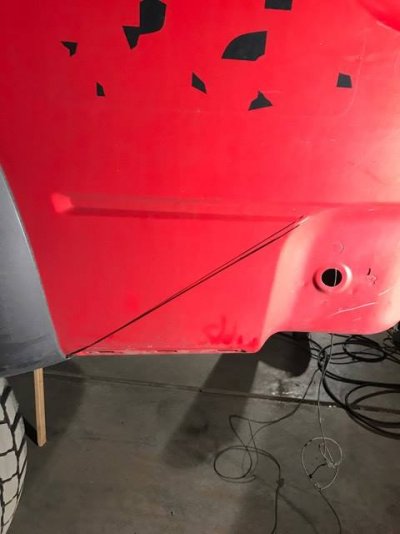
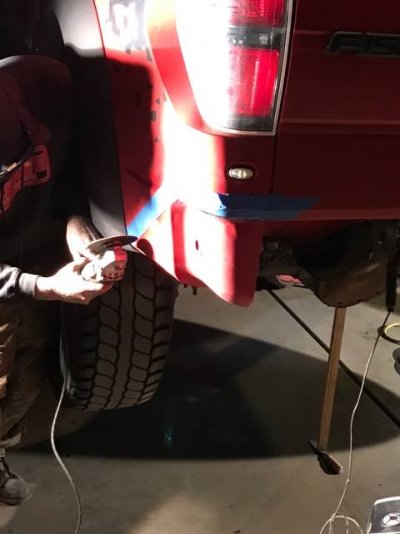
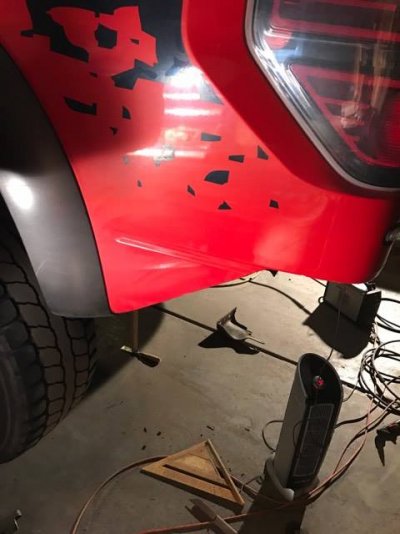
It came out great. It's a lot more aggressive than a lot of the ones I've seen, but I absolutely love the look. getting rid of some of the fat at both ends of the truck totally changes the look.

So starting out, I changed up the lighting situation a bit. I scored some cheap HIDs (1 spot and 1 flood) and two more amber Rigid Duallies from a forum member, and decided the HIDs belonged up high on the hood mounts. then I looked at the ambers and figured they'd go really nicely on the grille supports behind the hood.
I had to disassemble the mounting bracket on one to take the stud out and then used the stud on the other one to slide through a hole in the grille bracket and the mounting bracket of the other light. Put the nut on that side and tightened it down and they were good to go.
Lastly I moved the M&R 6" LEDs down onto the sides of the ADD bumper. I really liked the light this setup produced

Some other notes since the last update. My E-cutout from Badlanz HPE died and their warranty was basically a joke. They told me they weren't going to replace it, so I straight piped the truck instead since I knew I liked the sound anyhow.
Went through a few sets of tires including a set of Falken Wildpeaks that I really enjoyed. Duratracs weren't that awesome for AZ heat though. That brings us to more current events. My Wildpeaks were on their last legs and I managed to find a deal on some BFG Baja T/A KRs in 37x12.50x17 so I jumped on that. I actually really like these, but anywhere that gets more rain than AZ would not be a good place to be running these. Wet traction isn't awesome. They're a little noisy on the freeway, and they do flat spot slightly on cold mornings. Overall they're good tires.

After a bit I decided that the ADD bumper had served its time on my truck and it was time to find it a new home. Plans are in the works for a more simplistic and clean bumper that is tucked up under the front valance. Turns out the no bumper look is actually kind of cool too...

Got the frame horns cut back in preparation and just waiting on the metal to come in before we build the bumper.
Next, was a looooonng overdue shock rebuild session. Using ROCs DIY guide it wasn't too difficult to figure out, but lots of small lessons learned that will help me do it better and faster next time. While I was in there I also did some research and home-brewed a flutter stack for them (you can see the shims I replaced laying on the table behind the shock). Overall I'm really happy, I get top perch ride height, but it's still really soft over small bumps. I'd liken it to somewhere between bottom-mid perch. I'll be playing with the shim stacks more on the next set of shocks as well to fine tune a bit.


Also added Schrader valves to the fronts and will be doing the same to the rears. overall a great mod that is in no way difficult to perform. it took me about 15 mins per shock to drill, tap and tighten the valves. While doing this I also learned that my walmart special Slime Digital tire pressure guage works great for measuring shock PSI. Who knew?

Then we got to looking at the rear bumper and it had to go. So we removed it, decided on a Dovetail line, and started cutting. Hitch is going to tucked up between the frame rails and similar to the front I'll be running a tucked, clean single tube style bumper in the rear as well.

Getting prepped for her cosmetic surgery (We used tape as well)


It came out great. It's a lot more aggressive than a lot of the ones I've seen, but I absolutely love the look. getting rid of some of the fat at both ends of the truck totally changes the look.


Raven13
FRF Addict
Looks awesome !!
DrippinRaptor
FRF Addict
RAPTERRIER
Full Access On Your Mom
- Joined
- Jul 28, 2016
- Posts
- 900
- Reaction score
- 629
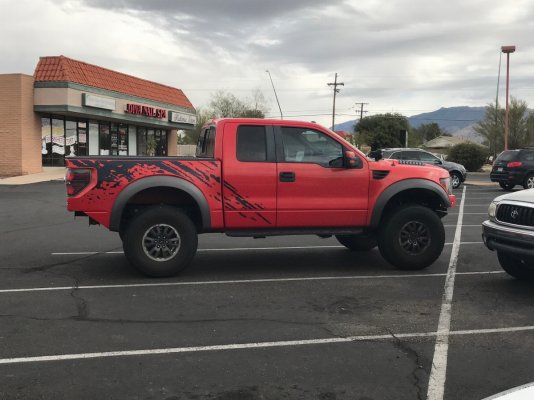
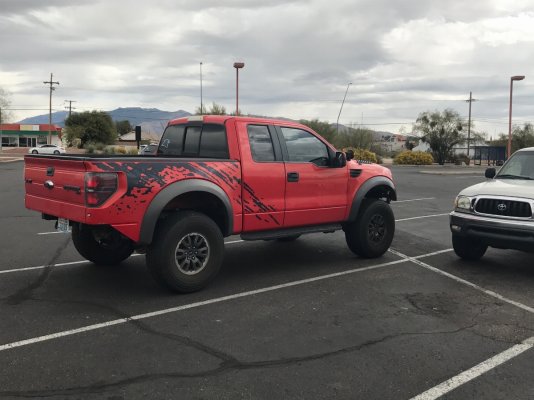
Shit man, after I dropped off my spring compressors at Oreilly's (behind camera) I rolled over to the nail spa to get my hands freshly manicured after all that wrench time. Had to have those freshly manicured hands for my trip through the Starbucks drive thru for testing. Don't want to be holding my Macchiato with no dirty poverty hands.

downforce137
FRF Addict
was there room for the schrader valves, or did you have to reclock the spring perch to get them pointing out on both sides?
downforce137
FRF Addict
There's plenty of room for them either way. I'd honestly say there's more room if they are pointing in because of the cut out in the lower arms
Sent from my iPhone using Tapatalk
but can you get a filler or pressure gauge on with them facing either direction?
Similar threads
- Replies
- 16
- Views
- 5K
- Replies
- 56
- Views
- 35K
- Replies
- 138
- Views
- 45K
- Replies
- 97
- Views
- 61K
- Replies
- 2
- Views
- 2K
Members online
- jnall
- n2o
- goinsvt
- stevenstommyboy1
- ss55539
- threehitquit
- Gumby
- neovenator
- NachoRaptor37
- ScottS23
- rlarsen462
- gstahl
- jAKe47
- Sharpie69
- Yoda
- adamjg2
- JustDSM
- Marco Reis
- Pacifico66
- 91Eunos
- Hup
- NC59
- Nick@Apollo-Optics
- Dev
- Irregular F150
- Relentles0ne
- agent_ara
- raptor730
- wyomingraptor
- Quicksilver45
- tu3712
- GCATX
- Raptorman19
- Roger33
- Bozz
- RaptorJoe331
- 10SpdsOfFury
- The Car Stereo Company
- redhat
- grleon65
- New recaros
- jond
- JohnyPython
- akdiesel
- Tbag12
- seankeod
- Burt
- james9
- weiser27
- 85eurocarrera
Total: 2,031 (members: 81, guests: 1,950)


