Aarons419's 2010 Raptor Build

Disclaimer: Links on this page pointing to Amazon, eBay and other sites may include affiliate code. If you click them and make a purchase, we may earn a small commission.

Aaron

Meme Corps Commandant
Joined
Jun 13, 2011
Posts
13,097
Reaction score
7,475
Location
WA
Finally decided to start one single thread with all the mods I've been doing. So here goes! I'm starting late so I'll add any important notes as well as throw in a bit of a "why" for each mod.

1: Custom 'FORD' logo sticker for the front grille, Molten orange outline on a tux black background. I picked this up mostly because I felt like from the factory the logo didn't stand out quite enough and the orange accent around the letters fixed that perfectly.
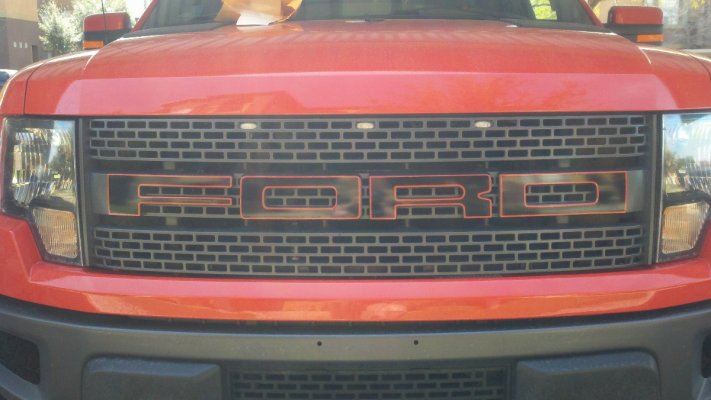
DQ9Az.jpg
 
OP
OP
Aaron

Aaron

Meme Corps Commandant
Joined
Jun 13, 2011
Posts
13,097
Reaction score
7,475
Location
WA
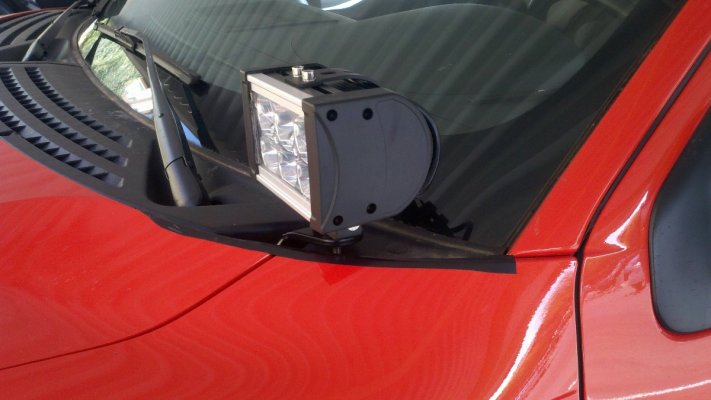
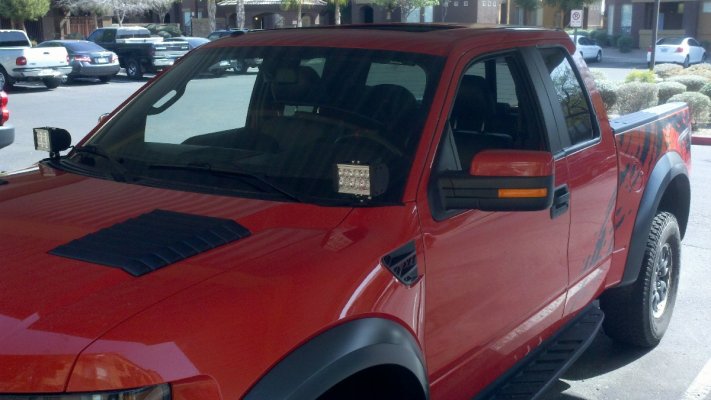
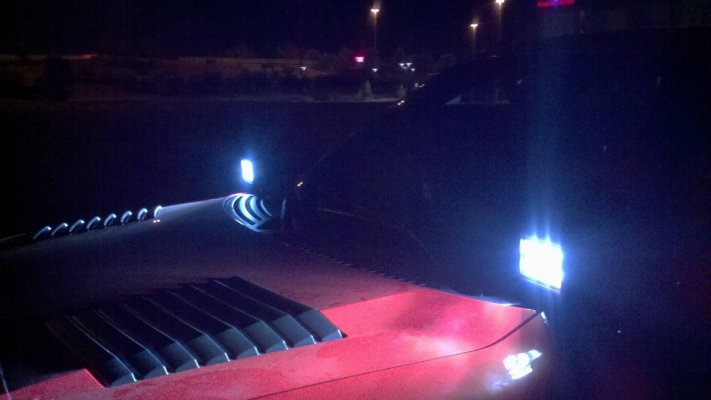
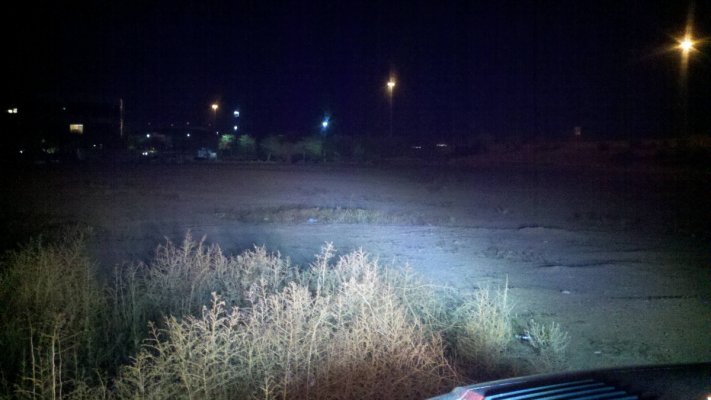
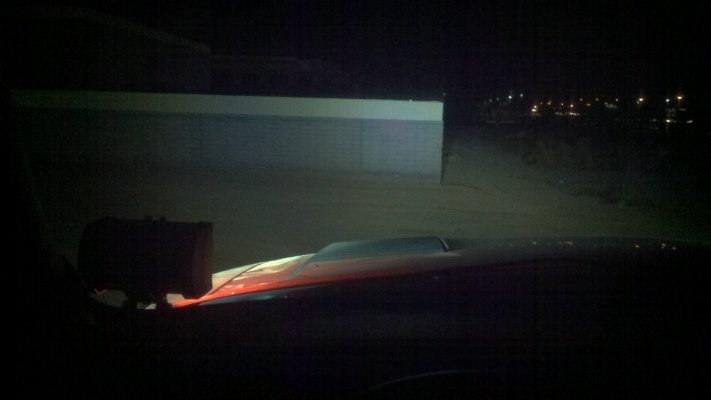
2. Next up was the Outlaw Raptor hood light mounts and some M&R 6" LED lights to go on them. I picked out this combo for a couple of reasons. Firstly I wanted to throw some extra light down the trail when I was running at night. Secondly, not a lot of people had gone with LED lights up there at that point and I liked the unique look.

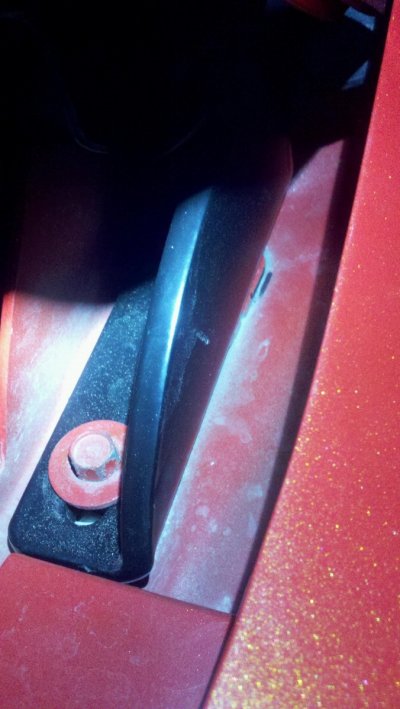
Some people have run into some issues keeping the hood aligned when installing the Outlaw mounts. What I found worked best for me was to do one side at a time and mark the location of the bracket with a sharpie prior to pulling the bolts. What that allowed me to do was just move the hood with one hand to line it back up and tighten the bolts to keep it aligned perfectly. It was pretty slick and made the install simple.

I wired both lights up to Aux 4 which was also really straight forward and simple to do thanks to the tutorial video that IRONMAN posted up on youtube.

Pics:

This is a pic of the alignment marks I made on the hood mount to make life easier on myself
UgZjA.jpg

ub46b.jpg

XtvMa.jpg

byQ14.jpg

p6B3D.jpg

Zg3f2.jpg
 
OP
OP
Aaron

Aaron

Meme Corps Commandant
Joined
Jun 13, 2011
Posts
13,097
Reaction score
7,475
Location
WA
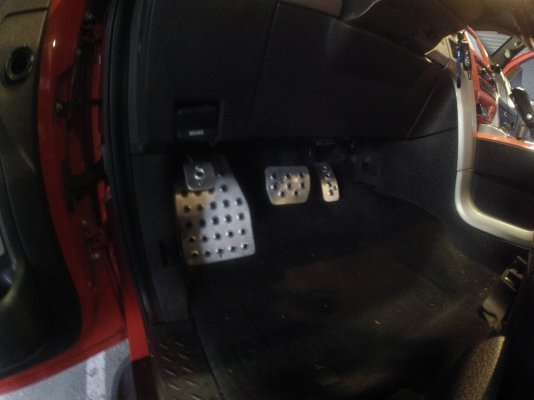
3. Wicked Performance Dead Pedal Kit:

I really got tired of the lack of a dead pedal in my truck, so when Wicked announced they were going to start making a kit. I was all over it.

Got the polished kit from them and I'll admit the install was harder than I thought, but not terribly so. The instructions that come with the kit are great. The hardest part for me was getting the dead pedal screwed into the floor since the screws want to clog up with fibers from the carpet. A soldering iron or a heated screwdriver (wicked's reccomendation) is your best friend here because they will melt a hole in the carpet (don't set it on fire!) and that'll help the screws go in correctly.

Once I got it all installed, it's a very solid place to rest my foot and the other pedals that come in the kit were a huge improvement over the stockers for traction.

Pic:

ePcWj.jpg
 
Last edited:
OP
OP
Aaron

Aaron

Meme Corps Commandant
Joined
Jun 13, 2011
Posts
13,097
Reaction score
7,475
Location
WA
4. Badlanz HPE Electric Exhaust Cutout and chopping exhaust over the axle.

After thinking my exhaust options over for quite awhile I decided an E-cutout was going to be the right option for me along with getting rid of the factory exhaust tips and dumping the pipes over the axle.

The cutout was my choice because I wanted two things that only it was really going to fully deliver.

First: I wanted a a full-out beastly sounding truck when I put my foot in it

Second: I wanted my truck to still be nice and quiet and comfortable for my wife and kid on road trips. As well as when I leave it with her for my deployments.

So Badlanz got the nod because they were a bit cheaper than the competitors and also because they came with a 5 year warranty which is much longer than the competition.

Installing it was pretty straight forward. I took the Y-pipe to a muffler shop and had it welded in. Welding it in is super important as one member here will testify. He had his clamed setup rip out from under his truck in Baja. Weld it! It only costs a few $ and it's not going to go anywhere.

While getting my Y-pipe welded in, I had the tech chop my exhaust up by the axle so I'd no longer smash my tips. Also, I completely hate the sight of an exhaust pipe hanging out from under the truck, so it fixed that as well.

To install the actual cutout, it's pretty simple to bolt it to the Y pipe and then run the wire into the cab. I chose to run mine through a hole in the passenger floorboard, then up to the firewall, and around to the center console. I installed the switch on the back of the upfitter switch panel. Which you will find is the most common spot for the "loud button".

One huge thing to be aware of is the necessity of tightening the mounting bolts for the cutout as well as the allen screws on the butterfly valve or else you're going to get rattles or worse have your cutout possibly fall off. Don't forget to do it.

No pics of either of these mods, I will get some ASAP.
 
OP
OP
Aaron

Aaron

Meme Corps Commandant
Joined
Jun 13, 2011
Posts
13,097
Reaction score
7,475
Location
WA
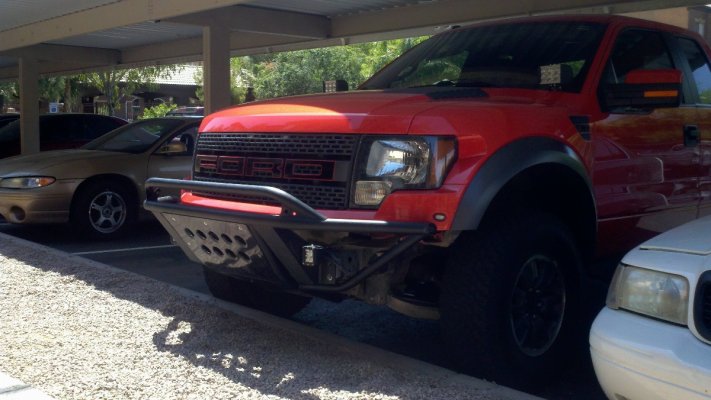
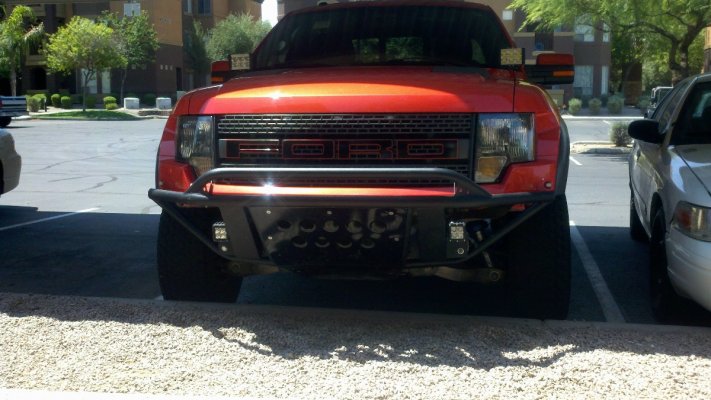
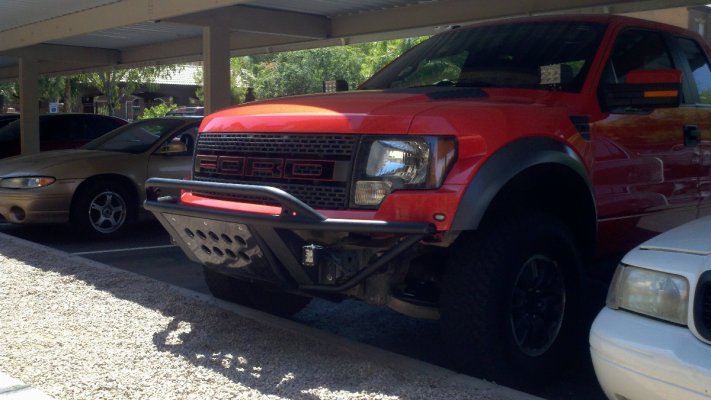
5. ADD Single LED Prerunner bumper.

Picked this bumper up from SOCOMech, who gave me a killer deal, and even delivered it for me while I was deployed so my wife didn't have to go try to pick it up. He's a stand up dude!

I won't lie, a lot of the "why" on this one was "because it was a screamin deal!" but I had been contemplating an aftermarket bumper/skidplate because I really wasn't a fan of the stock setup, especially for playing off road. I wanted something that's going to be able to take a bit of abuse and keep the front of my truck safe and sound.

I wasn't entirely sure I'd like it since it is in the "underbite" family of bumpers that stick out a good ways past the truck. Honestly though it looks crazy tough and I've already started getting compliments on it since it was put on yesterday.

I can't say much about it so far as I haven't tested it, but just from installing it, I CAN say that ADD makes a freakin SOLID product. Welds are top notch and there's not a speck of rust or flaked powercoat on the whole thing, despite being on Matt's rig for a couple of years.

Scored some Rigid Dually Amber lights as well, but they still need to be wired up, so I'll get to that on a later post.

Pictures!

SlOu0.jpg

XFwnK.jpg
 

Hockster

My 45ft Bluewater Party
Supporting Member
Joined
Aug 9, 2010
Posts
5,142
Reaction score
1,873
Location
Winchester, Va
5. ADD Single LED Prerunner bumper.

Picked this bumper up from SOCOMech, who gave me a killer deal, and even delivered it for me while I was deployed so my wife didn't have to go try to pick it up. He's a stand up dude!

I won't lie, a lot of the "why" on this one was "because it was a screamin deal!" but I had been contemplating an aftermarket bumper/skidplate because I really wasn't a fan of the stock setup, especially for playing off road. I wanted something that's going to be able to take a bit of abuse and keep the front of my truck safe and sound.

I wasn't entirely sure I'd like it since it is in the "underbite" family of bumpers that stick out a good ways past the truck. Honestly though it looks crazy tough and I've already started getting compliments on it since it was put on yesterday.

I can't say much about it so far as I haven't tested it, but just from installing it, I CAN say that ADD makes a freakin SOLID product. Welds are top notch and there's not a speck of rust or flaked powercoat on the whole thing, despite being on Matt's rig for a couple of years.

Scored some Rigid Dually Amber lights as well, but they still need to be wired up, so I'll get to that on a later post.

Pictures!

SlOu0.jpg

XFwnK.jpg

I loved my bumper like that. Got tons of looks and complements!! Only thing I didnt like was the reduction in fuel mileage I got. All I did for mine was to get better mileage and after I installed the bumper I lost 1.5mpg's.
Still looks awesome!
 
OP
OP
Aaron

Aaron

Meme Corps Commandant
Joined
Jun 13, 2011
Posts
13,097
Reaction score
7,475
Location
WA
6. Perch Mod/Swaybar Delete

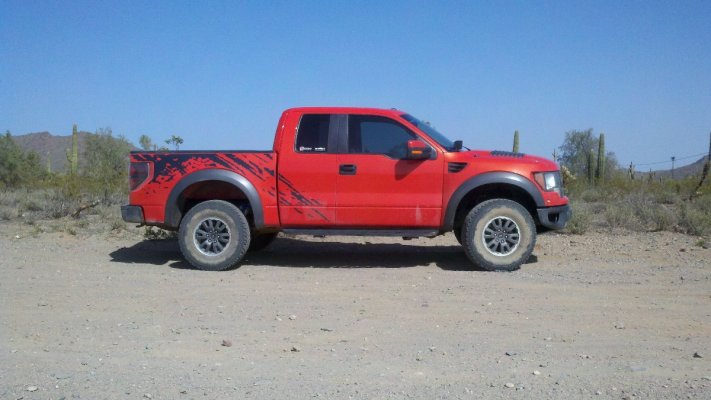
Not a lot to say on this one. I had Matt (SOCOMech) help me do the perch mod, and decided on the middle perch. He gave me a great deal on the labor and anyone in AZ who is willing to make the drive to North Phoenix should hit him up for a perch mod.

Middle perch is night and day different than stock. It's how it should have come from the factory IMO. It only kicked me up about 1.25" or so, but it gave the truck a nice level look, eliminated brake dive for the most part, and just generally rode better.

Swaybar delete is also a great mod, and it's one that you can accomplish in 30-45 mins in your own driveway with just a few tools. Basically, you have the links that tie into your LCAs and then there is 8 bolts underneath the truck. One thing to be aware of is that when you remove the nuts off the LCA links, you have to put a tiny wrench on the end of the stud to keep it from spinning while you back the nut off.

This mod is great if you off-road a lot. It really lets the suspension do work like it's supposed to. Offset bumps no longer jar the truck the way they used to. The best demonstration of it that I've found is to hit a speed bump at a 45 degree angle with the bar on, and then again with the bar off. Night and day.

One thing to be aware of is that it will give you a good bit more body roll on the street and not everyone is going to like that. For instance my wife, she absolutely hates it. So mine goes back on when I head overseas and comes off when I get home.

It won't give you any three wheel action, but you'll get a hint of that "trophy truck roll".

Try it for sure, it's an easy one to reverse if you hate it, but chances are, you'll love it.

Here's one pic to show the stance:

ycs1U.jpg
 
OP
OP
Aaron

Aaron

Meme Corps Commandant
Joined
Jun 13, 2011
Posts
13,097
Reaction score
7,475
Location
WA
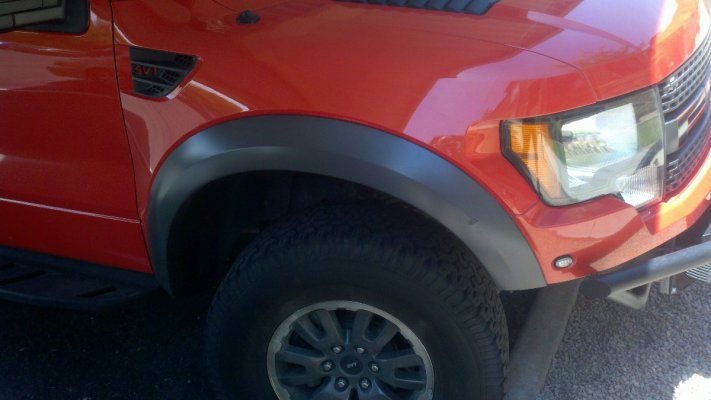
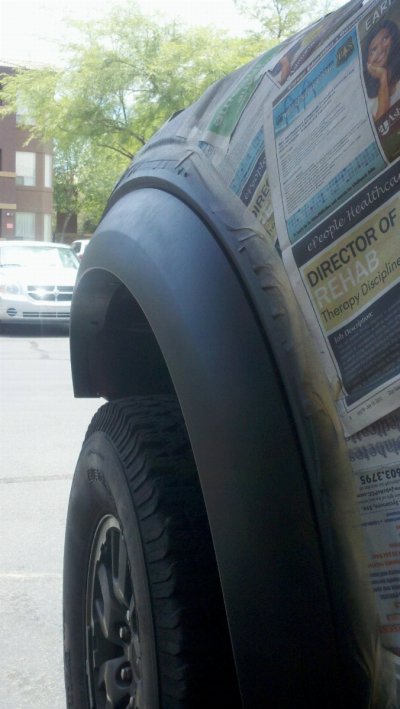
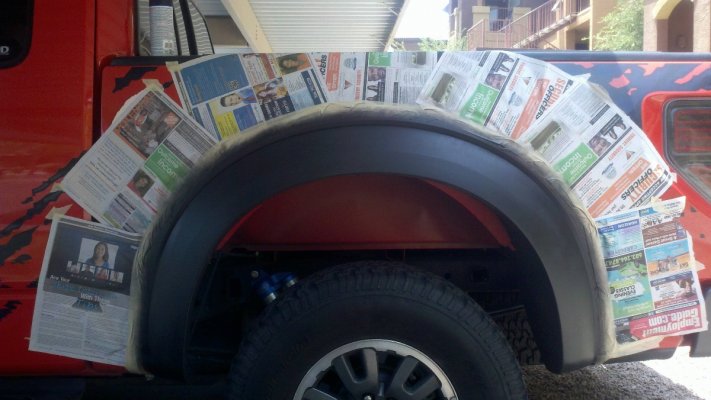
7. PLASTI-DIP!

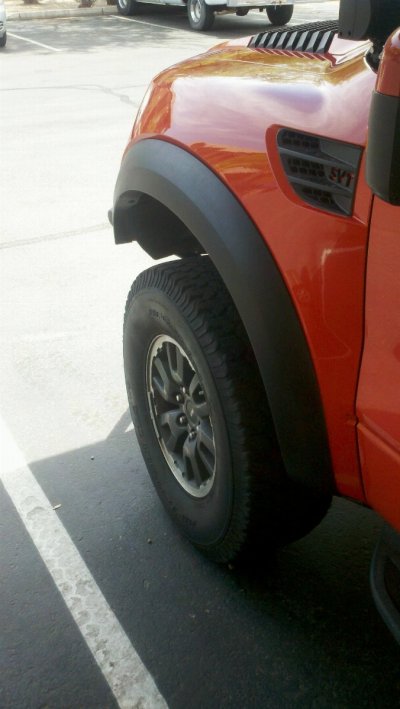
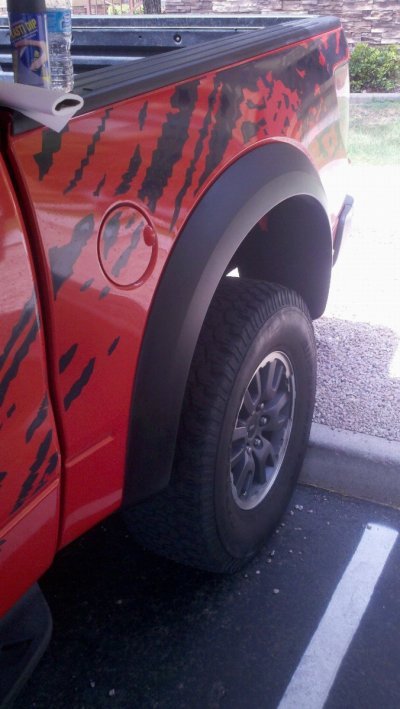
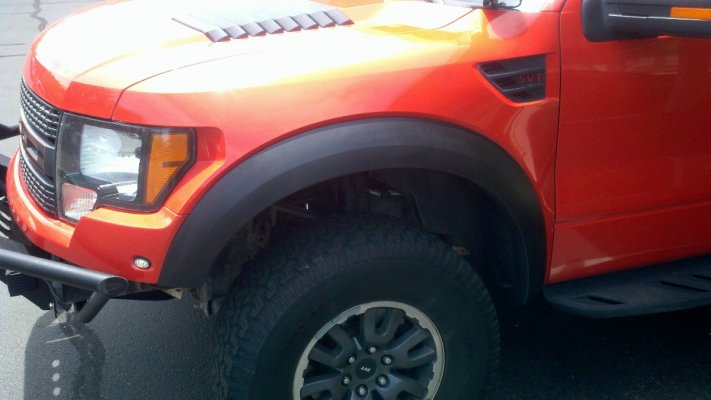
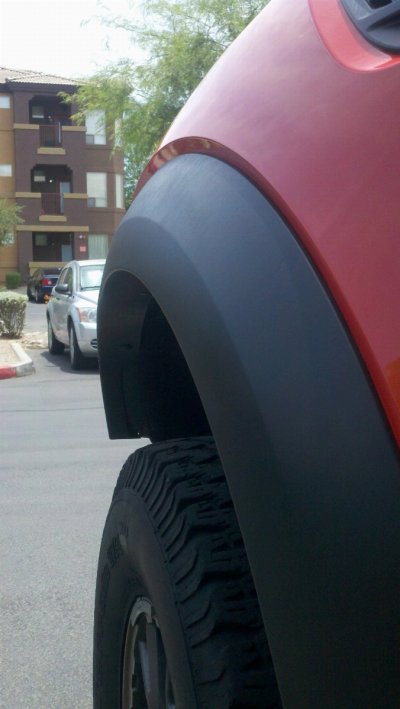
I finally decided to take a foray into the world of Plasti-dip. What pushed me over the edge was actually getting the black ADD bumper. My gray fenders didn't match at all, so that had to be fixed.

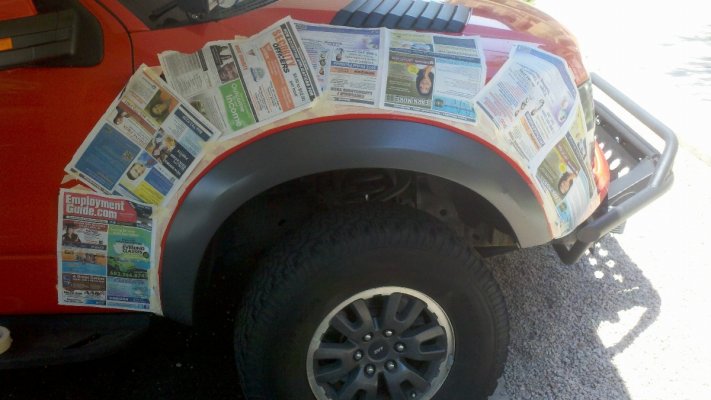
I just did this one today and honestly it's not a huge amount of work for the results you get out of it.

Some lessons learned:
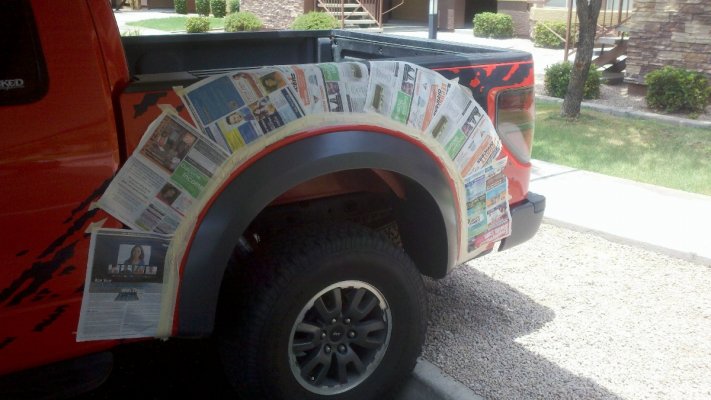
1. No matter how much you mask off, you WILL get overspray somewhere.
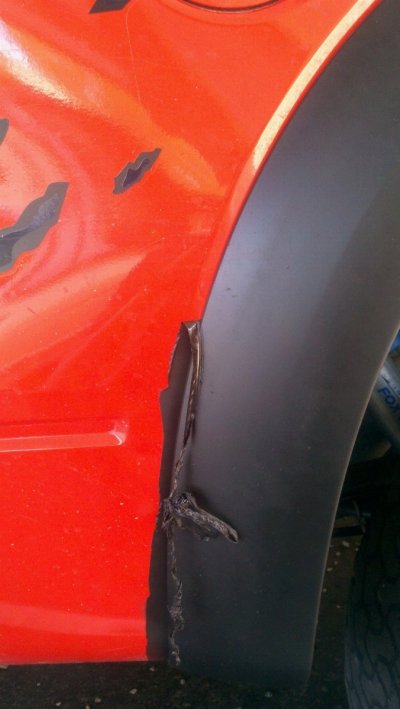
2. Overspray is laughably easy to remove...wipe it off with your hand or a cloth for the little speckles of it. Use your thumb for more concentrated patches
3. When you mask off the area, leave 1-1.5" of a gap, just so you can get your finger in there to peel it easily
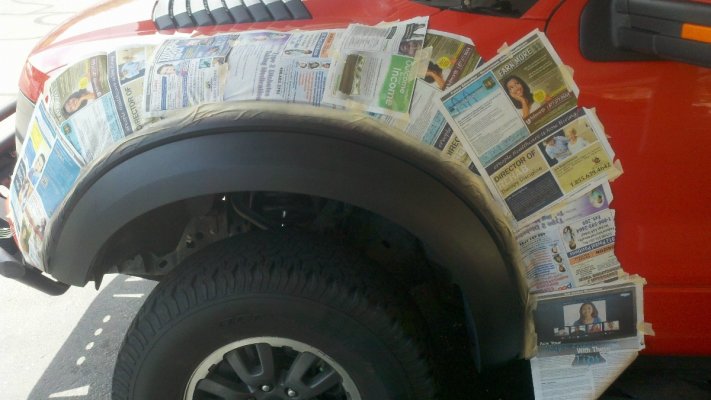
4. On the gap, make sure you lay the dip on thick. It'll be WAY EASIER to peel off that way.

I can't comment on durability, but I will update this after a few weeks/months with some info on that.

On to the pictures!

Before:

55fLk.jpg

Masked off and ready to rock!

xVnV4.jpg

Rear Masked off:

TOj3r.jpg

Font dipped:

8Gj7C.jpg

wzczx.jpg

Rear Dipped:

VBacs.jpg

Here's the dip peeling off. The second time I did this I made the overspray area wider and applied the dip thicker. It comes off a lot easier!

wOFvr.jpg

Finished product!

yof6r.jpg

8BUZa.jpg

f0dxd.jpg

qm6wY.jpg
 
Top