i usually start with the insulation crimp first. but it doesnt matter where you start. its easier for me this way though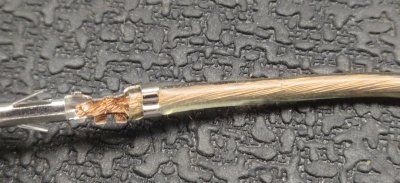 then i crimp the smaller prongs onto the wire
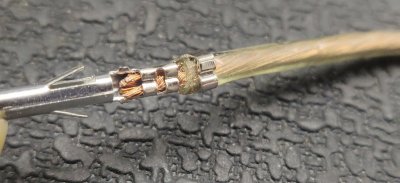 depending on you connector, you may or may not have a waterproof rubber seal. mine does.
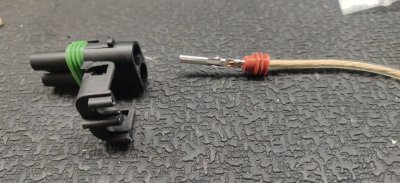
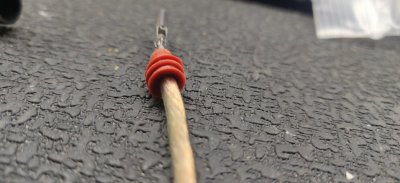
then just slide it into the molex plug
as requested, heres a little more info on theopen barrel connectors. (duetsch/molex/weatherpack)
when using these crimpers and the types of connections, make sure you test fit befor actually crimping. the pin has flared metal tabs that form a "V". one where it crimps the wire (he smaller tabs) for connection and one where the tabs lock the insulation (the larger tabs) of the wire. place it in the crimper and check fitment to see which one you will want to use.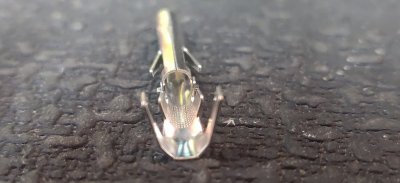 place the pin in the crimpers so it looks like this. you will see the tabs on the pin touch the part of the crimpers where it starts to narrow
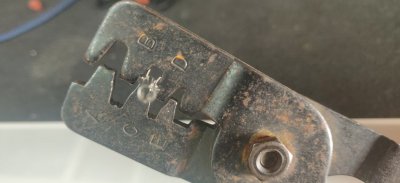 as you crimp down on the pin, the tabs start to curl over. below you can see as it hits the end of the crimper. the shape of the crimper will force the tabs to the right shapeView attachment 158727
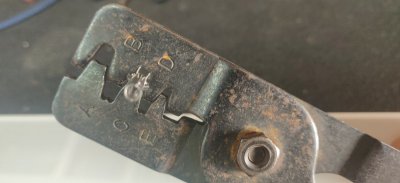
here it is fully crimped.
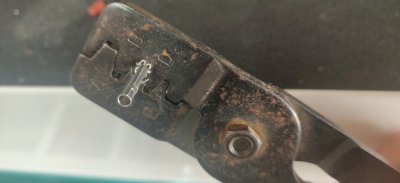
when crimping the end of the pin, the tabs that cut into the insulation of the wire, its the same process
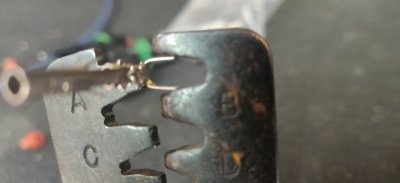 the tabs get bent inward
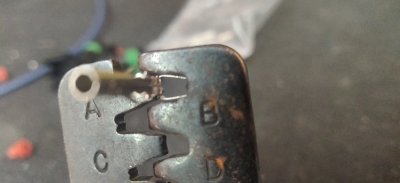 and then the shape of the crimpers force the tabs over
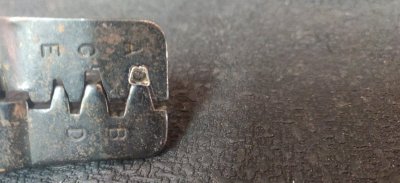 and finally done
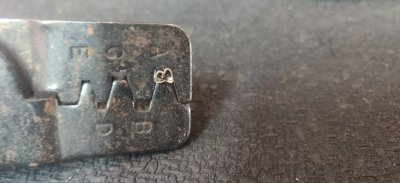 since there is no wire in the pin, it did not shape perfectly since there was nothing there to provide the resistance for the pin to crimp around. it kinda caved in on itself. if there was a wire there, it would have been perfect shape. however i cant hold the pin, the wire, the crimpers and the camera all at the same time. i will try to find some help and repost a picture, however in the above post yoi can see it
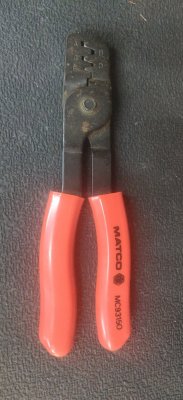
here is a close up of the crimpers i use. pay close attention to the shape and how the pins are set in when you crimp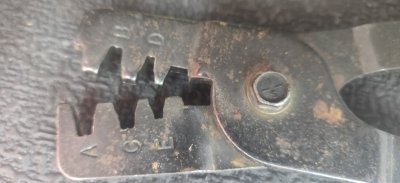 and a shot of the entire tool
 then i crimp the smaller prongs onto the wire
 depending on you connector, you may or may not have a waterproof rubber seal. mine does.

then just slide it into the molex plug
as requested, heres a little more info on theopen barrel connectors. (duetsch/molex/weatherpack)
when using these crimpers and the types of connections, make sure you test fit befor actually crimping. the pin has flared metal tabs that form a "V". one where it crimps the wire (he smaller tabs) for connection and one where the tabs lock the insulation (the larger tabs) of the wire. place it in the crimper and check fitment to see which one you will want to use.
 place the pin in the crimpers so it looks like this. you will see the tabs on the pin touch the part of the crimpers where it starts to narrow
 as you crimp down on the pin, the tabs start to curl over. below you can see as it hits the end of the crimper. the shape of the crimper will force the tabs to the right shapeView attachment 158727
here it is fully crimped.

when crimping the end of the pin, the tabs that cut into the insulation of the wire, its the same process
 the tabs get bent inward
 and then the shape of the crimpers force the tabs over
 and finally done
 since there is no wire in the pin, it did not shape perfectly since there was nothing there to provide the resistance for the pin to crimp around. it kinda caved in on itself. if there was a wire there, it would have been perfect shape. however i cant hold the pin, the wire, the crimpers and the camera all at the same time. i will try to find some help and repost a picture, however in the above post yoi can see it
here is a close up of the crimpers i use. pay close attention to the shape and how the pins are set in when you crimp
 and a shot of the entire tool
Last edited by a moderator:


