MagicMtnDan
FRF Addict
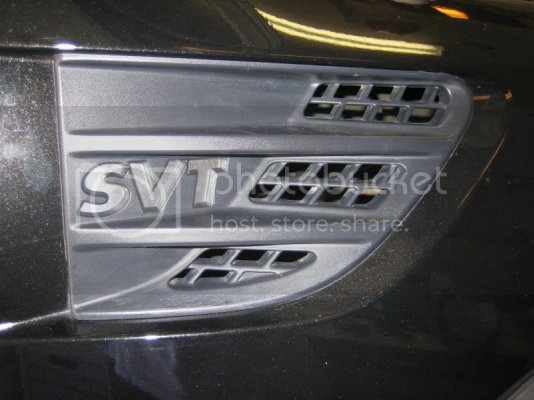
A number of people are putting thin light panels behind their SVT Fender Vents (the molded plastic vents with "SVT" molded into them) located in the front fenders.
While I like the idea and the look it's more complicated than anything I want to do. I removed the vents and installed adhesive a piece of metallized foil tape used for duct repairs (like the duct from your over stove hood to the outside).
I wanted to put something back there because my Raptor is black as is the fender vent so the "SVT" was very difficult to see.
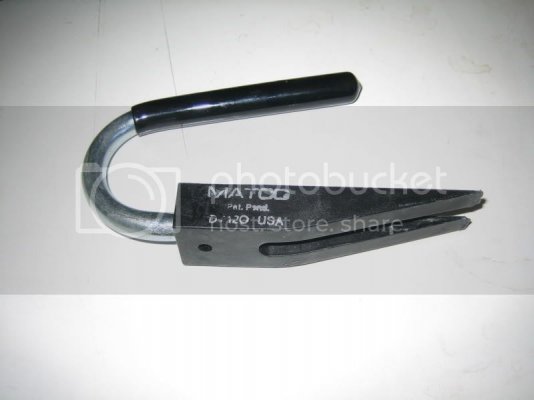
I have a great panel lifting/removal tool in my toolbox made by Matco. It's got a U-shaped handle and the tool portion of it is hard plastic so it's unlikely to ever scratch anything.
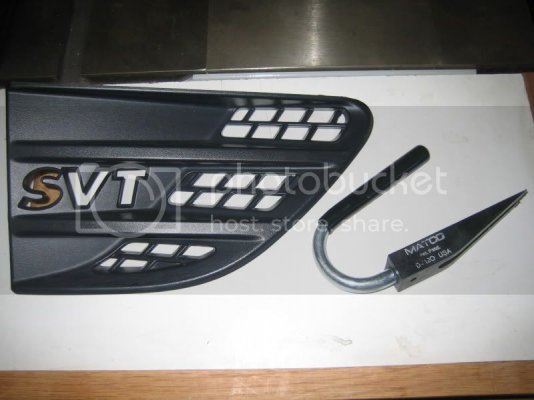
You can see its size next to the fender vent:
Whatever tool you use, slide it into the straight edge of the fender vent and lift up (out towards you). There are two studs on the back of the fender vent that snap into two holes in the fender. You want to unsnap them which will allow you to remove the fender vent by sliding it towads the back of your Raptor.
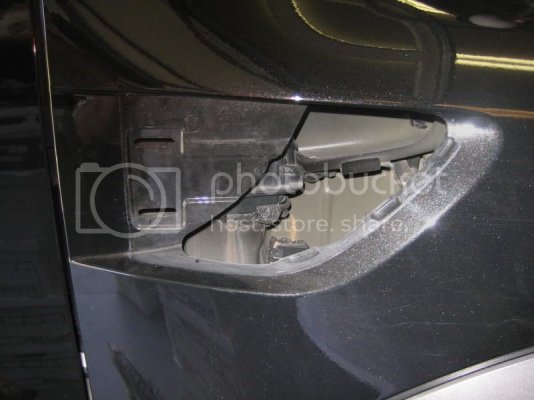
Here's the hole in the fender after removing the fender vents. You can see a ghost image of the "SVT" logo made by dust. You can also see the two slotted shaped holes where the studs on the back of the fender vent piece go into.
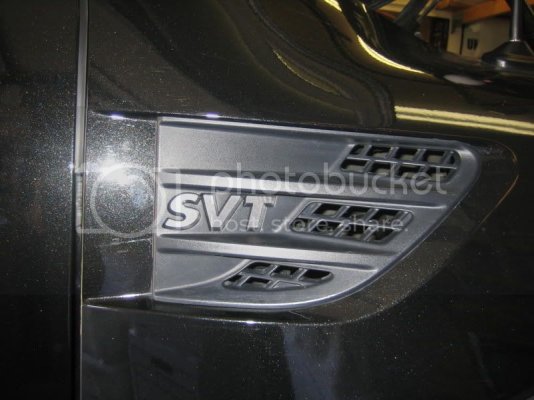
Here's the vent with the silver tape installed. Note that the flash shows more detail than can really be seen when looking at the vent in daylight. I think it achieves the intended objective of making the "SVT" logo stand out while not attracting attention. And I like the silver color as it's complementary and goes well with the black and gray of the Raptor.
I'll take some pics in the daylight and post them up so you can see.
I plan on going to the plastics supplier this week to see what color scrap acrylic material they have and if they have something that I like I'll put that in and see how it compares.
While I like the idea and the look it's more complicated than anything I want to do. I removed the vents and installed adhesive a piece of metallized foil tape used for duct repairs (like the duct from your over stove hood to the outside).
I wanted to put something back there because my Raptor is black as is the fender vent so the "SVT" was very difficult to see.
I have a great panel lifting/removal tool in my toolbox made by Matco. It's got a U-shaped handle and the tool portion of it is hard plastic so it's unlikely to ever scratch anything.

You can see its size next to the fender vent:

Whatever tool you use, slide it into the straight edge of the fender vent and lift up (out towards you). There are two studs on the back of the fender vent that snap into two holes in the fender. You want to unsnap them which will allow you to remove the fender vent by sliding it towads the back of your Raptor.
Here's the hole in the fender after removing the fender vents. You can see a ghost image of the "SVT" logo made by dust. You can also see the two slotted shaped holes where the studs on the back of the fender vent piece go into.

Here's the vent with the silver tape installed. Note that the flash shows more detail than can really be seen when looking at the vent in daylight. I think it achieves the intended objective of making the "SVT" logo stand out while not attracting attention. And I like the silver color as it's complementary and goes well with the black and gray of the Raptor.


I'll take some pics in the daylight and post them up so you can see.
I plan on going to the plastics supplier this week to see what color scrap acrylic material they have and if they have something that I like I'll put that in and see how it compares.


