Txfight00
Full Access Member
Dang am I sore from all the wrenching! 250 ft/lb is one hell of a crank!
First off, this project seems daunting to a person that does not regularly work on cars - BUT if you are thinking about doing it yourself, it is completely doable. Just take your time and pay attention to detail!
My truck is on bottom perch and the RPG kit is with SD springs.
In all, this took us 6.5 hours to do. If we had to do it again, we could probably shave it down to 4.5 hours. Budget time appropriately according to your level of mechanical ability and comfort. If you are relatively in shape you won't have to take breaks, but if you are older or out of shape, you should probably take a few.
Chocks in front, 3.5 ton jack under rear diff, jack stands under rear tow hooks at max height, jack stands under axle:
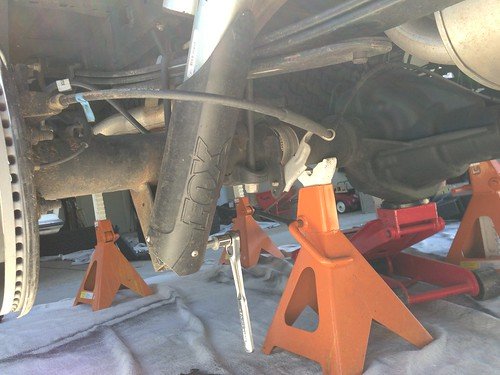
Removing the stock shocks and leafs was straightforward, except:
Decided to drop the gas tank rather than cut the leaf spring bolt. We made the mistake of trying to drop it with the gas tank skid still on. In order to drop the tank enough, you have to remove it so that you can remove the gas tank hanger. Since I am an idiot, I filled my tank before I did this, and had to bench press the tank while adjusting things. DO THIS WITH A HALF FULL TANK OR LESS.
Also, we disconnected the filler hose at the level of the tank inlet. I'm not sure how you could lower the tank without disconnecting it, despite unbolting the filler neck at the level of the fuel door and manipulating it.
We placed the 3.5 jack under the tank with a 2x8 lengthwise for support:
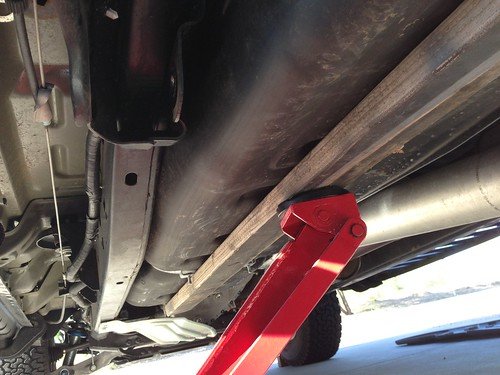
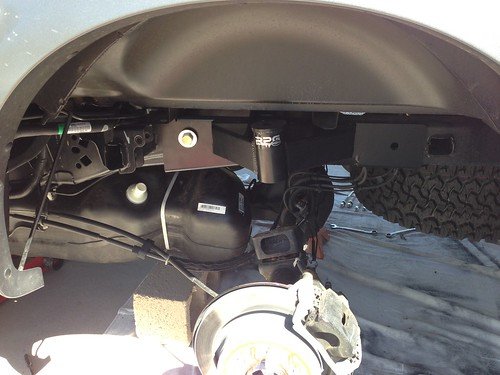
One irritation - the RPG frame support on one size wasn't exact, so I had to grind out the frame a touch:
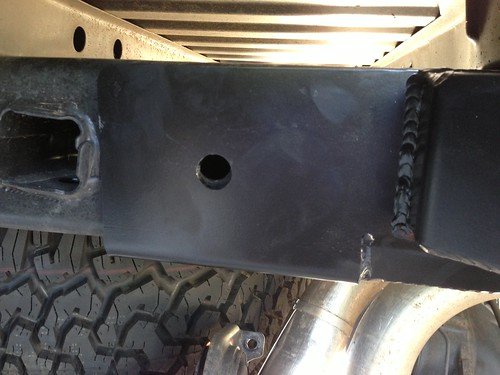
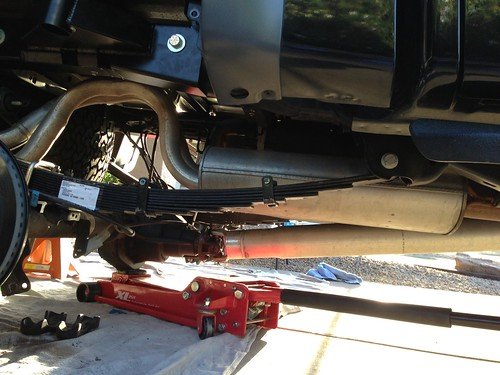
This gives an idea of how low the rear needs to drop to be able to install the new springs:
Completed:
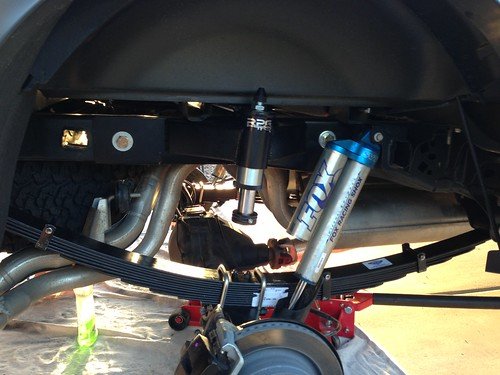
Ride height - I didn't see much difference in height after install like some others on the forum. This is with SD springs.
Oh, and yes the rear wheels are plasti-dipped and the fronts are not. We ridin' dirty here in North Scottsdale and I'm keepin' shit tight and on the edge brah!
.....just kidding. As I said before I'm an idiot. I wanted to plastidip the wheels while we had 'em off. Ran out of time to do the fronts because I underestimated the time it would take to do the stage 3 install. BUT, I like the plastidip look and will do the fronts soon.
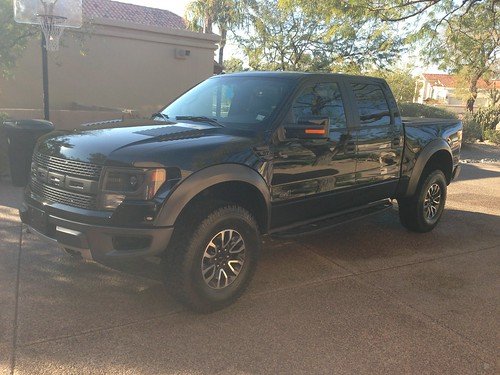
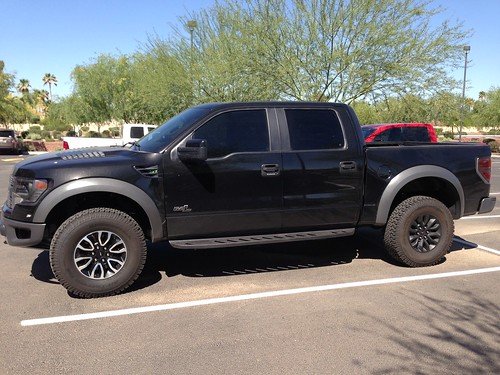
Before and after from side
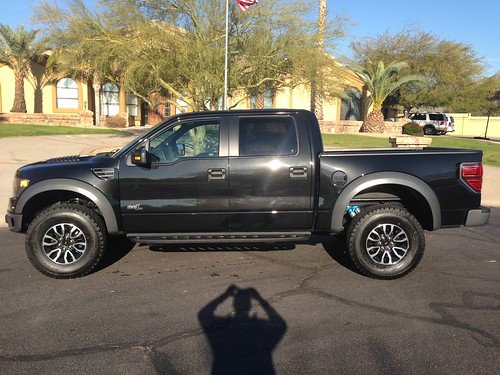
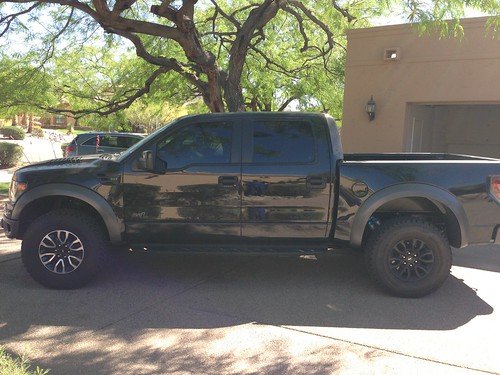
Before and after at angle
The ride is much better and I am so glad that I did this. It was a really big feeling of accomplishment, and I can't wait to romp offroad with the new setup. I will, however, wait a few days to re-torque the bolts. I can barely lift my arms enough to type after all this!
First off, this project seems daunting to a person that does not regularly work on cars - BUT if you are thinking about doing it yourself, it is completely doable. Just take your time and pay attention to detail!
My truck is on bottom perch and the RPG kit is with SD springs.
In all, this took us 6.5 hours to do. If we had to do it again, we could probably shave it down to 4.5 hours. Budget time appropriately according to your level of mechanical ability and comfort. If you are relatively in shape you won't have to take breaks, but if you are older or out of shape, you should probably take a few.
Chocks in front, 3.5 ton jack under rear diff, jack stands under rear tow hooks at max height, jack stands under axle:

Removing the stock shocks and leafs was straightforward, except:
Decided to drop the gas tank rather than cut the leaf spring bolt. We made the mistake of trying to drop it with the gas tank skid still on. In order to drop the tank enough, you have to remove it so that you can remove the gas tank hanger. Since I am an idiot, I filled my tank before I did this, and had to bench press the tank while adjusting things. DO THIS WITH A HALF FULL TANK OR LESS.
Also, we disconnected the filler hose at the level of the tank inlet. I'm not sure how you could lower the tank without disconnecting it, despite unbolting the filler neck at the level of the fuel door and manipulating it.
We placed the 3.5 jack under the tank with a 2x8 lengthwise for support:


One irritation - the RPG frame support on one size wasn't exact, so I had to grind out the frame a touch:

This gives an idea of how low the rear needs to drop to be able to install the new springs:

Completed:

Ride height - I didn't see much difference in height after install like some others on the forum. This is with SD springs.
Oh, and yes the rear wheels are plasti-dipped and the fronts are not. We ridin' dirty here in North Scottsdale and I'm keepin' shit tight and on the edge brah!
.....just kidding. As I said before I'm an idiot. I wanted to plastidip the wheels while we had 'em off. Ran out of time to do the fronts because I underestimated the time it would take to do the stage 3 install. BUT, I like the plastidip look and will do the fronts soon.
Before and after from side


Before and after at angle


The ride is much better and I am so glad that I did this. It was a really big feeling of accomplishment, and I can't wait to romp offroad with the new setup. I will, however, wait a few days to re-torque the bolts. I can barely lift my arms enough to type after all this!


