JAndreF321
Full Access Member
Gents,
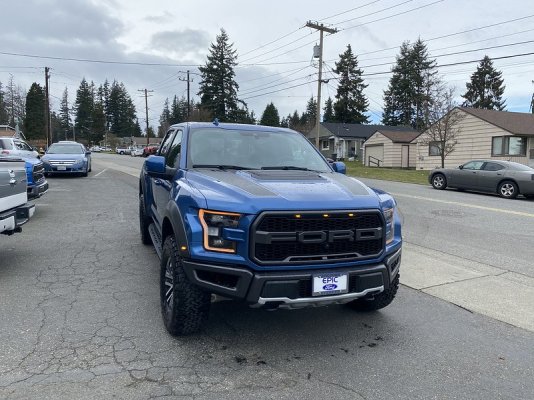
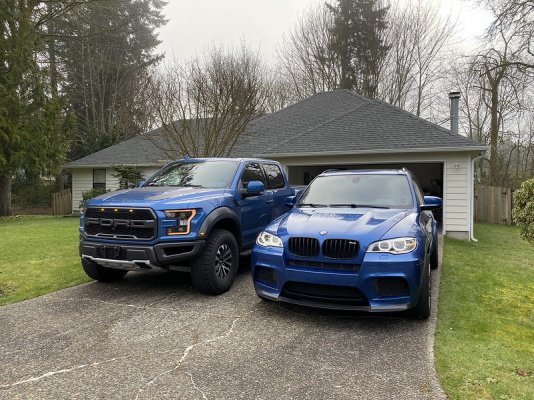
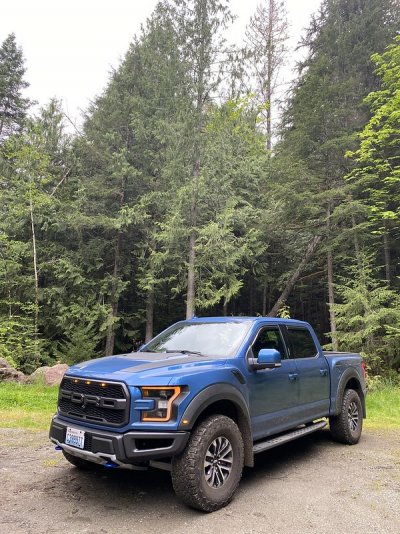
I bought my Raptor in February this year and have done some minor mods on it so far. Still waiting to do any actual performance modification, but may do some in the future. I’m mainly a BMW guy, but have ventured into trucks a few times with a 2004 Sportrac, 2004 Frontier, and 2014 Tacoma. I hated the Tacoma and told myself I’d only buy another truck if it was the raptor. So here we are.
I usually do build threads for my BMWs and primarily work on DIY threads. I have been a little uncomfortable on this forum, being fairly new to trucks. Been learning a lot on this though.
First things I did was add Goodyear Wind Deflectors, Red Hound door will guards, RokBlokz mud flaps, and Husky Wheel Well Liners.
The wind deflectors were a necessity because I always throw my gym bag back in the truck during work and I need to keep the windows down a bit. These were an absolute pain because the instructions sucked and the in-track design causes some problems. I wanted the in-track so I didn’t have to tape onto the door and I thought they looked cleaner. The issue is that the tape on the inside makes it hard to insert them. Also, with temperature change you can have issues with raising the windows, though that hasn’t happened for a while. Maybe they just needed a temp cycle.
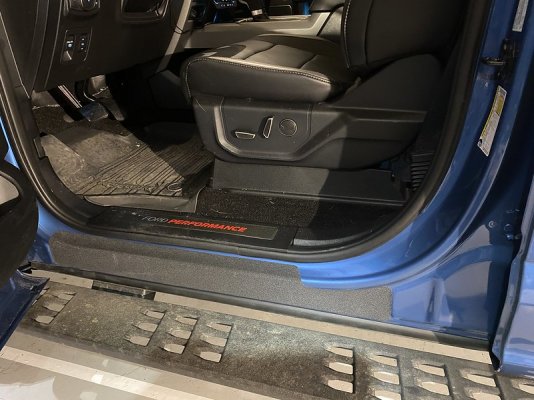
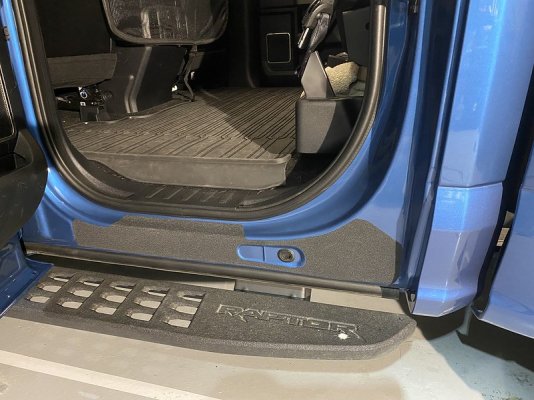
Door guards took some skill to install. I finally got it perfect on the 4th (last) one.
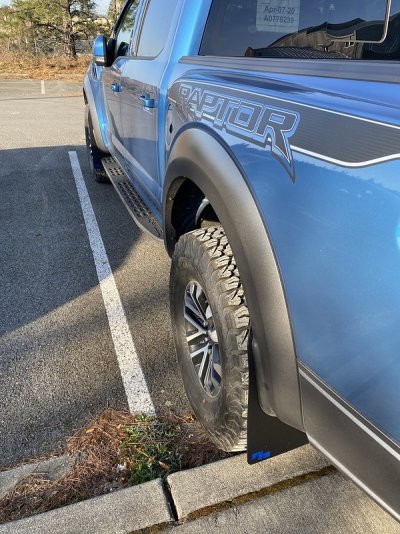
RokBlokz are nice and they help stop the mud getting up on the side of the truck as well as hopefully protecting the cars behind me a bit. They still let mud get up through the running boards and on the doors though. Install was easy with only one hole needing to be drilled on the rears, but didn’t need to remove the wheels for that.
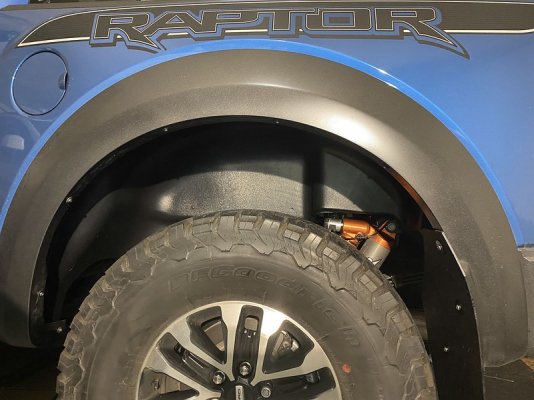
Husky Wheel liners were king of a pain to install, you have to make sure you get them lined up correctly before sliding them in between the fender and the extensions. If you mess up the alignment you have to take the whole thing out and try again. First one took forever, but the second went right in.
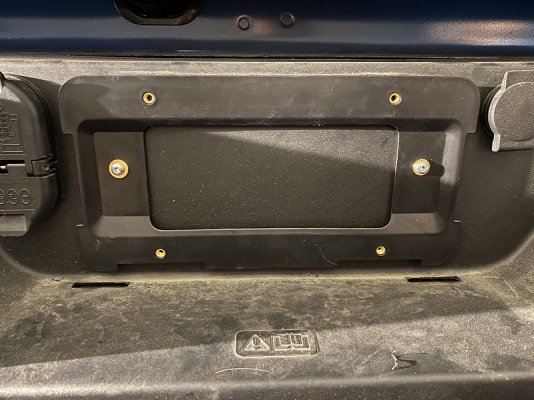
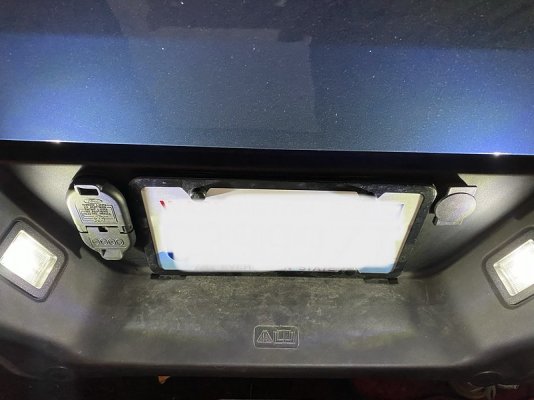
When my plates finally showed up I was pretty grumpy that there was no license plate holder in the rear, just a plate screwed into the plastic part of the bumper. I ordered an aftermarket BMW plate holder. Around the same time, I updated the license plate lights with LED ones from Stage3Motorsports. The new light color looks amazing.
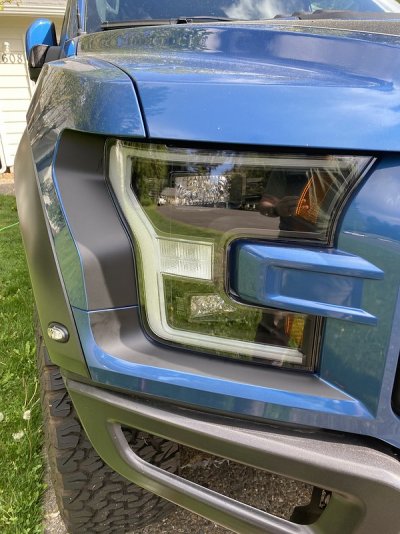
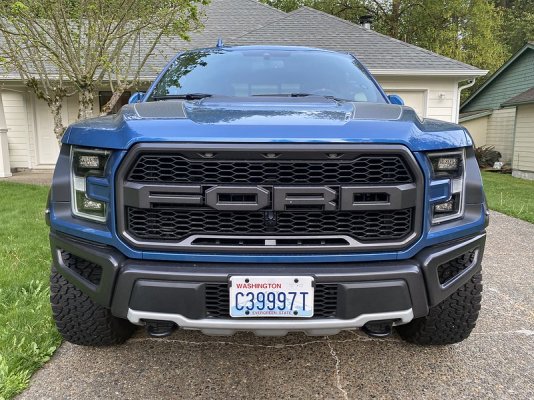
I was feeling cute and wanted to put some eye liner on the truck. These were just cut from matte black 3M wrap. It took me 3 tries to get each side right. Respect for people who can wrap.
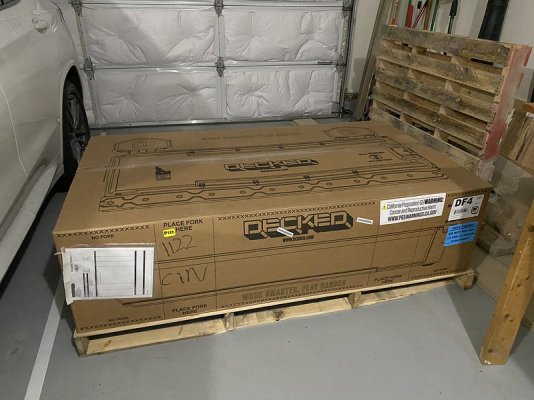
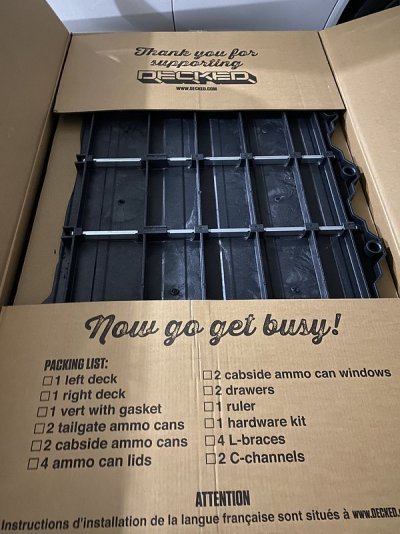
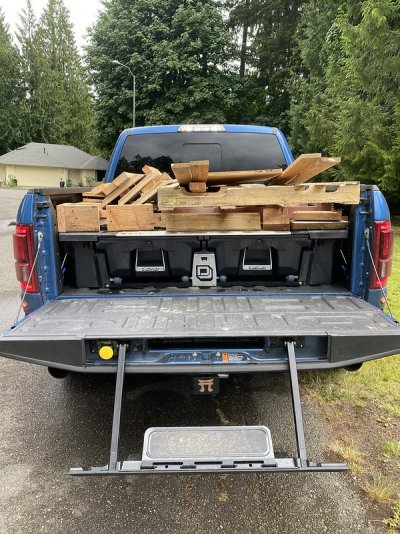
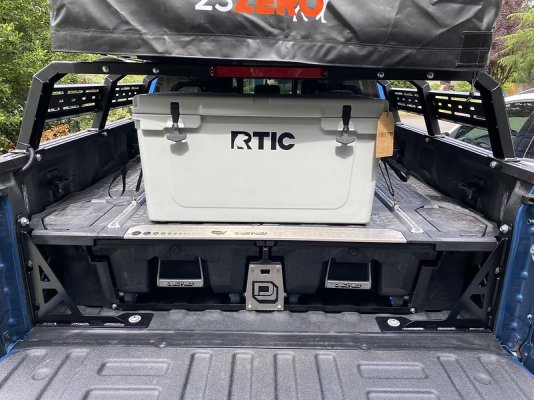
Next was the Decked System. I was originally looking at the Undercover swing cases, but I planned on camping in the bed and wanted more space. I decided to get the Decked system, hoping for a flat bedding area and extra storage. It took me about 3 hours to install this and that was with power tools. The whole setup had to be delivered on a pallet because it is around 200lbs. It secures using brackets bolted into the tie down hook holes near the cab and using J-hooks to the tie downs near the tailgate. I really like the decked system and it has worked great for me so far. It does limit the use of your bed, but I was planning on getting a cargo net anyway.
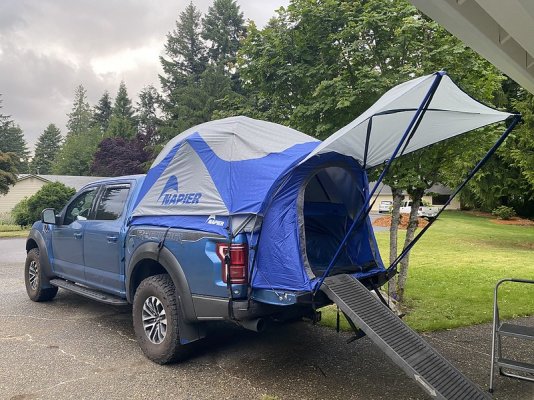
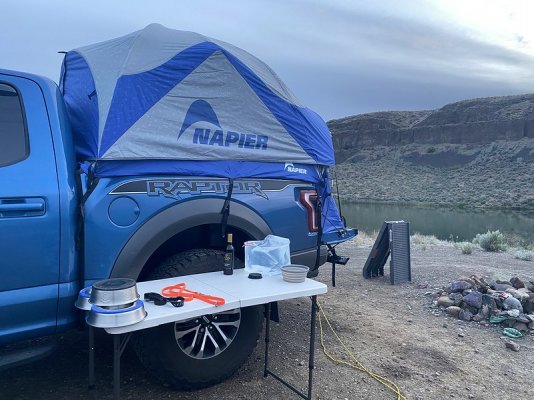
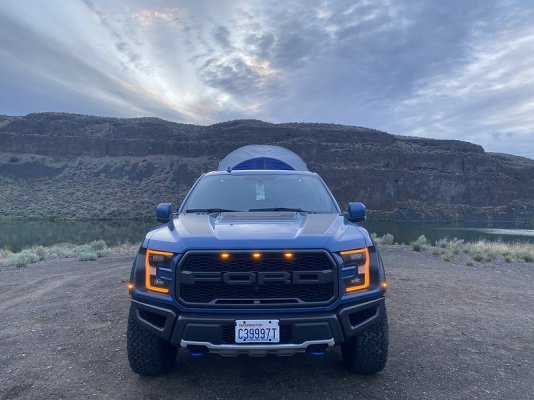
I was struggling for a while to decide what I wanted to do with the truck for camping. I wanted a topper, but they are expensive as heck and heavy, so I wouldn’t be able to remove it. I also needed space for the wife and 3 dogs. I ended up trying out a Napier Sportz Truck Tent. This thing was $300 but pretty crappy. Everything was cheap and poorly made. I ended up returning it after the one night out.
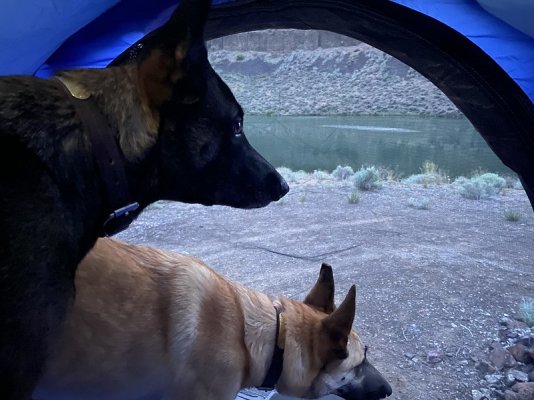
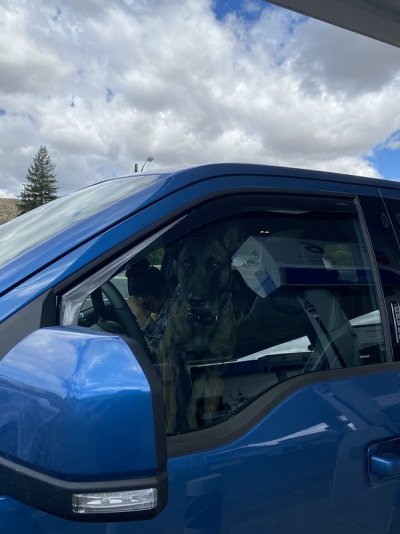
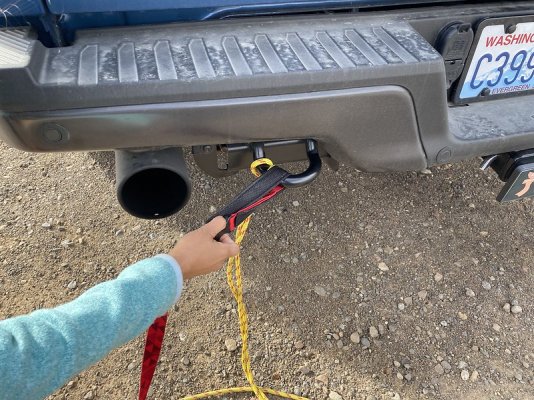
During the trip, I did find a great use for the tow hooks…tying up the pups
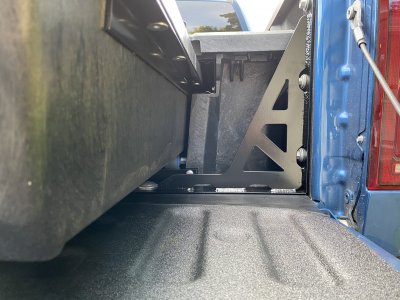
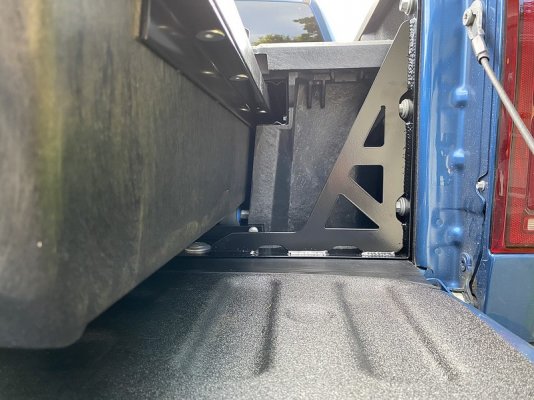
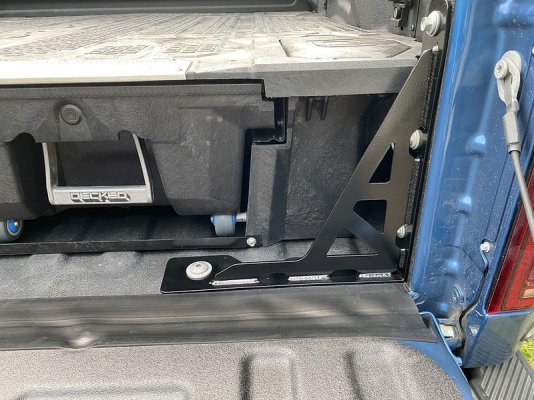
Next I installed some KHC Bed Supports which worked well with the decked system and I was able to put on a tailgate gap guard from Amazon.
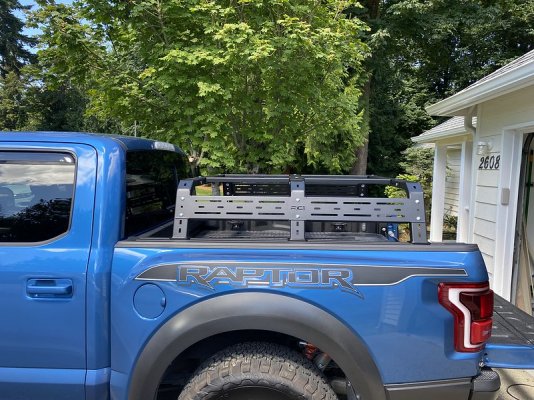
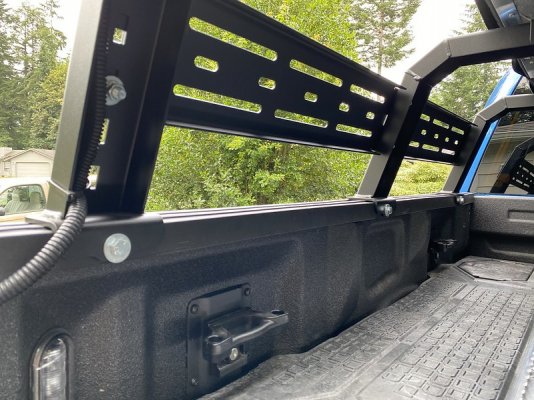
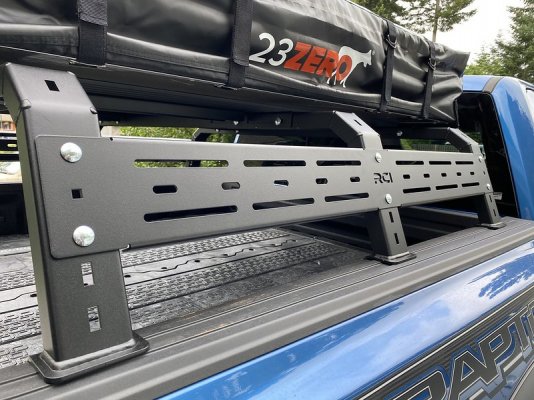
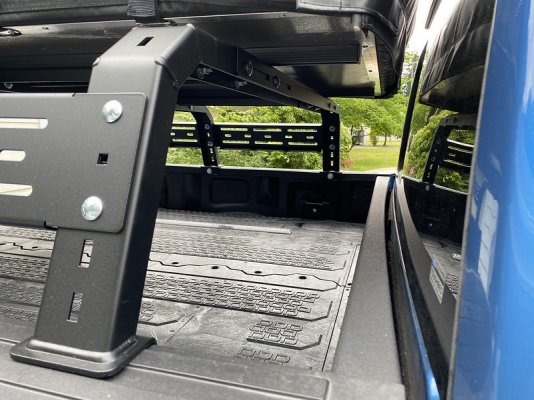
After returning the truck tent, my wife and I decided to spend the cash and get a Roof Top Tent. The ordering excitement was short lived when I realized that there were few rack options and all were very pricey. I chose the RCI 12” rack to reduce the amount of tent sticking up over the cab and reducing fuel economy. As for the tent, I went with a 23Zero Breezeway62.
The Rack took me a while to install because I changed my method of attachment from clamps to bolts. The kit comes with bolt on plates as well as Toyota connecting plates. I had to drill out the plates and use them as large washers essentially when connecting to the bed lip. I also had to rip out some clips from the bed side covers to center the racks.
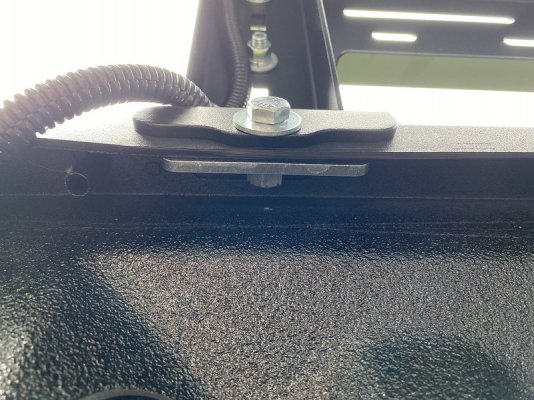
I thought installing the tent would be easy but the supplied bolts and nuts all stripped out and had to be broken or cut off. I ended up running to Lowes and buying shorter, better bolts and locking nuts. If you go with a rack, and not normal roof rack bars, you will want to but shorter bolts like these.
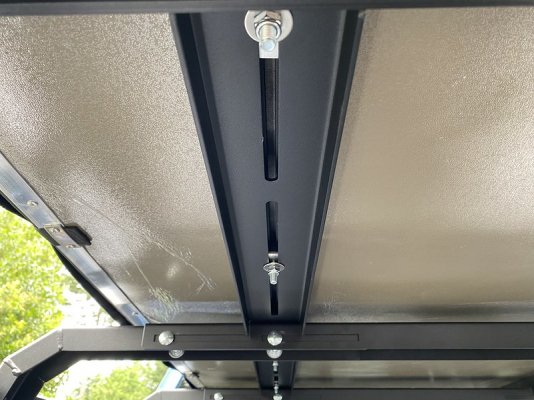
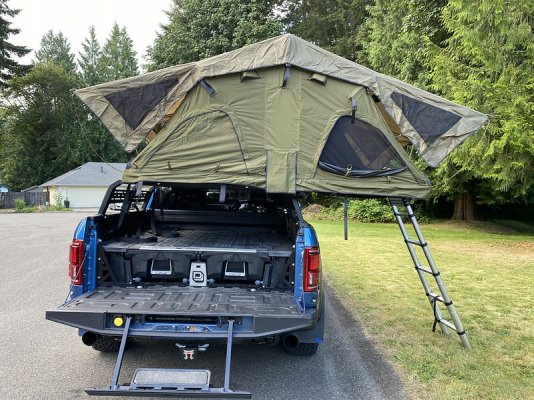
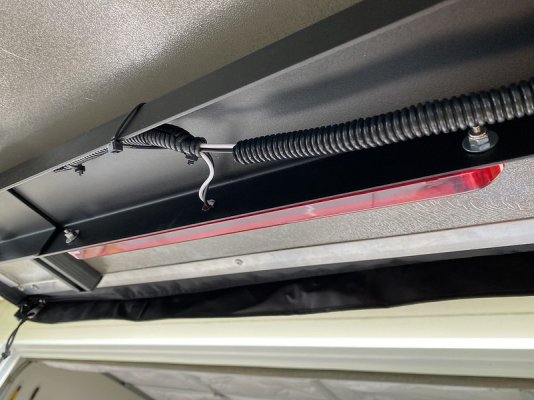
The last two things I’ve done is install a third brake light and L tracks on the Decked system. I plan on installing some more L Tracks on the bed side when I get the chance.
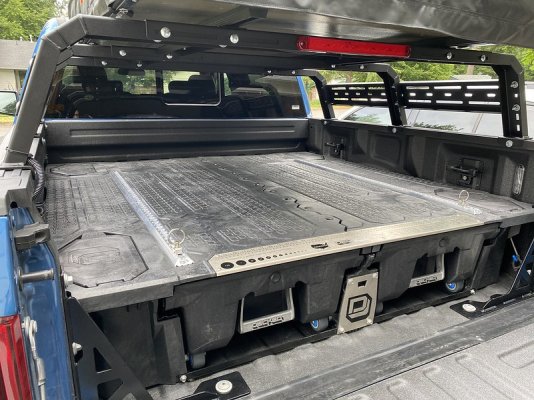
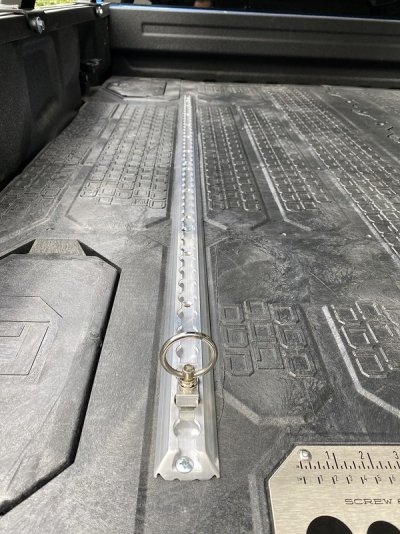
I didn’t buy the ones from Decked because I wanted the angled type. I ended up getting these from USCargo and had to drill new holes for the special decked bolting locations. These actually screw down into the decked support steel beams and don’t compromise the water resistant drawers.
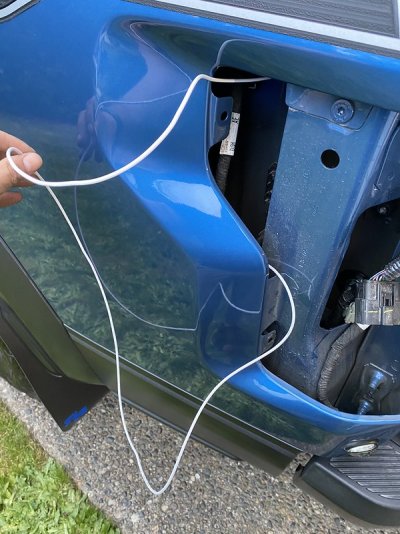
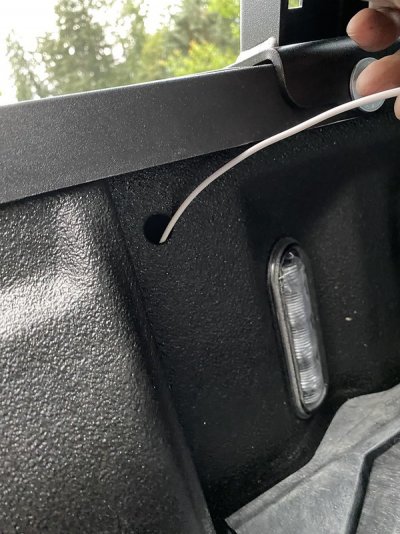
The third brake light was a huge pain, but that was my fault. I found that the wiring is not in the back for 2015-present unless you buy a logic kit to translate 7 pin wires to brake light power. This is because the brakes run off the same line as the blinkers. So whatever wire you tap will also cause the brake light to blink when turning. The actual connection is in the front by the driver’s foot. The wire runs through a grommet in the floor and follow the main loom back to the tail light. What took me forever is not realizing that the aftermarket light I bought from Orielly’s had Black hot and white ground.
I bought my Raptor in February this year and have done some minor mods on it so far. Still waiting to do any actual performance modification, but may do some in the future. I’m mainly a BMW guy, but have ventured into trucks a few times with a 2004 Sportrac, 2004 Frontier, and 2014 Tacoma. I hated the Tacoma and told myself I’d only buy another truck if it was the raptor. So here we are.


I usually do build threads for my BMWs and primarily work on DIY threads. I have been a little uncomfortable on this forum, being fairly new to trucks. Been learning a lot on this though.
First things I did was add Goodyear Wind Deflectors, Red Hound door will guards, RokBlokz mud flaps, and Husky Wheel Well Liners.
The wind deflectors were a necessity because I always throw my gym bag back in the truck during work and I need to keep the windows down a bit. These were an absolute pain because the instructions sucked and the in-track design causes some problems. I wanted the in-track so I didn’t have to tape onto the door and I thought they looked cleaner. The issue is that the tape on the inside makes it hard to insert them. Also, with temperature change you can have issues with raising the windows, though that hasn’t happened for a while. Maybe they just needed a temp cycle.

Door guards took some skill to install. I finally got it perfect on the 4th (last) one.


RokBlokz are nice and they help stop the mud getting up on the side of the truck as well as hopefully protecting the cars behind me a bit. They still let mud get up through the running boards and on the doors though. Install was easy with only one hole needing to be drilled on the rears, but didn’t need to remove the wheels for that.

Husky Wheel liners were king of a pain to install, you have to make sure you get them lined up correctly before sliding them in between the fender and the extensions. If you mess up the alignment you have to take the whole thing out and try again. First one took forever, but the second went right in.

When my plates finally showed up I was pretty grumpy that there was no license plate holder in the rear, just a plate screwed into the plastic part of the bumper. I ordered an aftermarket BMW plate holder. Around the same time, I updated the license plate lights with LED ones from Stage3Motorsports. The new light color looks amazing.


I was feeling cute and wanted to put some eye liner on the truck. These were just cut from matte black 3M wrap. It took me 3 tries to get each side right. Respect for people who can wrap.


Next was the Decked System. I was originally looking at the Undercover swing cases, but I planned on camping in the bed and wanted more space. I decided to get the Decked system, hoping for a flat bedding area and extra storage. It took me about 3 hours to install this and that was with power tools. The whole setup had to be delivered on a pallet because it is around 200lbs. It secures using brackets bolted into the tie down hook holes near the cab and using J-hooks to the tie downs near the tailgate. I really like the decked system and it has worked great for me so far. It does limit the use of your bed, but I was planning on getting a cargo net anyway.


I was struggling for a while to decide what I wanted to do with the truck for camping. I wanted a topper, but they are expensive as heck and heavy, so I wouldn’t be able to remove it. I also needed space for the wife and 3 dogs. I ended up trying out a Napier Sportz Truck Tent. This thing was $300 but pretty crappy. Everything was cheap and poorly made. I ended up returning it after the one night out.


During the trip, I did find a great use for the tow hooks…tying up the pups

Next I installed some KHC Bed Supports which worked well with the decked system and I was able to put on a tailgate gap guard from Amazon.


After returning the truck tent, my wife and I decided to spend the cash and get a Roof Top Tent. The ordering excitement was short lived when I realized that there were few rack options and all were very pricey. I chose the RCI 12” rack to reduce the amount of tent sticking up over the cab and reducing fuel economy. As for the tent, I went with a 23Zero Breezeway62.
The Rack took me a while to install because I changed my method of attachment from clamps to bolts. The kit comes with bolt on plates as well as Toyota connecting plates. I had to drill out the plates and use them as large washers essentially when connecting to the bed lip. I also had to rip out some clips from the bed side covers to center the racks.


I thought installing the tent would be easy but the supplied bolts and nuts all stripped out and had to be broken or cut off. I ended up running to Lowes and buying shorter, better bolts and locking nuts. If you go with a rack, and not normal roof rack bars, you will want to but shorter bolts like these.


The last two things I’ve done is install a third brake light and L tracks on the Decked system. I plan on installing some more L Tracks on the bed side when I get the chance.

I didn’t buy the ones from Decked because I wanted the angled type. I ended up getting these from USCargo and had to drill new holes for the special decked bolting locations. These actually screw down into the decked support steel beams and don’t compromise the water resistant drawers.


The third brake light was a huge pain, but that was my fault. I found that the wiring is not in the back for 2015-present unless you buy a logic kit to translate 7 pin wires to brake light power. This is because the brakes run off the same line as the blinkers. So whatever wire you tap will also cause the brake light to blink when turning. The actual connection is in the front by the driver’s foot. The wire runs through a grommet in the floor and follow the main loom back to the tail light. What took me forever is not realizing that the aftermarket light I bought from Orielly’s had Black hot and white ground.


