Jhollowell
Full Access Member
I have the first batch of PNW brake lights ready to ship. Still working on the website but if you want one now just send me a PM and i'll get them shipped out.
PNW_1 Gen 1 Raptor Overview
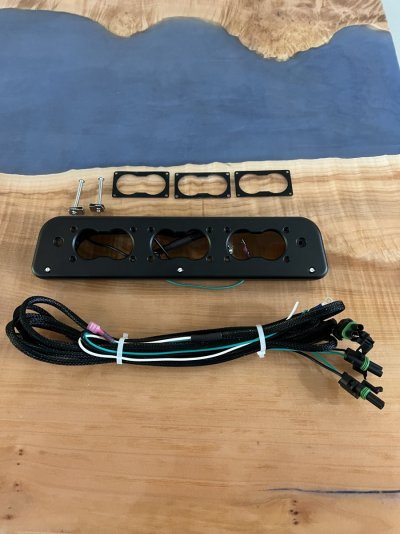
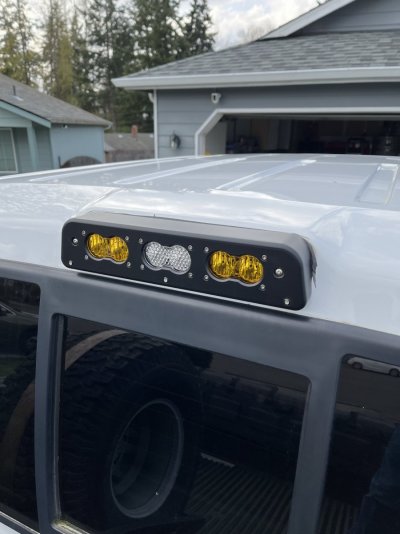
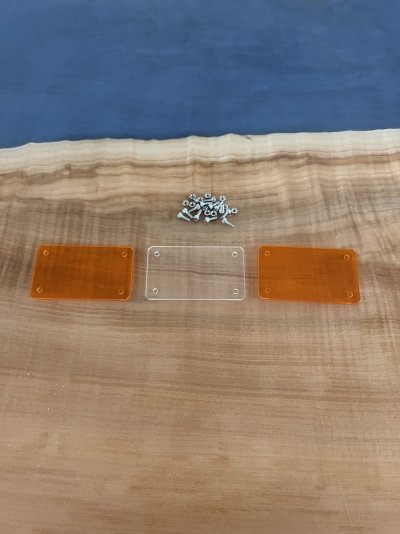
This billet aluminum brake light fits 2010-2014 Ford Raptors and allows for the installation of 3 Baja Designs S2 lights. This kit comes with new mounting hardware, gaskets, prewired LED brake lights and a wire harness to connect your S2 lights to the factory up-lifter switches. Block off plates are available if you want to run the brake light without the S2 lights. Additional gaskets and wire harness available.
Installation:
Remove the OEM light and unplug the connector from under the headliner.
Plug in the new harness to the OEM connector.
Connect the red connectors from the S2 harness to the Brake Light Harness.
Install new clip nuts in factory location.
Connect the weather pack connector with the red connector to the center S2 Light. (cargo)
Connect other 2 weather pack connectors to the outside S2 lights.
Run the S2 harness along the headliner, down the cab to the passenger fuse box area and connect the colored wires to your up-lifter switch wires.
Install light with new screws.
Connect the black wire to chassis ground.
*Its recommended to add a bead of RTV silicone around the top and sides to provide additional water protection.


PNW_1 Gen 1 Raptor Overview
This billet aluminum brake light fits 2010-2014 Ford Raptors and allows for the installation of 3 Baja Designs S2 lights. This kit comes with new mounting hardware, gaskets, prewired LED brake lights and a wire harness to connect your S2 lights to the factory up-lifter switches. Block off plates are available if you want to run the brake light without the S2 lights. Additional gaskets and wire harness available.
- CNC Machined from billet 6061 aluminum.
- Designed and manufactured by small business in the USA.
- Uses existing bolt holes. No drilling required.
- Plug and play integration with the factory wiring for brake, running and cargo lights.
- Wire harness included.
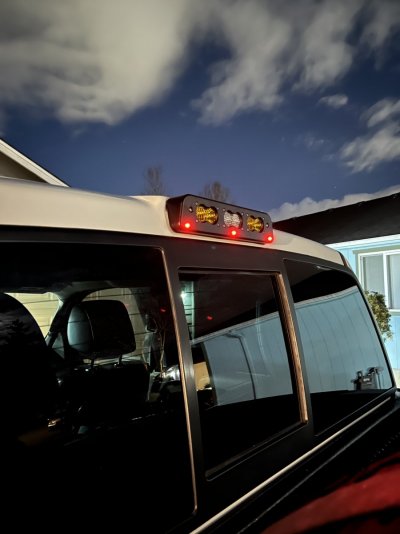
- Three 1w Red LED marker and brake lights.
- NMO Mount available. (COMING SOON)
- Flat black powder coat finish.
- Baja Designs Lights NOT included.
Installation:
Remove the OEM light and unplug the connector from under the headliner.
Plug in the new harness to the OEM connector.
Connect the red connectors from the S2 harness to the Brake Light Harness.
Install new clip nuts in factory location.
Connect the weather pack connector with the red connector to the center S2 Light. (cargo)
Connect other 2 weather pack connectors to the outside S2 lights.
Run the S2 harness along the headliner, down the cab to the passenger fuse box area and connect the colored wires to your up-lifter switch wires.
Install light with new screws.
Connect the black wire to chassis ground.
*Its recommended to add a bead of RTV silicone around the top and sides to provide additional water protection.


Last edited:

