You are using an out of date browser. It may not display this or other websites correctly.
You should upgrade or use an alternative browser.
You should upgrade or use an alternative browser.
GEN 1 My DIY Hood Vent Lighting Mod
- Thread starter Raptized
- Start date
Disclaimer: Links on this page pointing to Amazon, eBay and other sites may include affiliate code. If you click them and make a purchase, we may earn a small commission.
Stanley5280
Full Access Member
- Joined
- Sep 2, 2017
- Posts
- 14
- Reaction score
- 3
nice!!
Raptized
Full Access Member
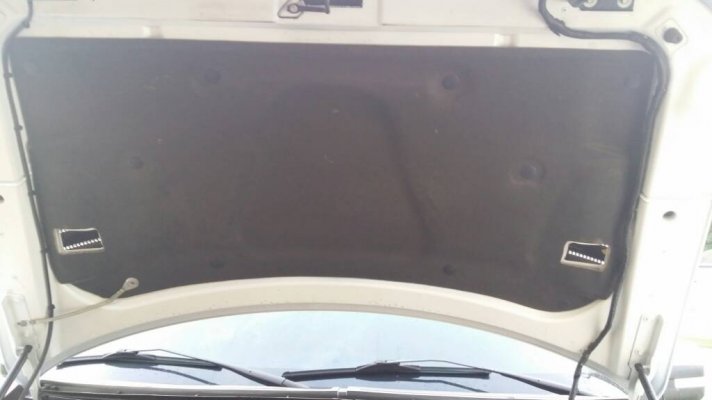
I removed the heat shield using my grommet removal tool and it was simple. I taped the metal part with duct tape, taped the metal part of a screw driver with duct tape and began prying the hood vents up after removing the 2 bolts seen in the picture.
Sent from my SAMSUNG-SM-N900A using Tapatalk
---------- Post added at 02:05 AM ---------- Previous post was at 02:04 AM ----------
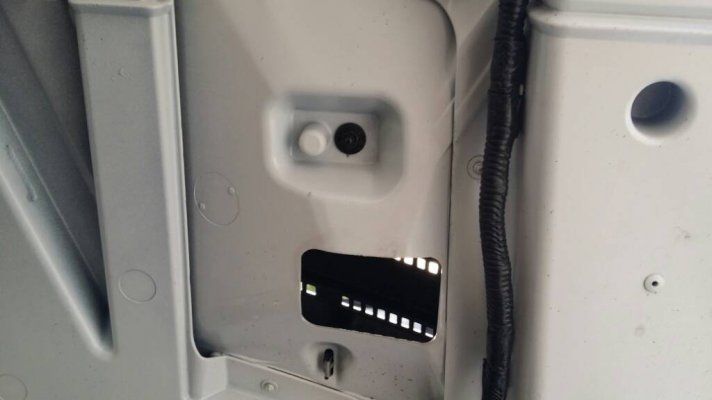
---------- Post added at 02:10 AM ---------- Previous post was at 02:05 AM ----------
I worked on the driver's side first. I started closest to the windshield. I found that they pried up very easily if prying across the hood. By this I mean prying the outer edge of the driver's side towards the middle of the hood and the middle of the hood side towards the outer side. All fasteners came up with minimal damage and we're able to be reused. The ones that were not perfect I placed in the middle of the 3 upon replacement.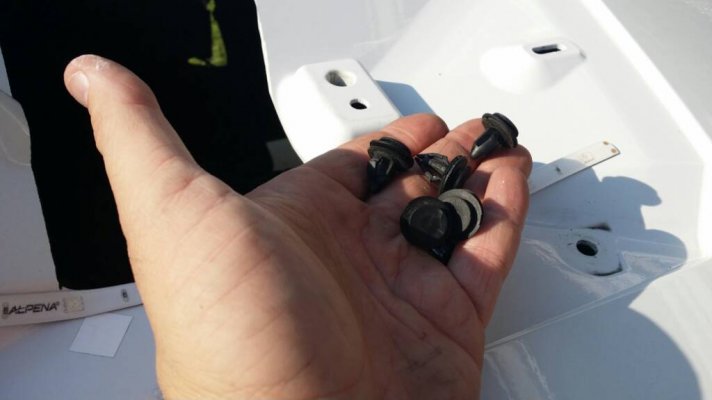
---------- Post added at 02:14 AM ---------- Previous post was at 02:10 AM ----------
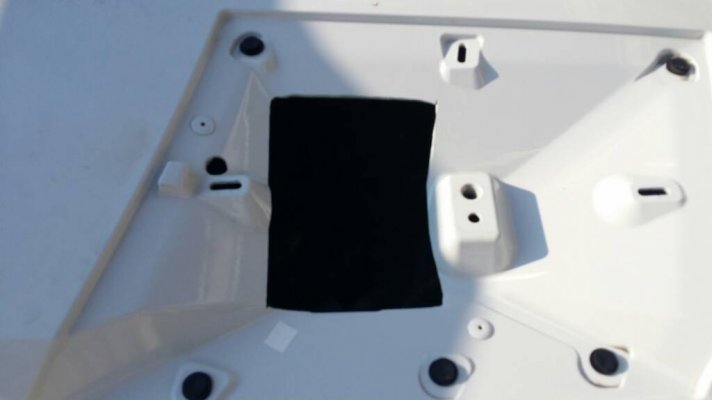
Next, I used a piece of cardboard to draw a template for the new holes. I traced them with sharpie, and cut the material using a air cut off tool. Here is the before and after.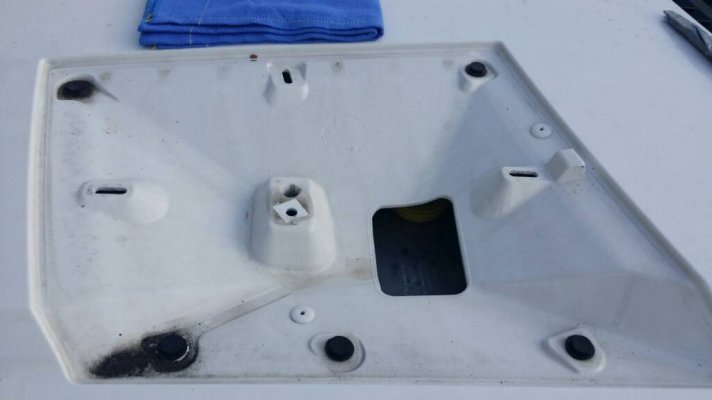
---------- Post added at 02:18 AM ---------- Previous post was at 02:14 AM ----------
I cleaned the hood vent surface thoroughly with rubbing alcohol and an old t- shirt. I figured out placement of my led lights and stuck them with the tape included. I decided to drill a hole for the wires to run through, but through some flex tubing to decrease chafing.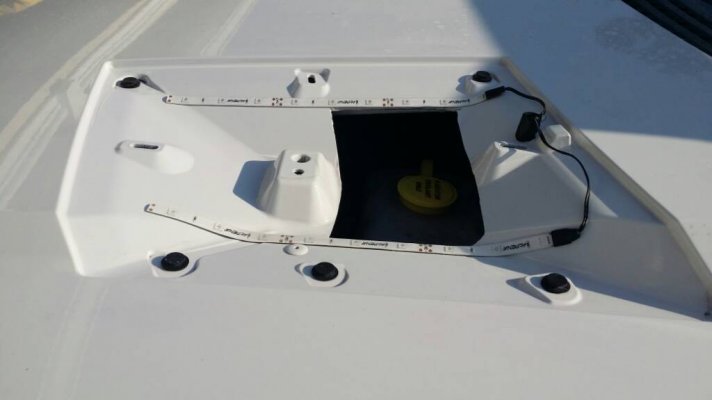
---------- Post added at 02:22 AM ---------- Previous post was at 02:18 AM ----------
Here is the completed underside. Notice the holes for the wires.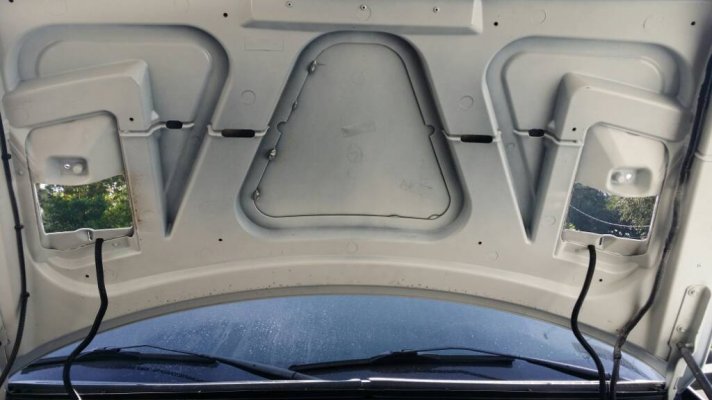
---------- Post added at 02:26 AM ---------- Previous post was at 02:22 AM ----------
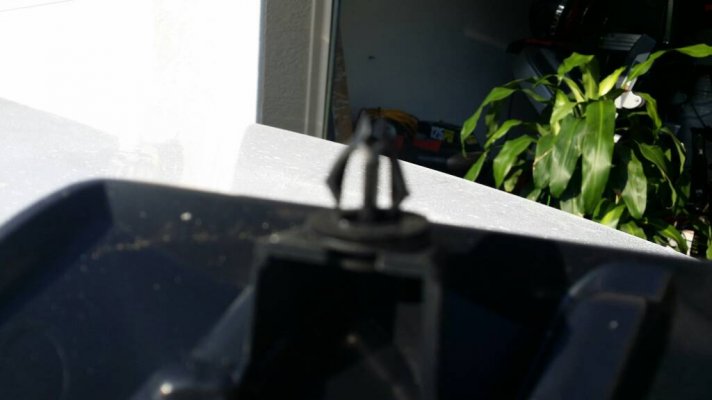
The underside of the vent. Here is a shot of the pry points and the orientation of the clips. The clips will most likely remain in the hood needing to be removed from there, placed back into the vents, then the vents could have been easily pushed back into place.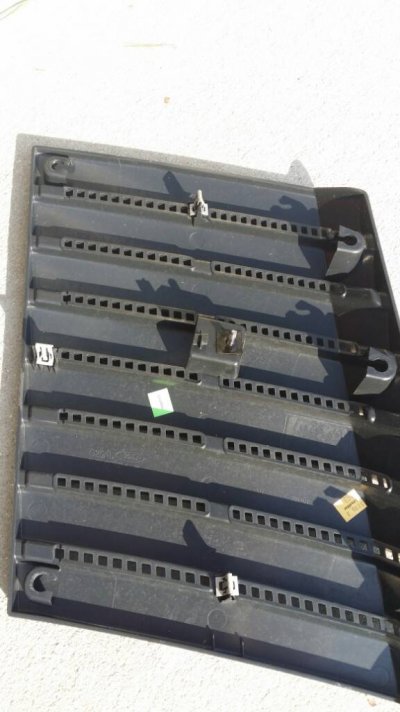
Sent from my SAMSUNG-SM-N900A using Tapatalk
---------- Post added at 02:05 AM ---------- Previous post was at 02:04 AM ----------

---------- Post added at 02:10 AM ---------- Previous post was at 02:05 AM ----------
I worked on the driver's side first. I started closest to the windshield. I found that they pried up very easily if prying across the hood. By this I mean prying the outer edge of the driver's side towards the middle of the hood and the middle of the hood side towards the outer side. All fasteners came up with minimal damage and we're able to be reused. The ones that were not perfect I placed in the middle of the 3 upon replacement.

---------- Post added at 02:14 AM ---------- Previous post was at 02:10 AM ----------
Next, I used a piece of cardboard to draw a template for the new holes. I traced them with sharpie, and cut the material using a air cut off tool. Here is the before and after.


---------- Post added at 02:18 AM ---------- Previous post was at 02:14 AM ----------
I cleaned the hood vent surface thoroughly with rubbing alcohol and an old t- shirt. I figured out placement of my led lights and stuck them with the tape included. I decided to drill a hole for the wires to run through, but through some flex tubing to decrease chafing.

---------- Post added at 02:22 AM ---------- Previous post was at 02:18 AM ----------
Here is the completed underside. Notice the holes for the wires.

---------- Post added at 02:26 AM ---------- Previous post was at 02:22 AM ----------
The underside of the vent. Here is a shot of the pry points and the orientation of the clips. The clips will most likely remain in the hood needing to be removed from there, placed back into the vents, then the vents could have been easily pushed back into place.


you may want to change the tape. the stuff thats included will deteriorate. i use the red 3m tape to tape all my lights down. doesnt come loose like the thin strip thats on the lights
Raptized
Full Access Member
After about two and a half hours I am finished as far as I can go right now. I have the wires ran under the shield and through the flex tubing to both sides to be wired congruently with the side vent lights. The hardest part for me was cutting the heat shield. I forgot to cut it when I had it off using my pattern. [emoji85] 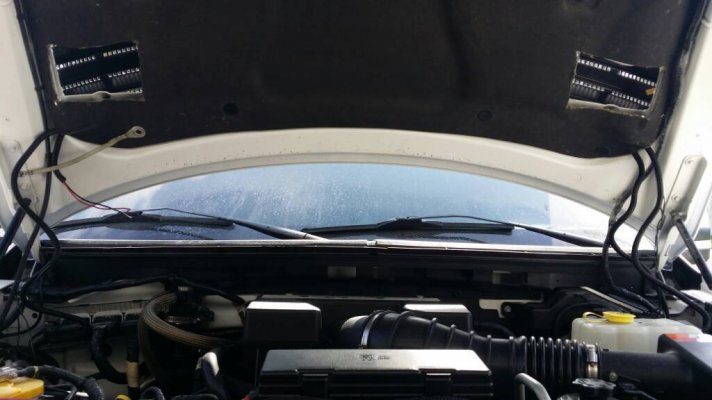
---------- Post added at 02:42 AM ---------- Previous post was at 02:35 AM ----------
Sent from my SAMSUNG-SM-N900A using Tapatalk

---------- Post added at 02:42 AM ---------- Previous post was at 02:35 AM ----------
Oops! I forgot to mention I removed the cheap stuff and swapped it for the red 3m double sided tape. I also didn't get a picture of the clear silicon I applied to both ends for that extra grip.you may want to change the tape. the stuff thats included will deteriorate. i use the red 3m tape to tape all my lights down. doesnt come loose like the thin strip thats on the lights
Sent from my SAMSUNG-SM-N900A using Tapatalk
Raptized
Full Access Member
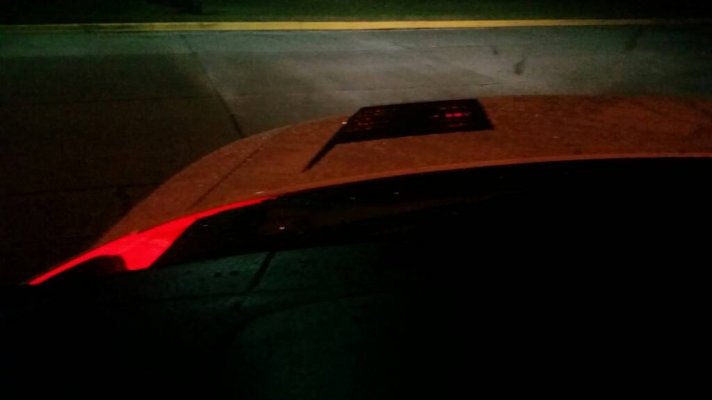
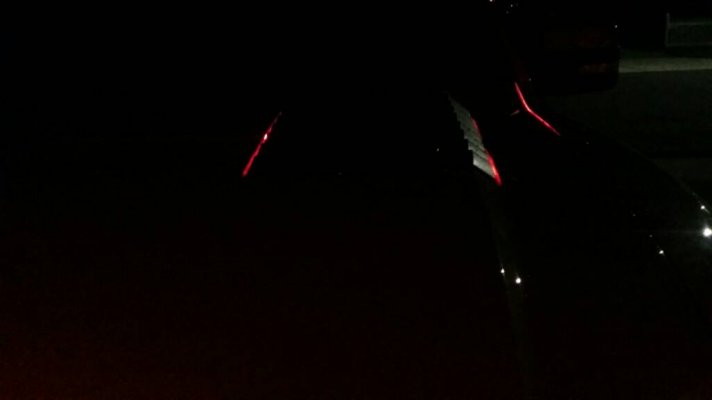
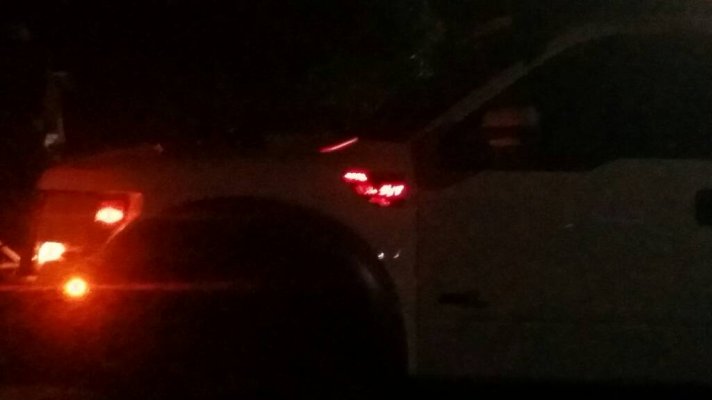
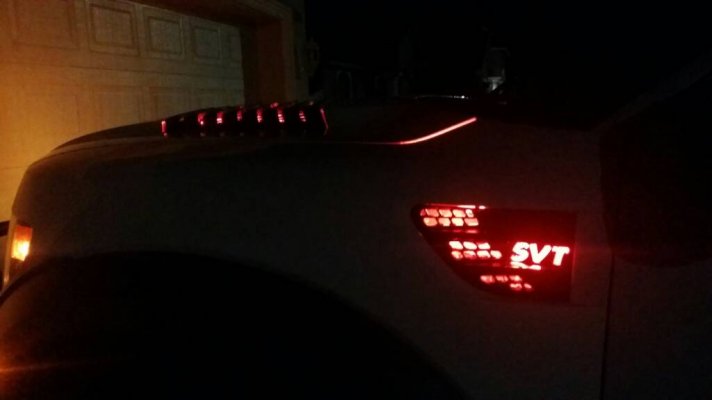
Mod completed. I have an over flow of light coming out from beside the hood. It is coming from the lights in the side vents. I want to try to eliminate this but maintain airflow through the side vents. What are your thoughts? 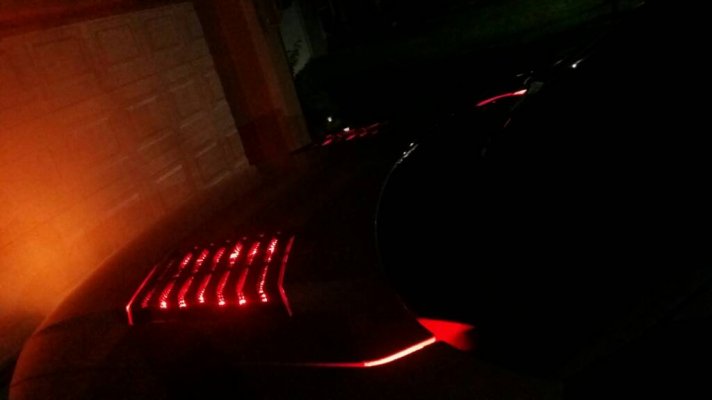
---------- Post added at 09:59 PM ---------- Previous post was at 09:56 PM ----------
More pics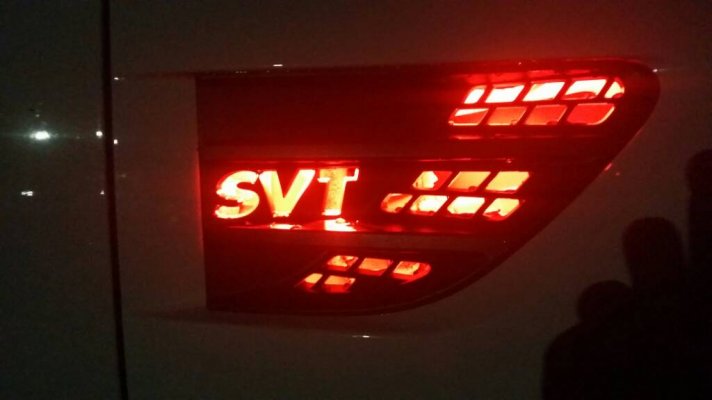


---------- Post added at 09:59 PM ---------- Previous post was at 09:56 PM ----------
More pics


KRoyal
Full Access Member
Really like that. I'll put it on my list, just got mine Saturday so might be a bit but really like this mod.
Similar threads
- Replies
- 7
- Views
- 3K
- Replies
- 2
- Views
- 2K
- Replies
- 4
- Views
- 466
- Replies
- 25
- Views
- 2K
Members online
- Bubbasuwannee
- FP Forged
- Swacer_2
- grussell
- Muchmore
- Raptorbert
- HTXRapt0r
- Booboo
- mdamon
- EZDA45
- HORN HIGH ACES
- Ach24RR
- Ken4570
- HookEm10
- jmass03
- RaptorDrew
- butts182
- Studer12
- Sozzy12
- tcm glx
- tabvette
- Arrow1
- CoolrainRaptor
- OCGen3
- JeepSRT8
- CADIMAX
- MurderedOutSVT
- Crywolf4
- WatFam
- Andrewalker7
- Bishene
- Dan H
- Tonybfast
- 06z
- Kelevra507
- TENbarrel85
- EricM
- Anas
- NickyF25
- Jred2255
- 1SOLO1
- Mad Zeus
- Keith88
- stevenstommyboy1
- DaveInMn
- GCATX
- Shane361
- CecilK12
- james9
- Reedy
Total: 7,749 (members: 67, guests: 7,682)


