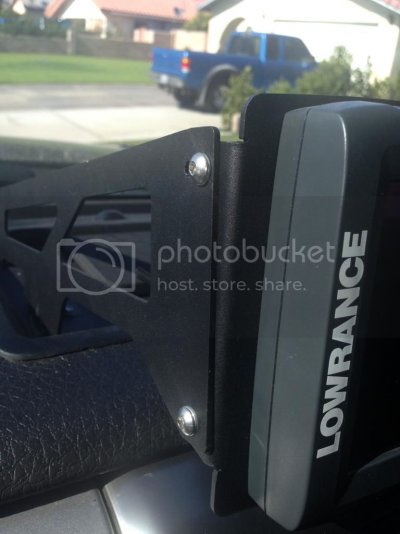
9) knockoff 20 inch LED lightbar
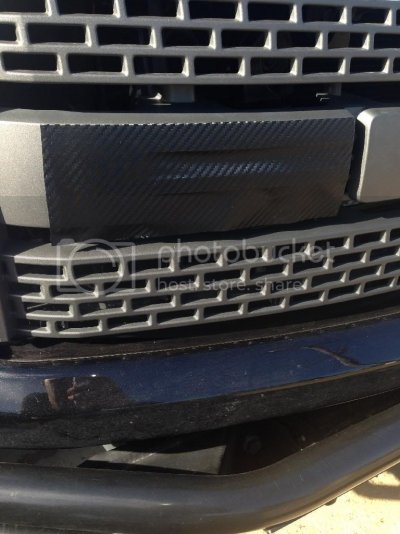
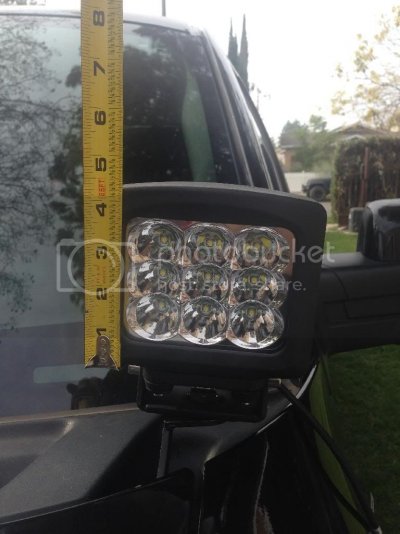
So after seeing Infinaterealitys thread of a 30 incher and some 2x2, I decided to give it a go. I payed $126 shipped for a generic 20 inch led light bar. The description says its 120 watts, 9,000 lumens. It "should" fit nicely in the brackets welded in my bumper, behind the skid plate. I payed for it Sunday, it arrived Thursday, I installed it Friday.
It comes disassembled. The bar is assembled but the brackets aren't assembled. It comes with two different sets of screws. One long, the other short. Also came with washers and locker washers.
So first things first....this bar is SLIGHTLY wider then the tabs so I had to hammer the tabs out ever so slightly.
Slide the lock washer first then the regular washer down the short screw. Thread the screw half way into the hole. Obvious. Repeat same thing for other side.
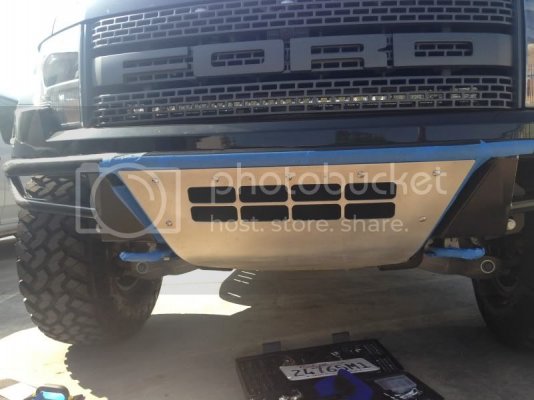
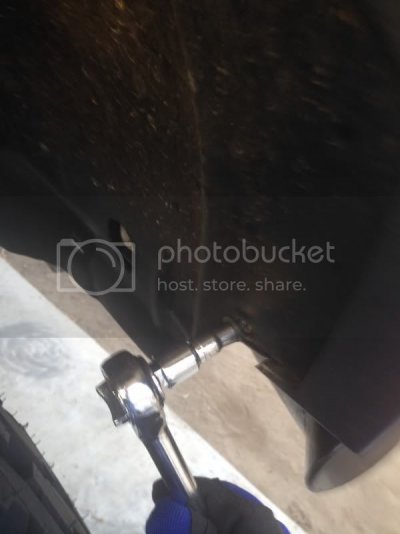
I removed my skid plate for easy access. The actual mounts are welded on the bumper. I have an air gun with an Allen wrench adapter.
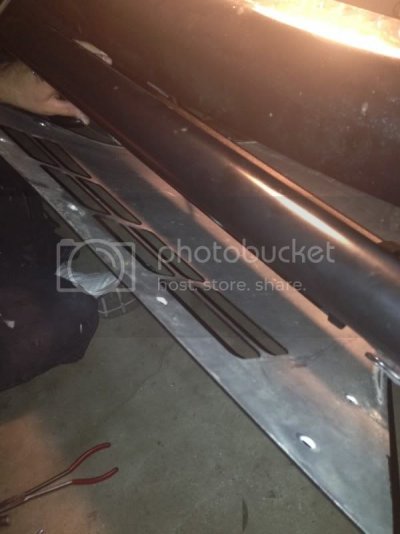
Once both sides are screwed in half way, gentle slide it on to the tabs and maneuver it into place. Then, using an Allen wrench that's provided, tighten each side until almost completely tight. Then position the light to your liking.
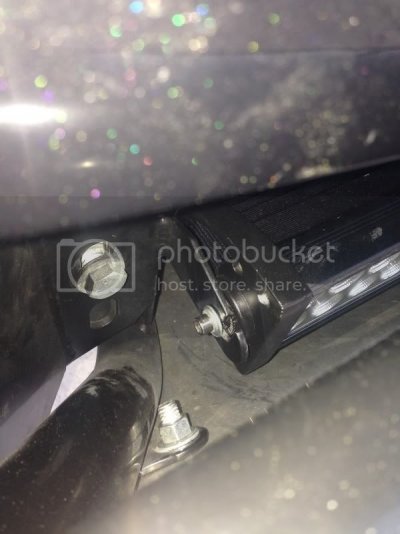
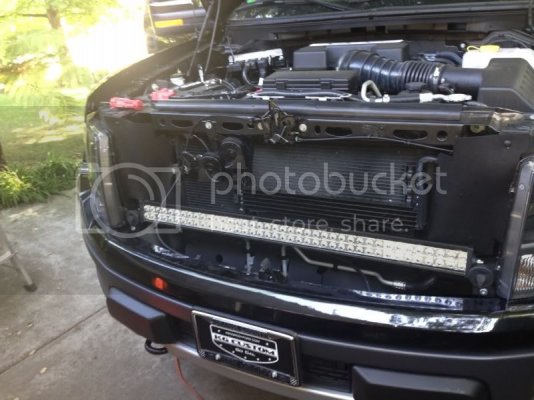
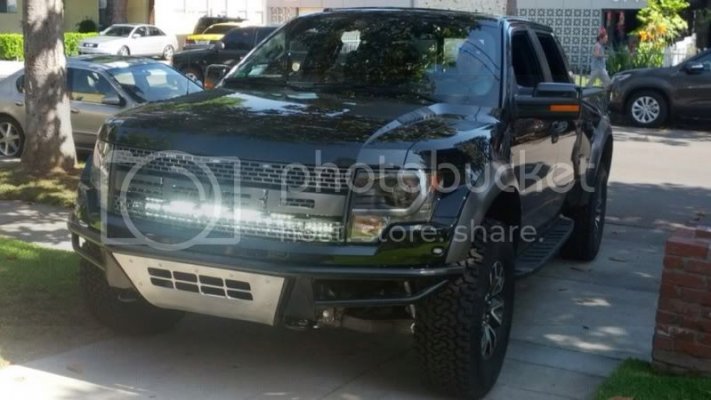
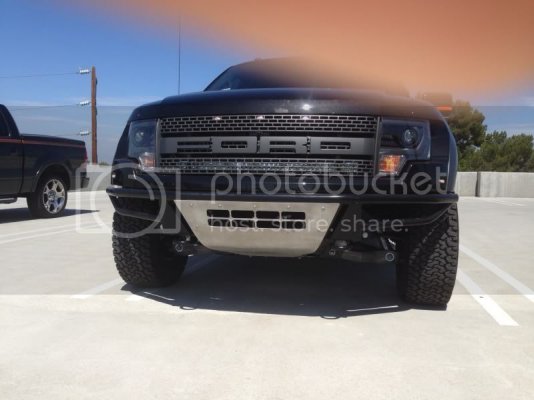
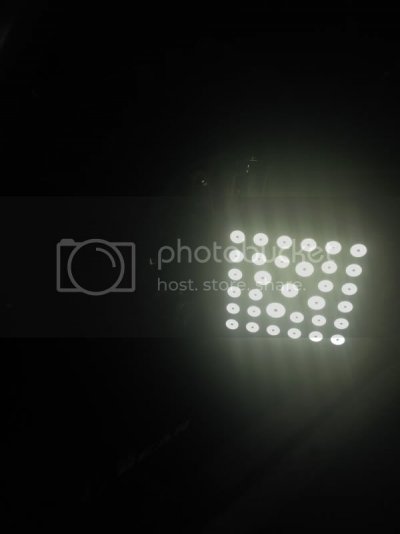
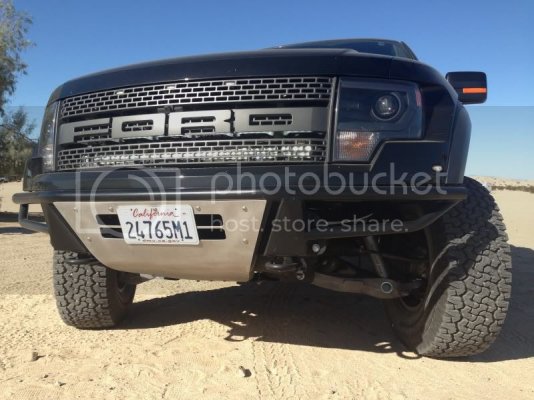
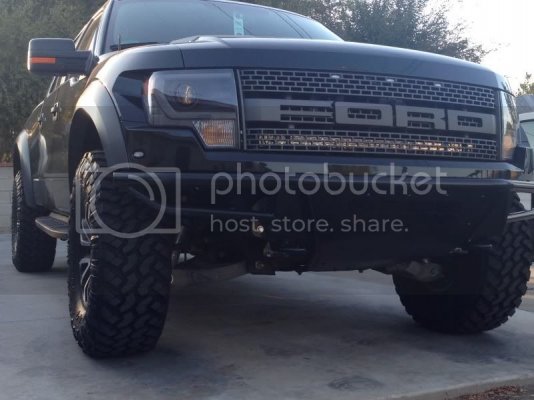
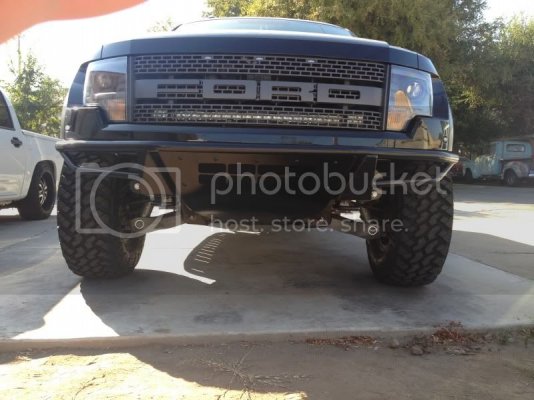
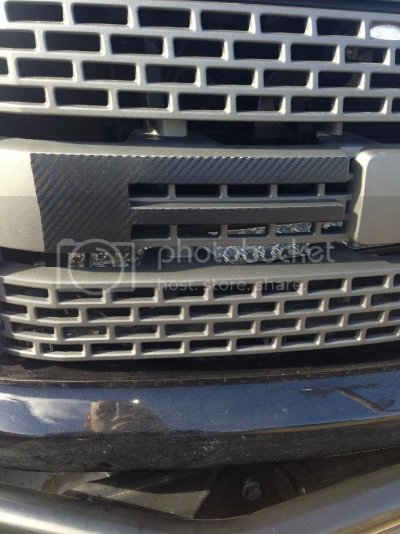
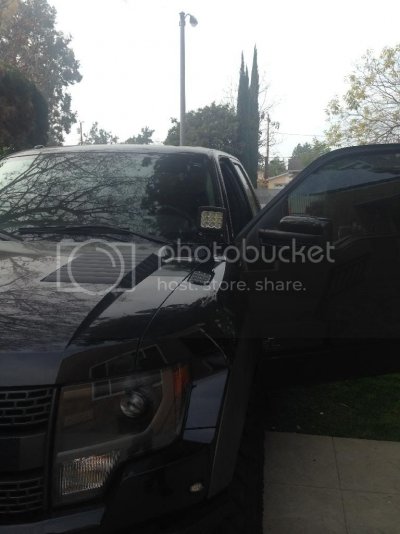
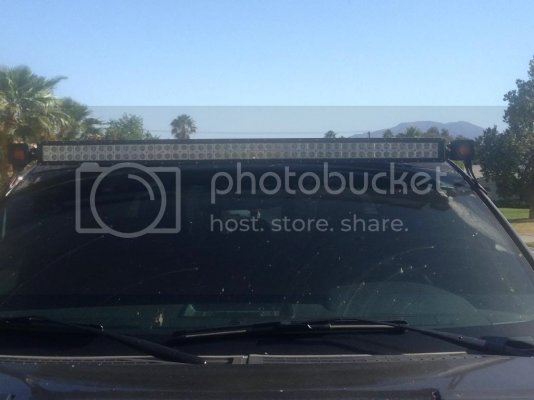
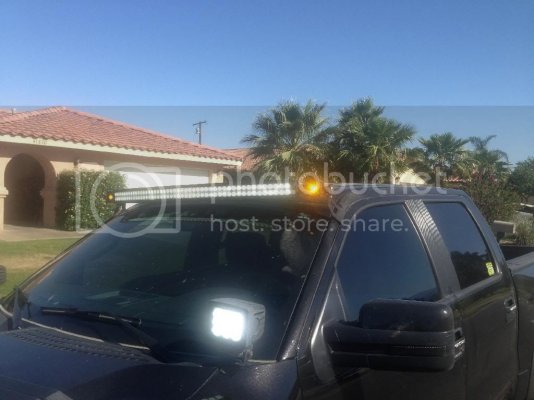
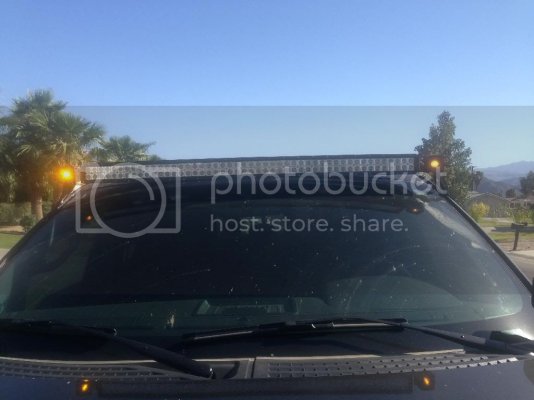
Here's a pic of it mounted below my M&R 40 inch. Both lights are off.
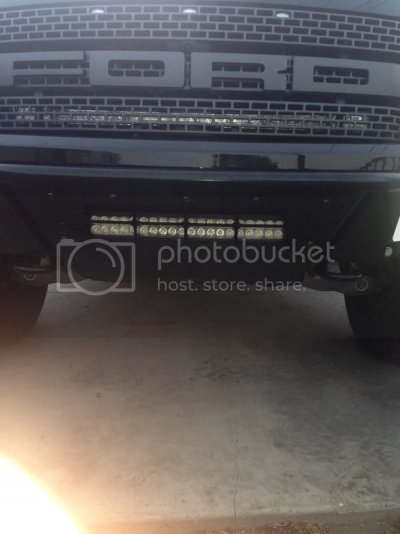
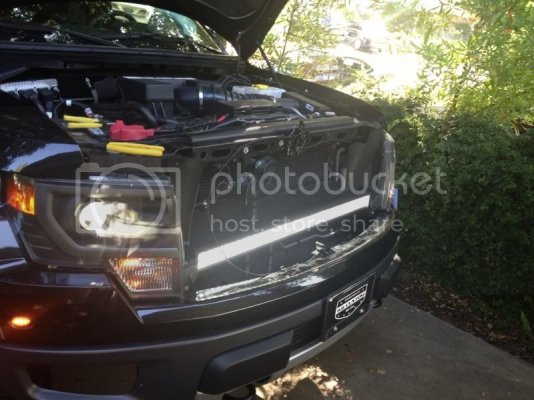
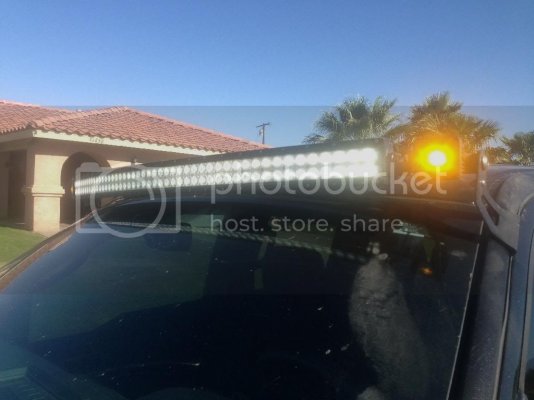
Here's a pick of both lights on during the day. 20inch is in the skid plate. It's whiter and seems brighter. Listed at 9,000 lumens compared to my 15,000 lumen M&R
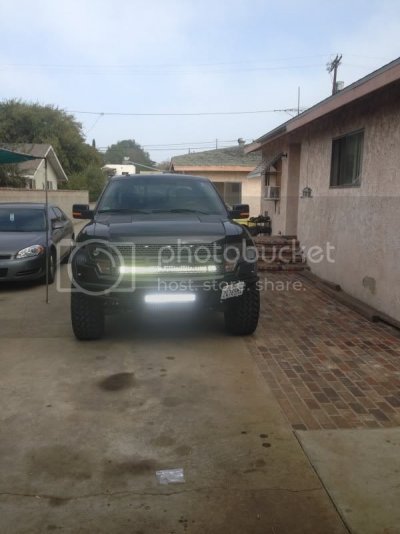
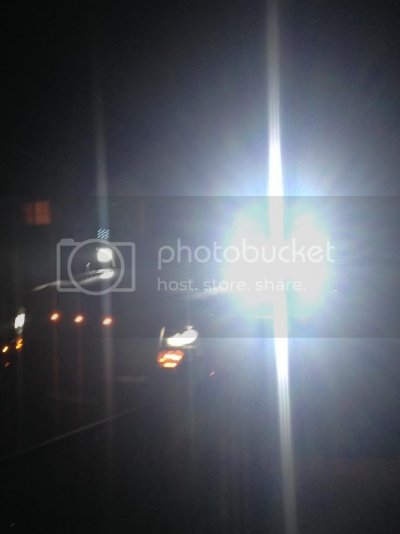
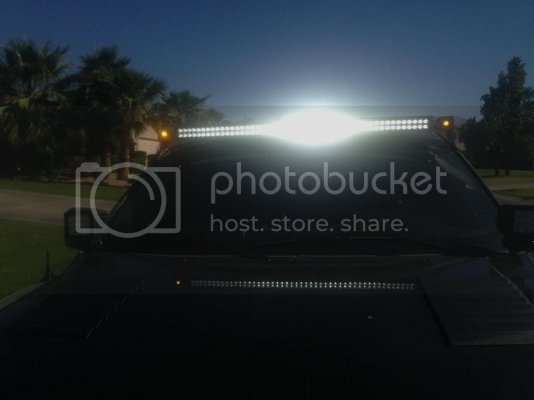
Here's both lights on. My iPhone isn't a $2000 camera so just be happy with this.
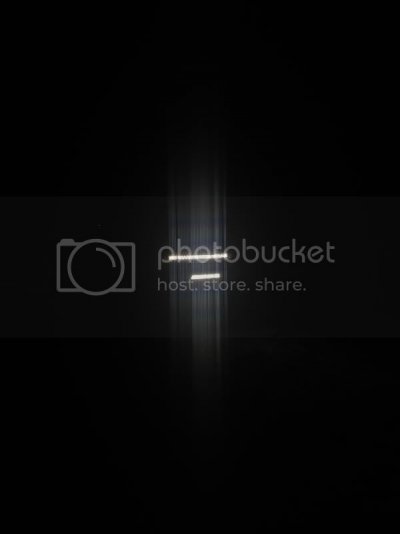
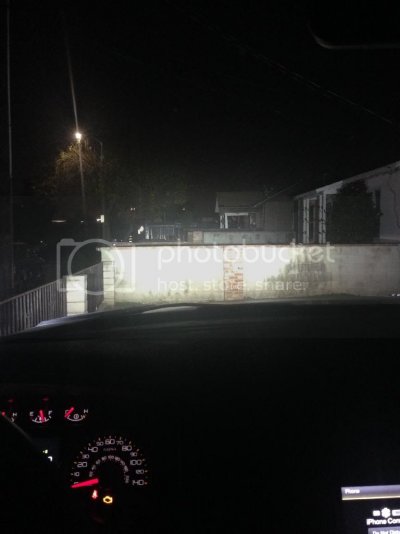
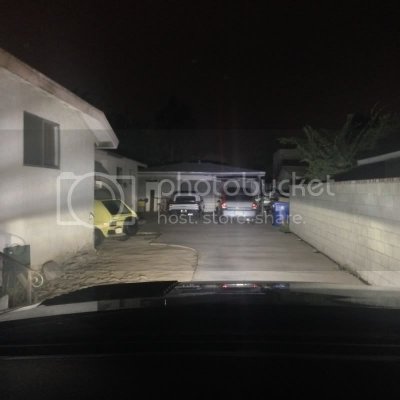
Here's my truck looking down my driveway. I'd say 25-30 yards to my garage. Notice my surroundings and trees above and behind my garage.
Here is just my stock HIDs
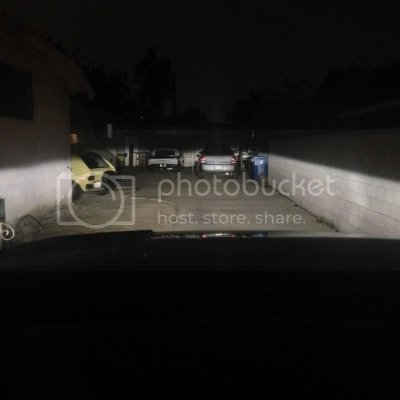
Here is my HIDs plus my 40inch M&R. BIG DIFFERENCE!!!
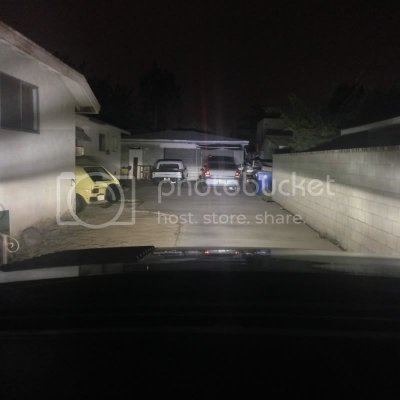
Here's my HID plus my 40 inch M&R plus my new 20 inch generic bar. Notice the extra light on the wall on the right and the house on the left
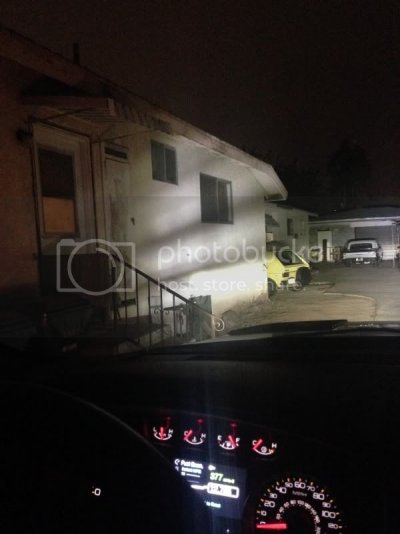
Here's the side of the house with my HIDs and 40 incher. Notice the shadows, windows, and door.
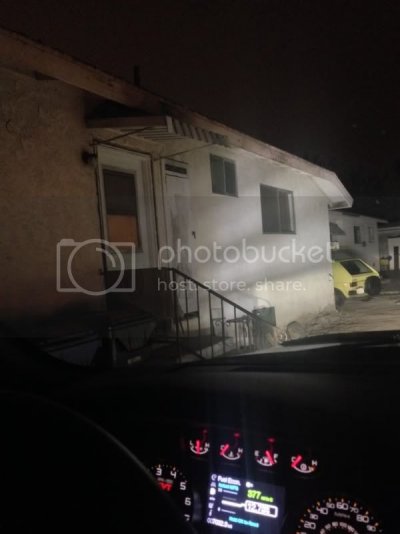
Here's the same angle but with my 20 inch generic bar added to my HIDs and 40 incher. Notice how much lighter the shadows are but the doors and windows are also more illuminated.
FINAL REVIEW: installation wasn't a breeze. The bar is a tad too wide but we were able to hammer the tabs back a bit. Once it was on the tabs, ******** it in was easy but long. It's a tough squeeze...too tight for power tools. But it's a doable job by hand. I purchased this bar for $126 total including shipping. The output vs value is phenomenal and if you've got the tools and the patience to deal with it, they are definitely worth it!!!! My cell phone pictures don't do it justice. The 20 inch generic bar would be good as a primary off road light but it is GREAT as a secondary or complimentary off road light. Excellent purchase.
10) Icom F5021 with permanent mount antenna install
so any time you go on an "official" Raptor run(Snoball, Havoc, TRR, etc) you are pretty much dead in the water unless you have a VHF radio. a popular choice is the Icom f5021. simple and easy to use. as a rookie, i went to a ham radio store and they ripped me a new *******. they wouldnt help me because i didnt have a "callsign" and wasnt licensed. they had this exclusive attitude. so you know what? **** YOU!!! i bought it off the internet and it was cheaper!!! i also got a 50 inch Larsen half wave antenna with a NMO mount. i got the standard 17 feet of coax cable that runs from the antenna to the radio. i also got a rain cap that can be used to cap the antenna mount when not off roading(ex, daily driving use).
lets get started.
first thing to do is remove the two screws hoklding the rear brake light in place. then just gently remove the brake light and let it hang but the connections. itll be fine.(thats my GFs yummy ass in the reflection)
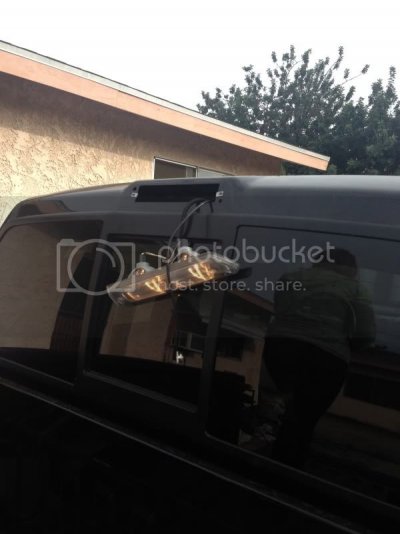
next, gently pull back the headliner until you can sneak a peek at the brake light opening. once you can see it, thead the coax cable through the brake light opening.
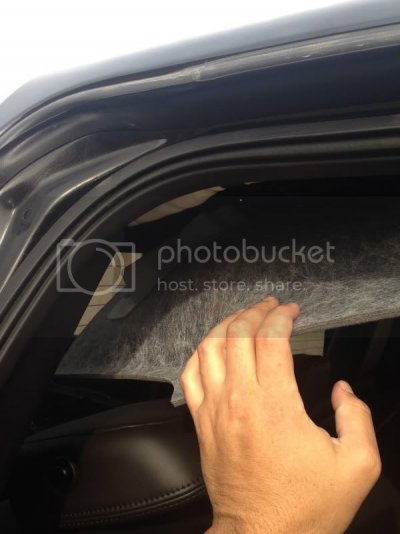
now push the cable all the way to the back of the roof to where it meets the back window. the cable cleanly tucks away into the back side panel all the way down. just finger tuck it in as much as you can. its not gonna pop out.
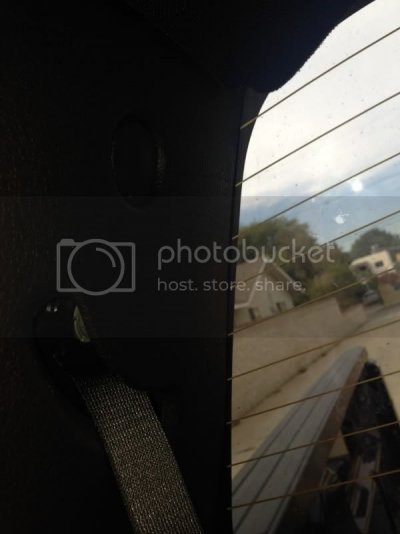
heres the wire peeking out behind the back seat. i purposely took the picture with the wire exposed so youll know where to tuck it. so tuck it in down the panel and make your way to the floor.
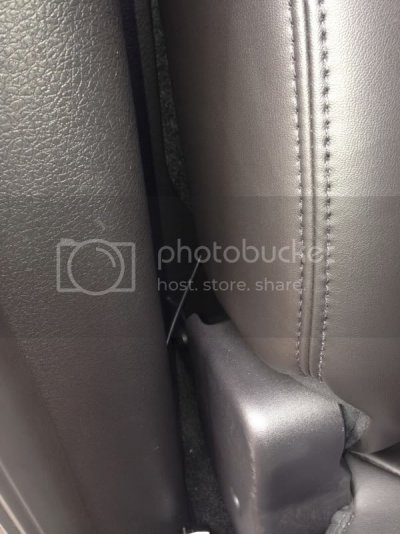
heres the cable peeking out of the back and front door sills(pictures were taken with wire out on purpose). continue to tuck wire under door sill and carpet. you will be fine. its easy.
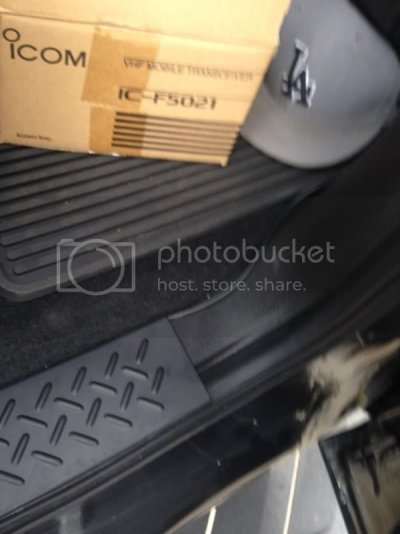
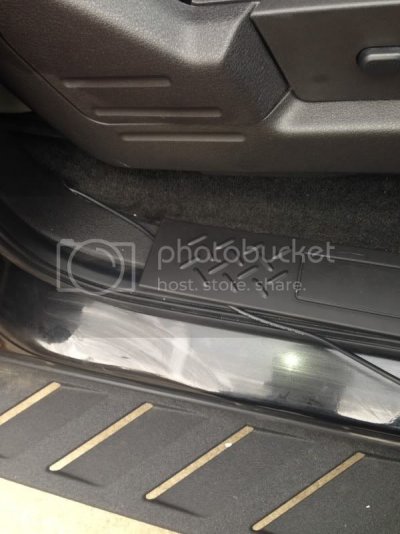
the front door sill(just like the back) pops off completely. its held in by clips(which ive broke but that just gave me an excuse to get the recon illuminated door sill LOL). completely remove the door sill and left up the carpet. run the coax cable across, under the carpet towards the center console.
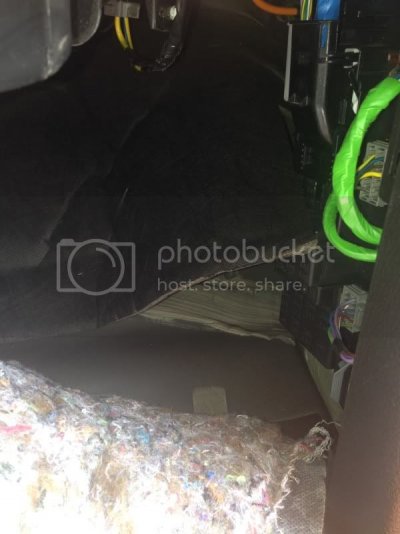
now heres where im gonna get a lot of heat from people but i really dont care. i cut a small hole in the carpet to pull the coax cable through. dont like it? drill a hole in your center console. either way youre gonna need to either cut or drill. i just tore up the carpet...just like i do in real life LOL
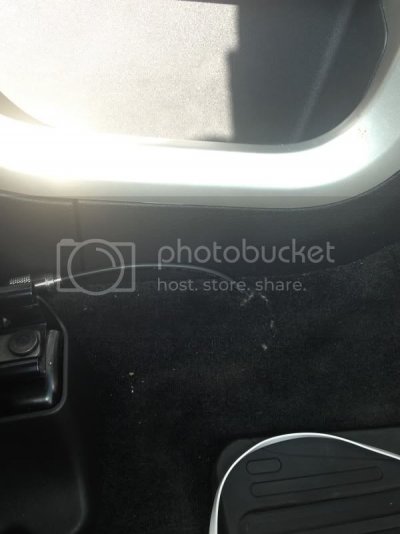
GREAT!!!!! the coax/antenna cable is in. now lets mount the antenna.
going back to the first picture of the opened third brake light, we find the perfect mounting area for our antenna. unfortunately i couldnt take pictures while drilling the hole but i made a 3/4 inch hole, 2 inches from the brake light, slightly off center(i wanted my antenna to have some personality).
its literally that easy. i understand some of you may be uneasy about drilling in to your roof, but have confidence. there is no wiring back here and its relatively thin.
heres a picture of the ACTUAL rear end of the coax cable where the antenna attaches to. once i tightened the ring that keeps the antenna in place, i applied a thin layer of black sealant just for some extra protection. i didnt really care what it looked like because whos gonna be inspecting the roof of my truck for sealant residue??
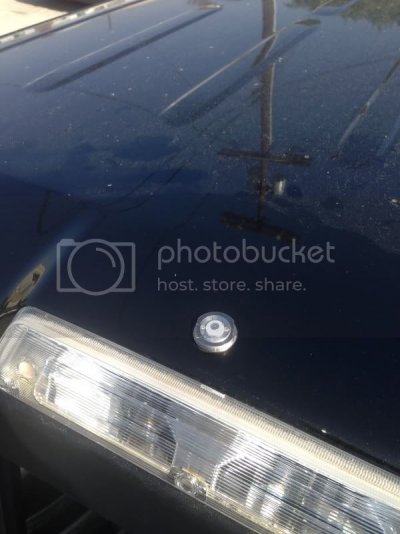
heres a picture of my Larsen antenna mount with the antenna in it. you have to open the mount with a tiny allen wrench(supplied) and slide the antenna in then lock the screws with said allen wrench.
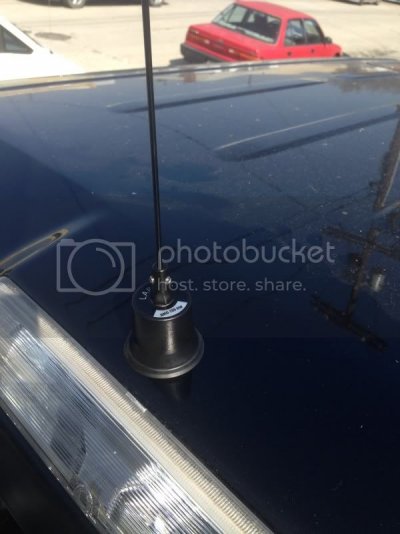
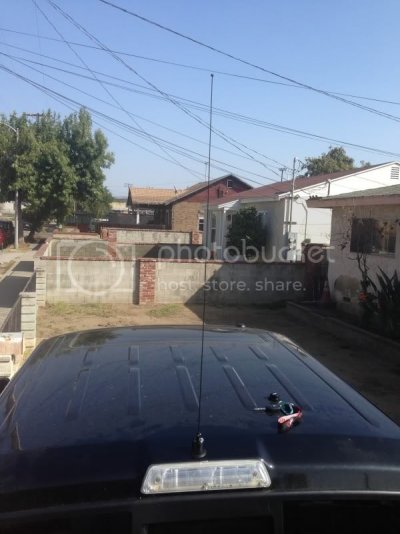
heres the full antenna(wires in the background are 20ft high. dont worry)
and here is the raincap/cover that is used when the antenna is not on. this will be kept on for my daily driving. it protects the pieces of the coax cable mount that accepts the antenna and screws on.
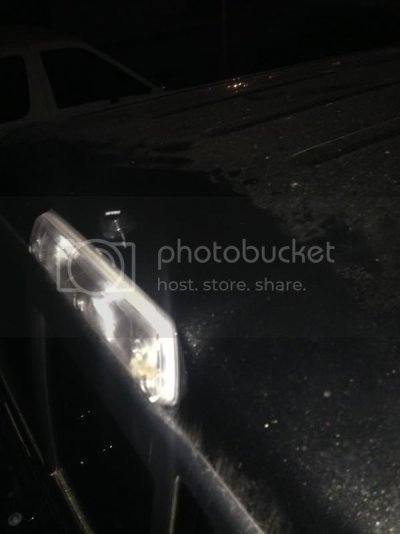
AWESOME!!!!!! now that weve got the coax cable ran and the antenna mounted, lets run the power cable!!!
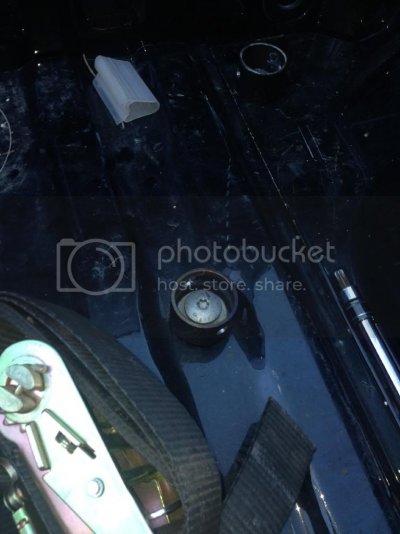
pop the hood and look to the fuse box in the back left corner. just under that is a rubber plug. what a coincidence...i took a picture of it.
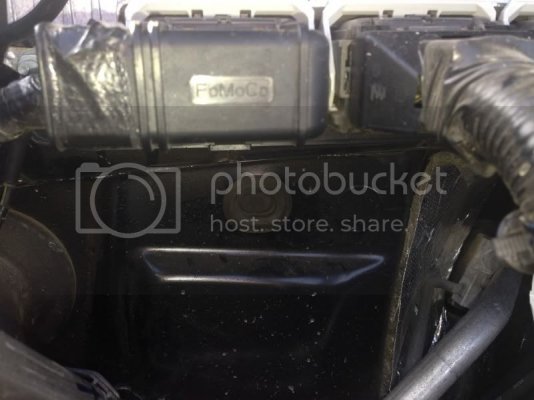
now comes for the hardest part of the install!!!! remove the rubber plug. it took me 7 beers to work up the confidence to do it, but i did. i manned up and pulled it out!!! behind it is the firewall.
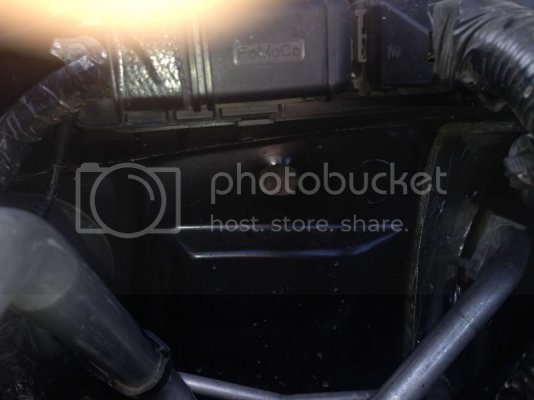
i tried and tried and tried and tried and tried and had no success. i was in constant communication with SVTdon and still couldnt get it(like hes any help LOL). so i finally said **** IT!!! so i pulled back the carpet and found a spot that had to wiring or vital components on either side of the metal.
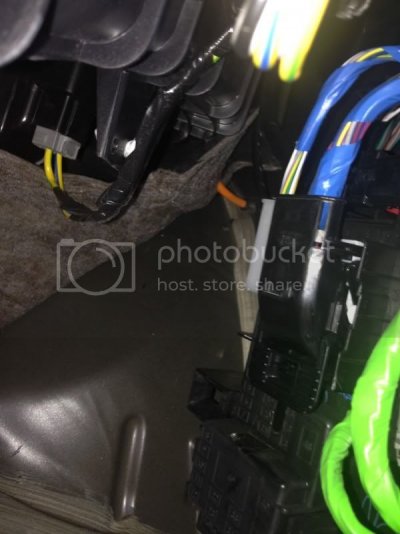
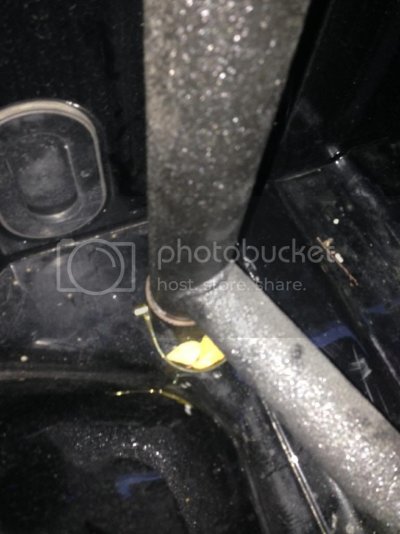
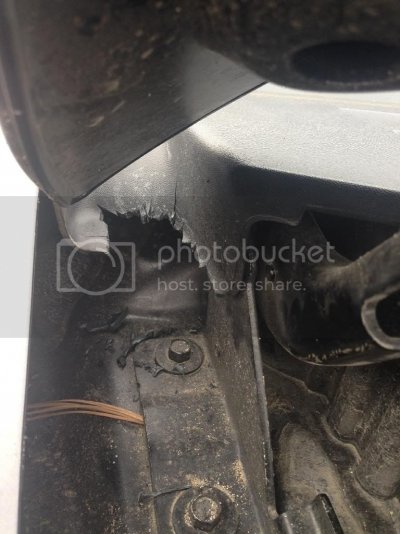
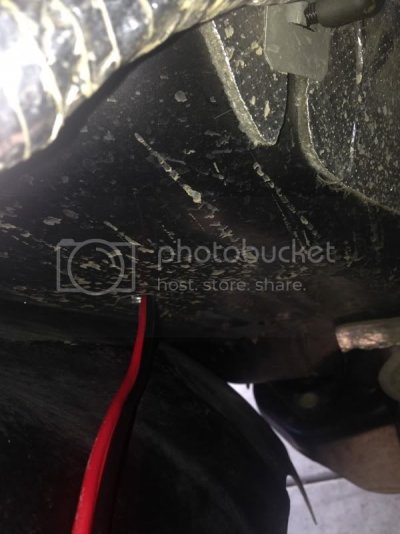
i drilled a hole using a 3/4 inch bit. i drilled the hole to give me about 3 inches of protection with the wheel well. the wheel well is relatively hard and will prevent mud, water, etc from getting in to the hole. heres the view of the hole from the engine.
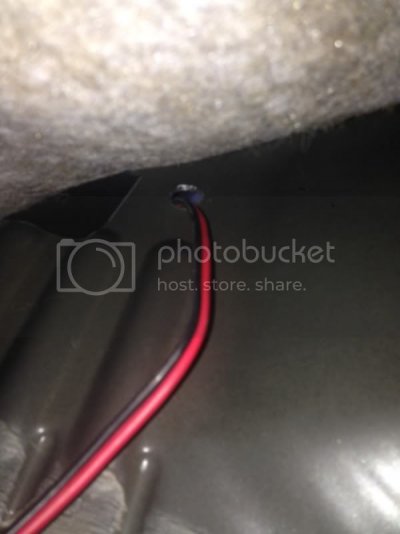
heres a view of the hole from the inside, behind the carpet and firewall.
now that youve got the hard part over with, we can connect the cables to the batter. black to black and red to red.. once youve connected it, be sure to tuck away the cable so it doesnt get chopped or burned up.you wanna have SOME slack so youre not damaging the connectors. hide the wire and feed the excess through the hole, into the cab of the truck, like so...
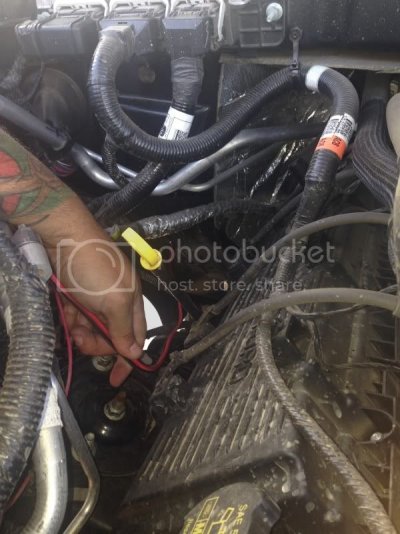
now that i have the cable inside the cab and the carpet lifted, im gonna run the power cord through the same carpet hole as the coax cable.
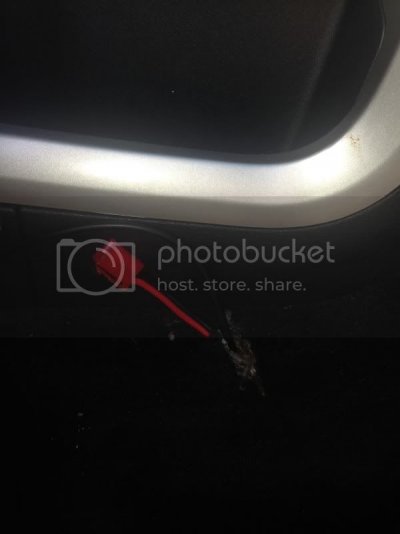
my actual radio is being programmed by Icecobra. you may have purchased your radio already programmed or have a radio that doesnt need programming. thats all good. while my unit is being programmed, lets finish this write up with the MIC MOUNT.
it is suggest to "ground" your mic mount if you plan on using your radio to "scan". however, with an f5021 Icom, we cant scan. all ofo out stations need to be programmed. so theres no need to ground it.
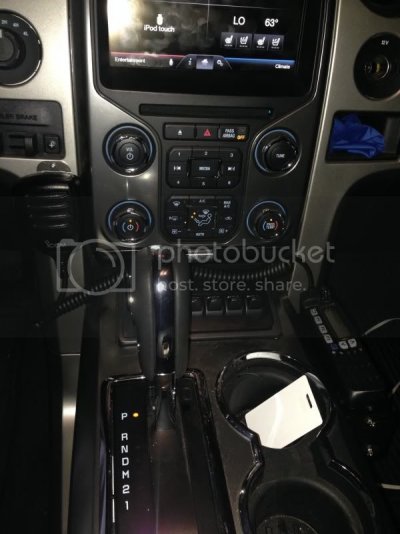
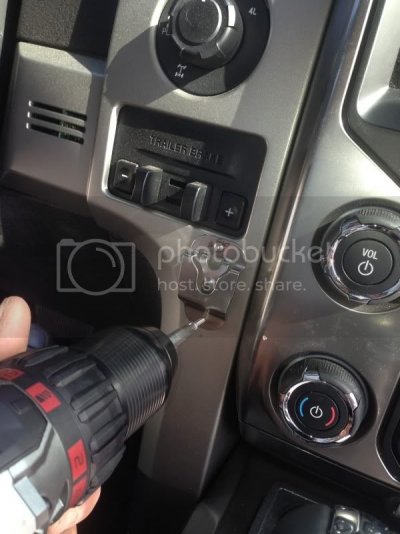
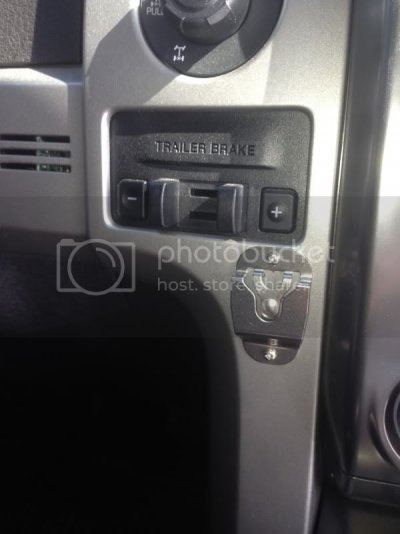
i picked the drivers side so that way, if im riding solo, i wont have to reach over to the passenger side to grab the mic. when i have a passenger and they are controlling the mic, they can just keep it in the cupholder.
here it is mounted and with the mic on it. im 6'6 and have PLENTY of leg room. this is nowhere close to hitting my knee.
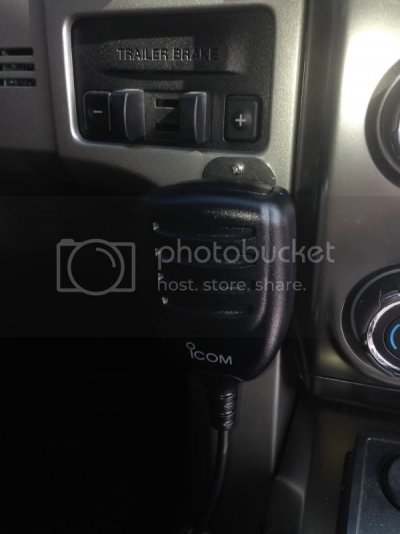
i went with the typical install that a lot of people do here. just directly mounted the bracket into the center console using a cordless drill. piece of cake
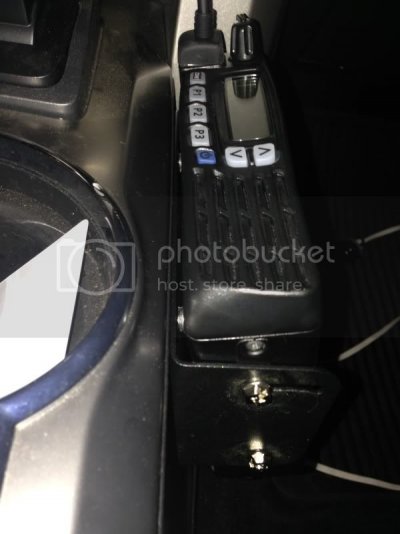
heres my full set up. thinking about adding another mic clip to the passenger side so when i have a navigator, they can manage the mic.
