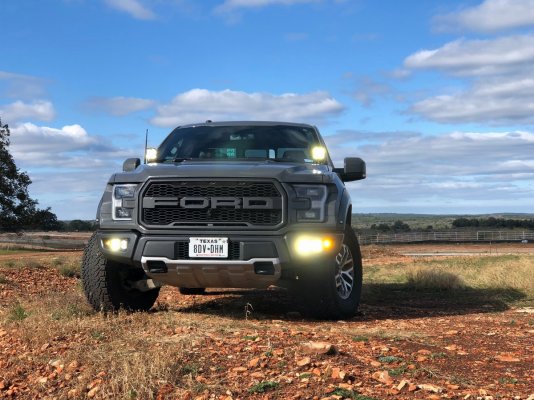
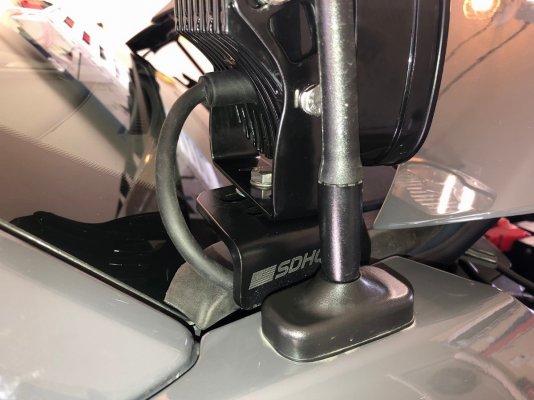
Installed my BD XL80s on SDHQ mounts yesterday, and finalized my wire routing today. Teaser pic:
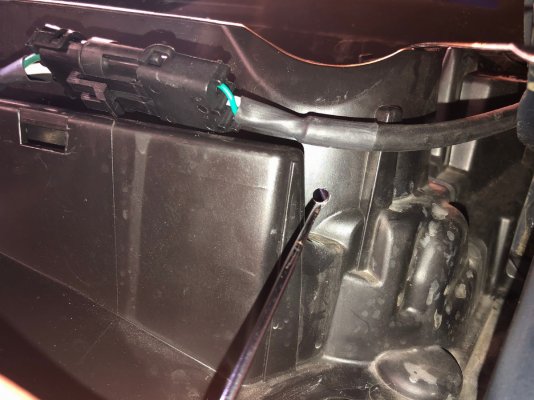
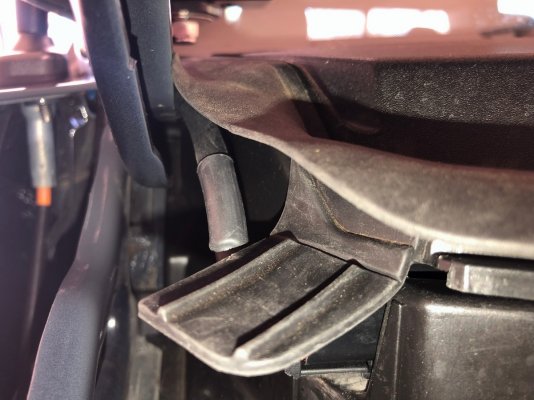
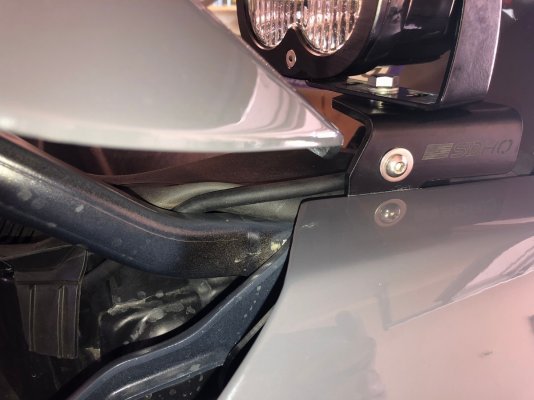
Ran the intermediate loom in the channel in front of the wiper assembly; under the top trim pieces of course. Only mod was that I drilled a small hole on the driver’s side for a zip tie to hold the loom taut...didn’t want any chance of it migrating back into the area where the wiper mechanism resides:
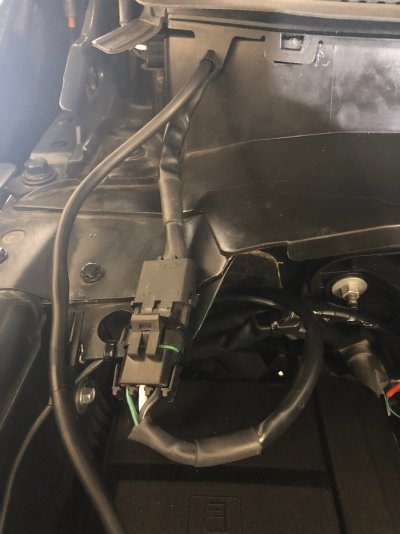
That piece of the loom just barely reaches both sides, but does allow for the part that plugs into the power/ground part of the loom to come out near the upfitter wires. The other main loom that plugs into the upfitter switch (hot side) and ground is actually about 12-18” too long for the Raptor, but there’s plenty of room between the fuse box next to the battery and the firewall to neatly loop and secure the excess.
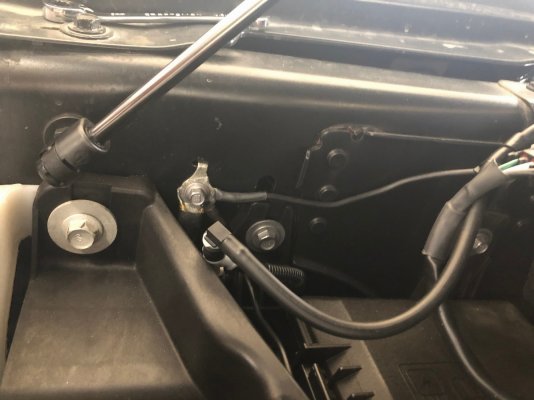
I split out the ground wire to attach it to the ground on the passenger side inner fender:
It’s the one on top...the other is from the new lights in the front bumper...will add a couple pics and commentary on that install in the FRL thread.
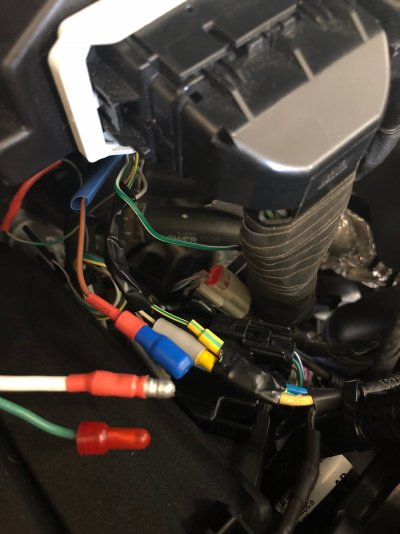
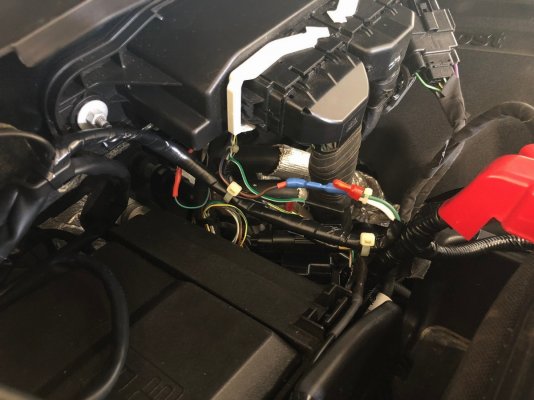
Even though the quick connect “vampire” splice that comes with the harness works fine (especially since the upfitter wire is a much smaller gauge than the BD hot wire in the provided loom), I went ahead and put on my own connectors and heat shrink:
And connected, then covered with additional (blue) heat shrink:
You can see where I cut the plastic sheathing on the BD loom with the black ground wire sticking out and looping back to the ground point at the top of this pic. I just rewrapped the loom with electrical tape from where the ground came out, back to the end of the sheathing. This pic is clearly before I looped and secured the excess wiring loom to the firewall. Also just capped off the additional/optional (green) hot wire to run the low power mode; I plan to use these lights at 100% or off.
White zip ties holding it to the other upfitter wires and the harness coming up from the front fog lights are temporary until I pick up some more split loom sheathing and stronger fiber-reinforced electrical tape...I always use white zip ties for temp jobs so I can find them easier.
Here’s how I ran the pigtail loom off the passenger side light:
And into the intermediate loom that I secured in the channel as described above:
It looks like the hood hinge hits it from that pic above, but it doesn’t:
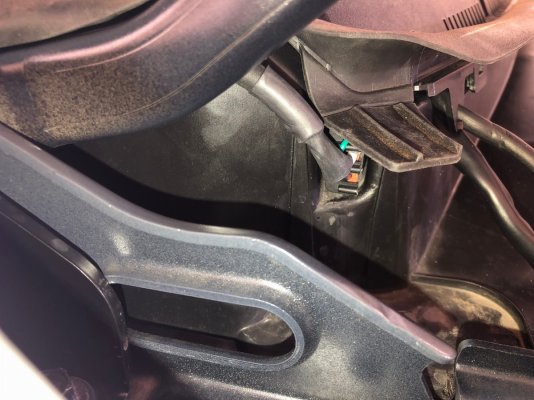
The channel is large/deep enough to hold the return wire (Y-shaped loom) that plugs into the part that hooks into the upfitter and ground. I had that piece come out under in the same place where the windshield washer fluid tubing goes up under the trim...very tight fit, but it works, and it doesn’t constrict the washer fluid tube (trim not completely back in place in this pic):
I initially had that connector higher up near the hinge, but it was touching, so I just moved it down until it didn’t hit anything when the hood was closed, and zip tied it in place. You can also see the excess loom coiled up behind the fuse box zipped to that plastic hook, and the ground wire coming in from the left (under the washer fluid tubing), zipped under the same bracket where I attached the loom connectors.
Driver’s side was much easier...I actually pulled the wire out so it runs on top of the rubber trim after this pic. It has more reach (channel is closer) and the connectors are well back inside that channel under the trim on the driver’s side:
Aimed the lights up a couple degrees from where they were last night, and will test again tonight to make any final aiming adjustments.
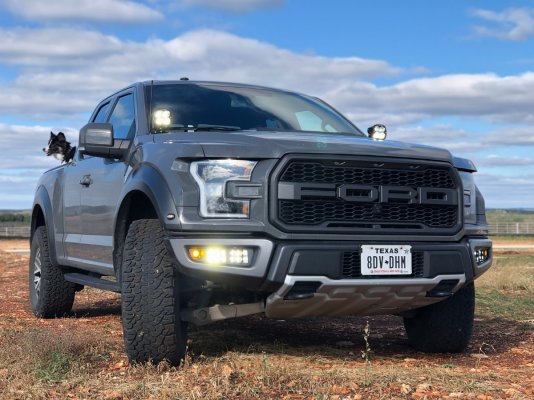
Until then:
Awesome write-up, Rob! Glad we could help get you setup with everything!


