BigJ
FRF Addict
- Joined
- Aug 5, 2010
- Posts
- 5,448
- Reaction score
- 1,560
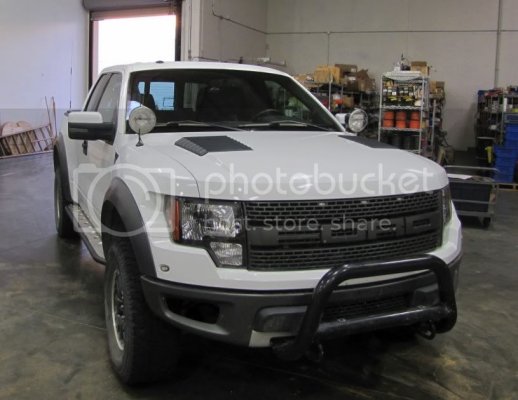
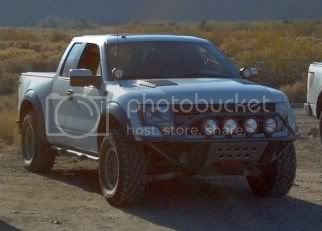
I recently spent some quality time out in Death Valley with OUTCAST and bstoner59. We did some night wheeling while there, and I was once again reminded how much I hate my light setup. I also got to see just how well bstoner's hood mount setup worked. I was blown away with how well, actually.
So when I got back I called up Connor at Outlaw Raptor and ordered a set of their "Raptor Claw" mounts.. He shipped that same day, they arrived quickly and I finally had time to install them today.
Lemme start right out by saying... this install sucks. I dunno if it really is just this hard, or if I'm enept or some combo there of. I'll tell it like it happened, and let you be the judge.
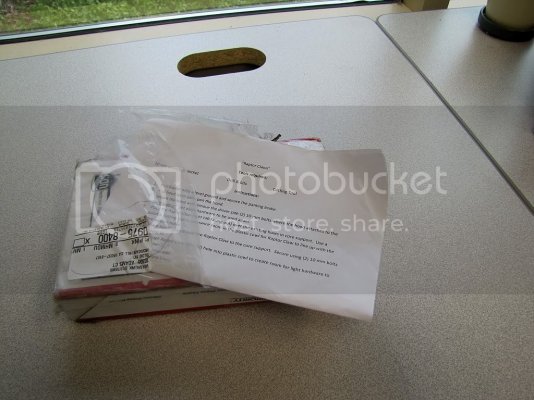
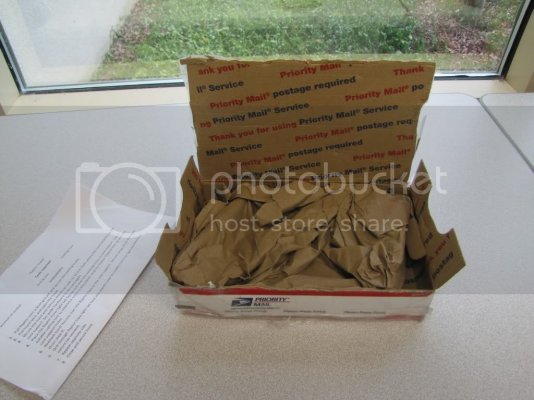
First thing to know is the install instructions come in the packing list on the outside of the box. I didn't seem them at first there, and fortunately the trash hadnt come before taking the box away.
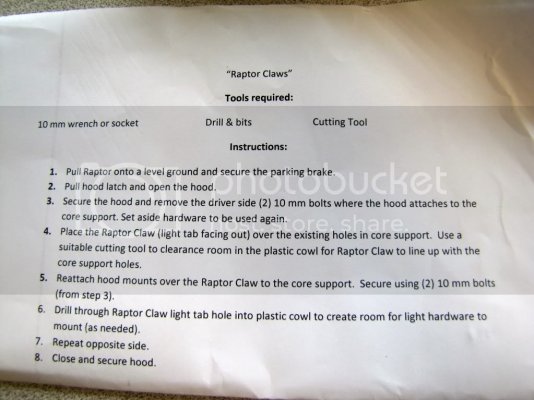
The tools I ended up needing are:
-10mm wrench
-10mm socket & ratchet
-8" socket extension
-a Dremel with fine tip sanding stone end
-tin snips
-a buddy to wrench while you, with your big muscles and good height pull and tug on the hood
-some luck
-and a flashlight
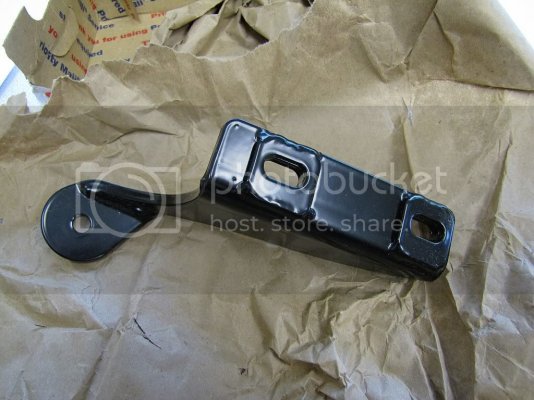
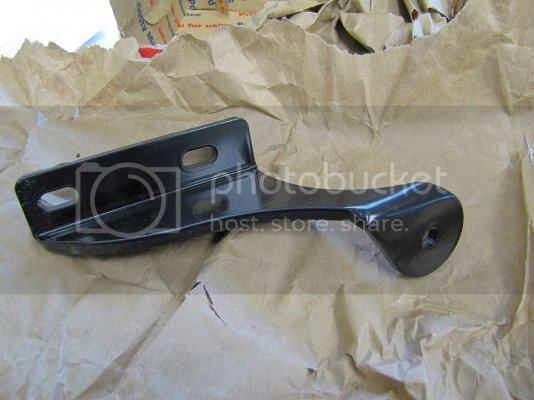
Something I loved about these mounts is that there was zero flex or jitter 'out there' in the rough stuff. And you can see why in the next few pics. These mounts are so well built they could probably support the weight of the truck!
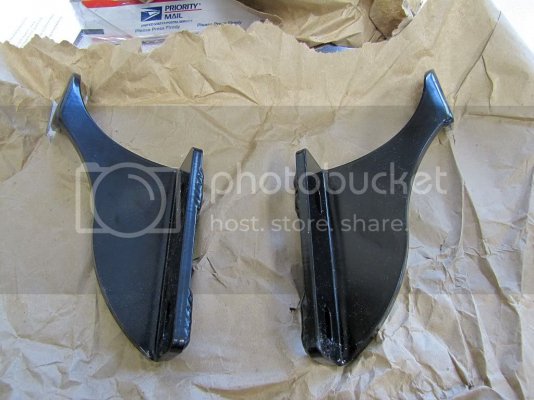
Here are some shots of lining stuff up
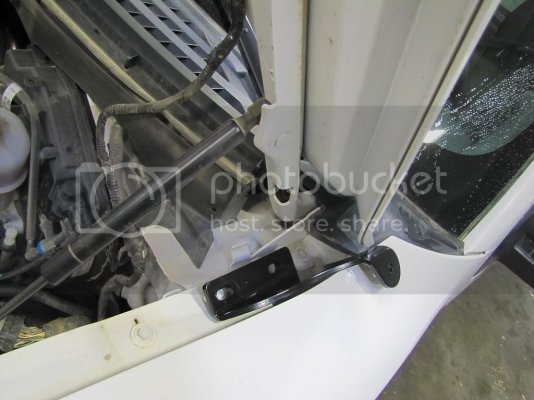
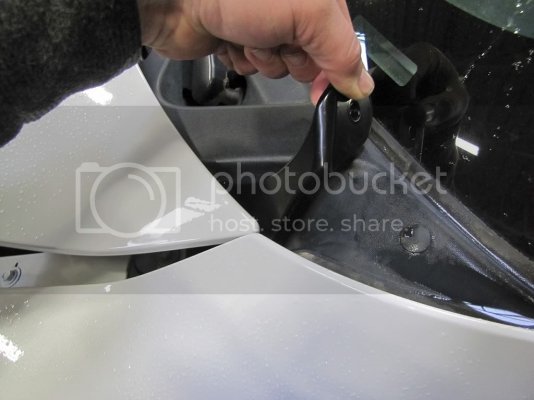
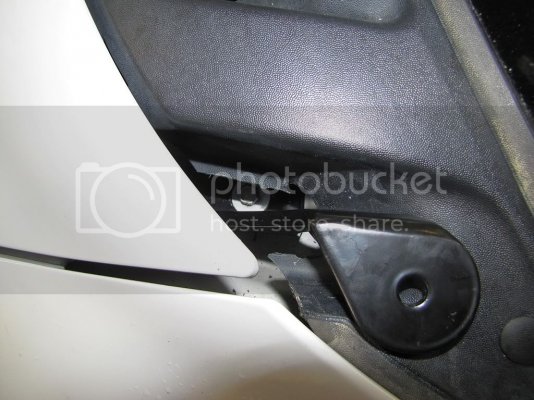
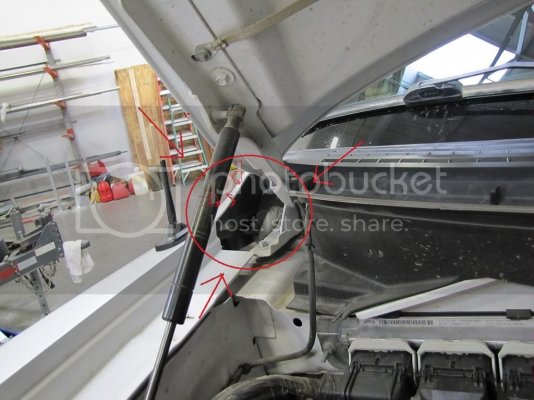
Here's where you'll need to cut. I cut a large window, basically following the detent in the plastic with my Dremel, and using the snips to make the final cuts from under the hood. Not only does a larger window provide clearance for the mount, but it also allows you to access the back bolt from the top with the hood closed.
Be careful with that Dremel! You're working in very tight quarters, and if you slip even a little bit you'll be into the paint on the edge of the hood. Ask me how I know.
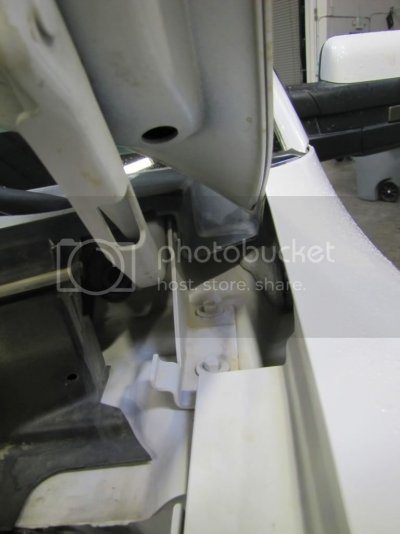
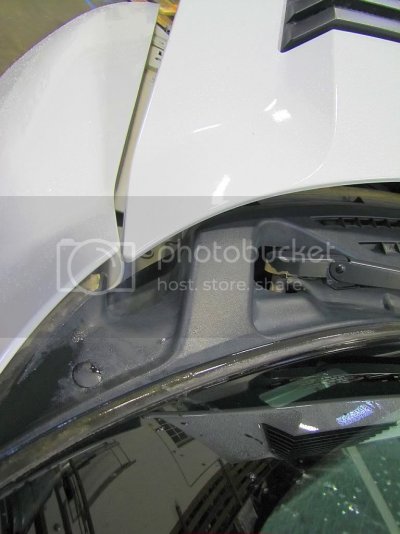
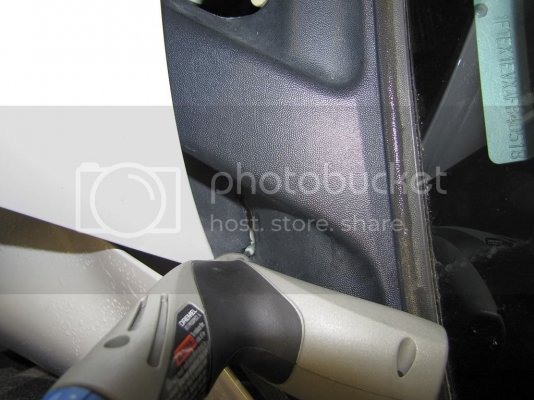
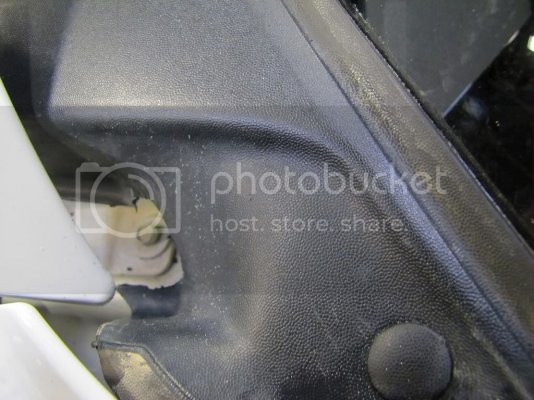
Here's the plastic I ended up removing
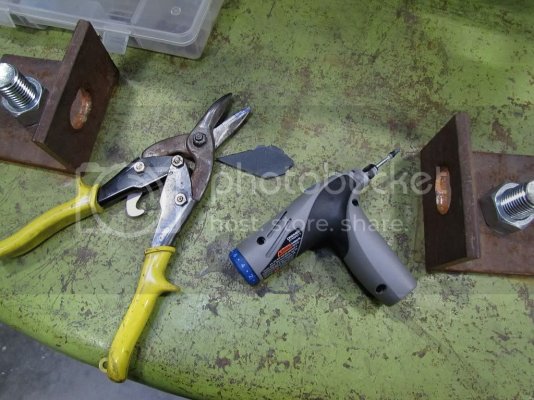
Now its a matter of removing the 2 10mm bolts holding the hood to the body.
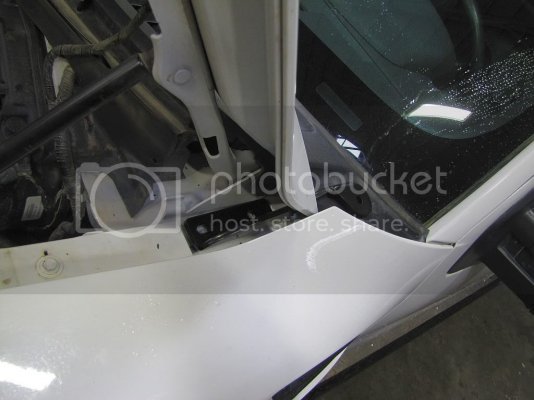
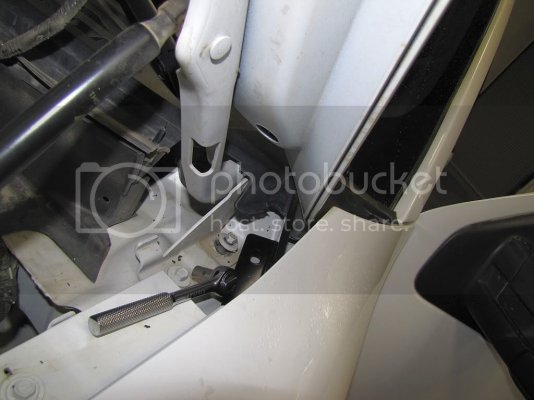
Be careful! As you go, loosen both the front and the back together. You'll see the hood start to sag as the support frees up. Have your buddy hold the hood up while you do this.
STOP READING HERE FOR A SECOND! puddle hopper's got a couple good suggestions that make this part far easier, which you can read here: http://www.fordraptorforum.com/f81/outlaw-hood-mounts-hidx-lights-alternative-off-road-10845/
Here's the passenger side, and you can see it starting to slip (see where the bolt is relative to the paint?)
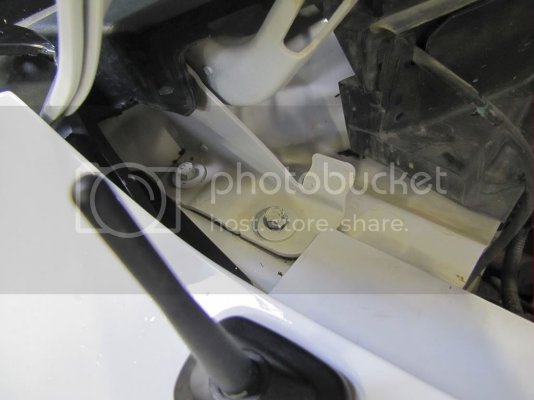
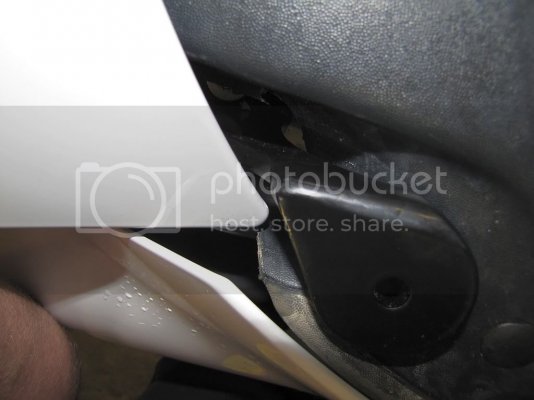
Now slide the mount in, and on top of the hood bracket. Use your fingers to get both bolts started well into the holes. How's your buddy doing at this point? Those arms numb yet??
At this point, its time to tighten everything back down. But if you just start spinning, you'll soon notice that your hood alignment is all screwed and you probably will hit the new mount when you close the hood as well. What I had to do was get both bolts started by hand, literally grab the arm holding the bracket to the hood and pull very strongly, while at the same time pushing the new light mount as far back as it will go. Once you've got it, have your buddy tighten down the front bolt as tight as he dares, and then let go. Carefully lower the hood and check your alignment, as well as your clearance from the hood edge to the light mount. If ya pulled just right, you should be aligned again and have about 1/8" of clearance at the mount.
Now get that back bolt tight by lowering the hood and using your socket extension thru that nice big window you cut earlier.
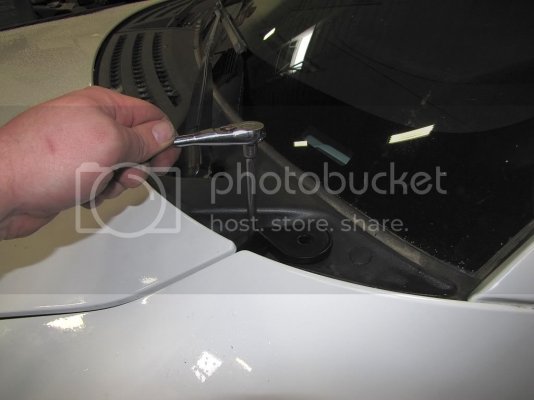
^^I aint gonna lie to ya... that pull here and push there and tug that and tighten this part sucks. In retrospect, it might have been easier to pull the whole hood off. But I kinda hate that idea because now you've got two things to realign, instead of just one.

So when I got back I called up Connor at Outlaw Raptor and ordered a set of their "Raptor Claw" mounts.. He shipped that same day, they arrived quickly and I finally had time to install them today.
Lemme start right out by saying... this install sucks. I dunno if it really is just this hard, or if I'm enept or some combo there of. I'll tell it like it happened, and let you be the judge.

First thing to know is the install instructions come in the packing list on the outside of the box. I didn't seem them at first there, and fortunately the trash hadnt come before taking the box away.


The tools I ended up needing are:
-10mm wrench
-10mm socket & ratchet
-8" socket extension
-a Dremel with fine tip sanding stone end
-tin snips
-a buddy to wrench while you, with your big muscles and good height pull and tug on the hood
-some luck
-and a flashlight


Something I loved about these mounts is that there was zero flex or jitter 'out there' in the rough stuff. And you can see why in the next few pics. These mounts are so well built they could probably support the weight of the truck!


Here are some shots of lining stuff up


Here's where you'll need to cut. I cut a large window, basically following the detent in the plastic with my Dremel, and using the snips to make the final cuts from under the hood. Not only does a larger window provide clearance for the mount, but it also allows you to access the back bolt from the top with the hood closed.
Be careful with that Dremel! You're working in very tight quarters, and if you slip even a little bit you'll be into the paint on the edge of the hood. Ask me how I know.


Here's the plastic I ended up removing

Now its a matter of removing the 2 10mm bolts holding the hood to the body.


Be careful! As you go, loosen both the front and the back together. You'll see the hood start to sag as the support frees up. Have your buddy hold the hood up while you do this.
STOP READING HERE FOR A SECOND! puddle hopper's got a couple good suggestions that make this part far easier, which you can read here: http://www.fordraptorforum.com/f81/outlaw-hood-mounts-hidx-lights-alternative-off-road-10845/
Here's the passenger side, and you can see it starting to slip (see where the bolt is relative to the paint?)

Now slide the mount in, and on top of the hood bracket. Use your fingers to get both bolts started well into the holes. How's your buddy doing at this point? Those arms numb yet??

At this point, its time to tighten everything back down. But if you just start spinning, you'll soon notice that your hood alignment is all screwed and you probably will hit the new mount when you close the hood as well. What I had to do was get both bolts started by hand, literally grab the arm holding the bracket to the hood and pull very strongly, while at the same time pushing the new light mount as far back as it will go. Once you've got it, have your buddy tighten down the front bolt as tight as he dares, and then let go. Carefully lower the hood and check your alignment, as well as your clearance from the hood edge to the light mount. If ya pulled just right, you should be aligned again and have about 1/8" of clearance at the mount.
Now get that back bolt tight by lowering the hood and using your socket extension thru that nice big window you cut earlier.

^^I aint gonna lie to ya... that pull here and push there and tug that and tighten this part sucks. In retrospect, it might have been easier to pull the whole hood off. But I kinda hate that idea because now you've got two things to realign, instead of just one.
Last edited:


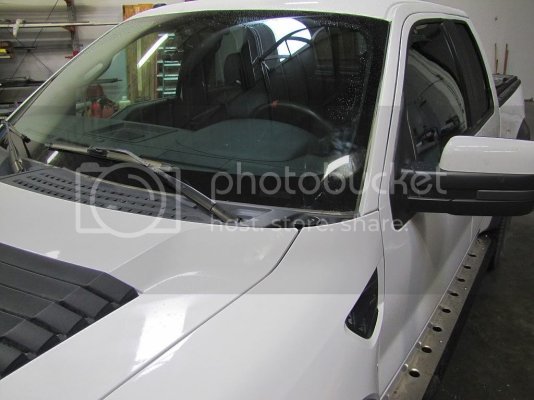
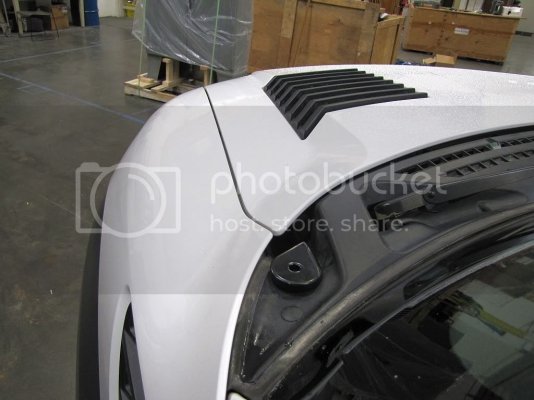
 ). Once again I was reminded why I HATE messing with hood alignment stuff. It just never seems to go back exactly perfectly, although I think this time we got it good enough.