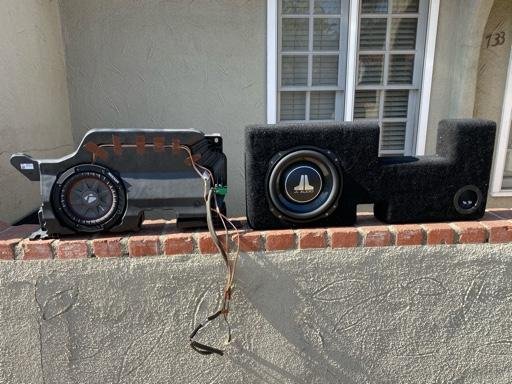
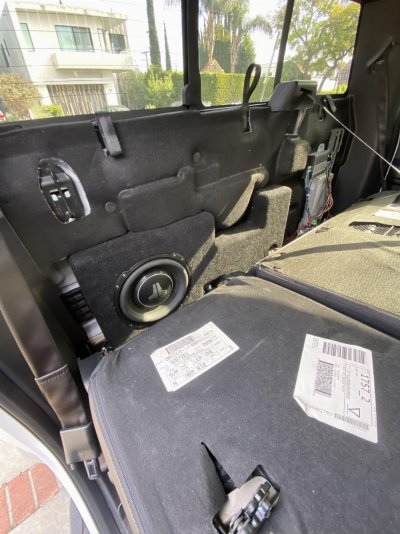
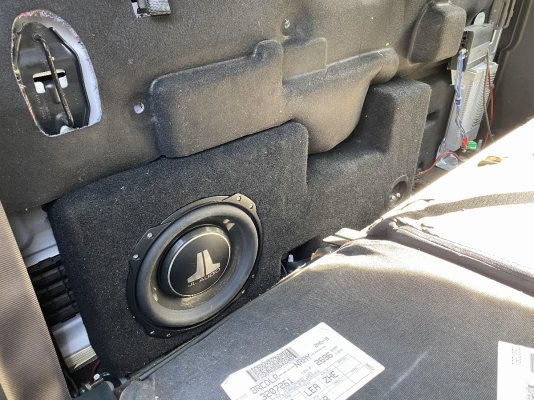
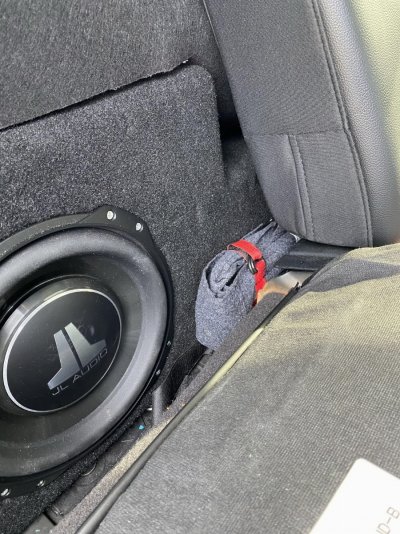
Not so quick update. I sort of finished installing the JL Audio amp for the JL 10” sub in the MTI enclosure. Long story short, go figure, it’s louder, and sounds a little better !
The details:
I got my @ss kicked by Lucille today, she fought me every step of the way. It took literally twice as long as fitting the sub and it shouldn’t have.
I spent most of yesterday running the 4 gauge home runs to the battery. This time, I actually pulled the door sill trim, which is so easy, I’m almost ashamed to admit I searched for it on the internet. Life got in the way in the early afternoon, so towards the evening, I pulled the stock tweets (finally) with the intent to hook in my Morel component set.
This turned into more work than I had time, so still campaigning the Pioneer coax front door speakers, but the Morel tweets are in. I’ll follow up when I have a chance to get the doors done and fish some wire back / forth for the components.
I was hoping to be able to hook in the DSR1 and amp the radio... FINALLY, but this was not to be. Once I finished up installing the tweeters in the a pillars, I thought I’d try to get the DSR1 ready for install, which requires a software update and firmware install. These are “Windoze only” updatable, via internet exploder (fer fooks sake). Well, they do have a desktop program now, but it’s only a partial update as I found out. Once you update the software, the firmware has to be brought current. I don’t have a personal windows computer. corp won’t permit the firmware updater to extract, the only other windows ‘puter was from circa 2009, running xp. No joy. I knew up front this required a windows box, this was not a surprise to me, I thought I’d have access to a laptop I could use this weekend, but alas... Ok, moving on to plan B - let’s get the Sub amp install done. It won’t be in its final mount location but... who cares - finish up the power runs, finish the remote sub volume and move on with life right?
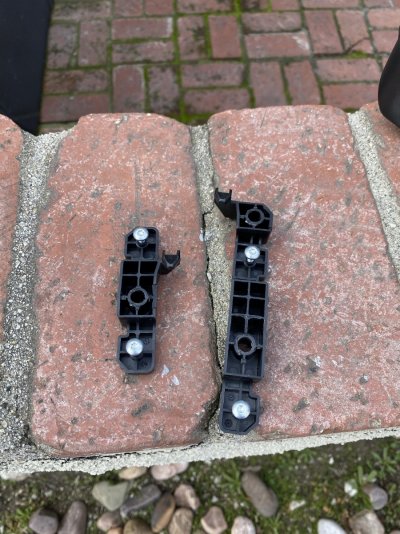
I got a late start, hellatives decided to stay an extra day. YAY ! :-| I start by 0930 and quickly realize - I could and should have run the sub remote at the same time as the power and ground home runs. ok, door sill trim off again, quickly fish through, find and drill a suitable location, position the knob, fasten... Job done. Since the Sony amp is still in the picture, I have to fab mounts. No big deal, I used 9mil leather strips to fasten the tweeters, I’ve got tools and some scrap. Easey PEASEY, amiright?
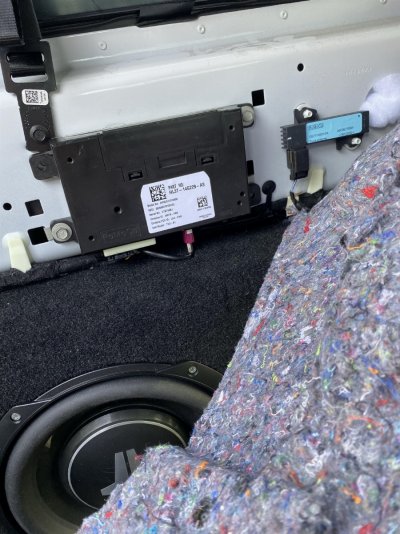
Yeah, day like today make me glad I listened to my dad when he suggested I take industrial arts in school. And that I had the wisdom to realize it was not a career path for me, for the good of humanity. mounts fab’d, test fit but screws are too long. EFF YOU - I have a tap and die set, so I cut the screws I have, re-tap them, and they work great in the garage. But when I get to the truck, I can’t get my hands in positions to make all this happen. Struggling, much profanity, lots of water, I even snagged a passerby and offered up a sacrifice to the Gods... nope. I was able to eventually use a couple different kinds of securing methods to get the amp solidly mounted against the wall - again, I knew this was an improvisation since the Sony is still in place, but still FOUR. HOURS. LATER. the amp is in place, ready to wire. I’m exceedingly cautious, double check everything along the wire’s path, and it looks good. I set the amp tentative settings and grab some food. Reading over the instructions they suggest a sine wave file to set the initial gain on the amp to avoid clipping. JL has such a file... in .wma format. hmm... let’s see, what plays .wma? Not an iPhone ... and not with anything that will work on sync... UGH! An hour unforced error, resulting in me converting the file to mp3, then transferring to my music folder ( I know this is getting played more than once next time at the gym ).
Now I am ready to remove power ( I haven’t hooked up the power/ground home runs yet ). I pull power at the battery, take care of the sine wave file. I want a pint of beer, but it’s 95F, and I’m sweating out water as fast as I can drink it, so I’ll pass.
Else, this would have been a 5-6 pint job.
It’s pretty anticlimactic from here, but after struggling way too much with mounting the amp, running the wires, and cleaning things up, doing the amp sine wave setup, and running some bass heavy tunes, I definitely appreciate the harder hit from the extra power.
I just want to say, MTI sold me good stuff, that works well. The drama from the amp install = all me, and the sub enclosure install is already documented.
Eventually, I will get the DSR1 firmware flashed and get the amp and signal processor updated so I can get some better sound stage. My thinking here is that it will be along the lines of
- complete the Morel component front install, which will take some wire fishing.
- get the DSR firmware updated and ready for install.
- get a mock up of the final amp mounting config
that should make the cut over to the new amp for the rest of the speakers quicker.
I’m a couple pints in, thanks for reading.
Now I’m in for a damn good bourbon. Personally, I like oak. What about you Jimmy? Are you an oak man?
cheers!
