You are using an out of date browser. It may not display this or other websites correctly.
You should upgrade or use an alternative browser.
You should upgrade or use an alternative browser.
First time Front Shock rebuild
- Thread starter Jhollowell
- Start date
Disclaimer: Links on this page pointing to Amazon, eBay and other sites may include affiliate code. If you click them and make a purchase, we may earn a small commission.
About a 500 grain FMJ...that resembles an alien probe haha!
Jhollowell
Full Access Member
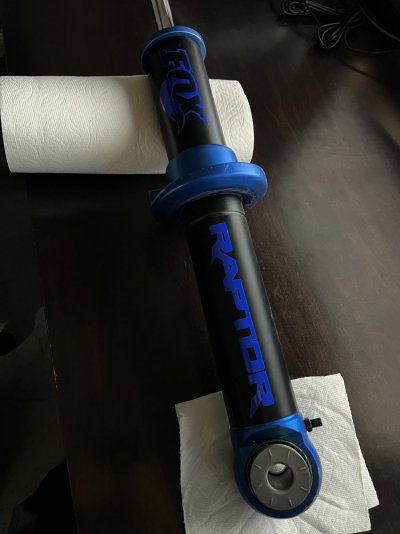
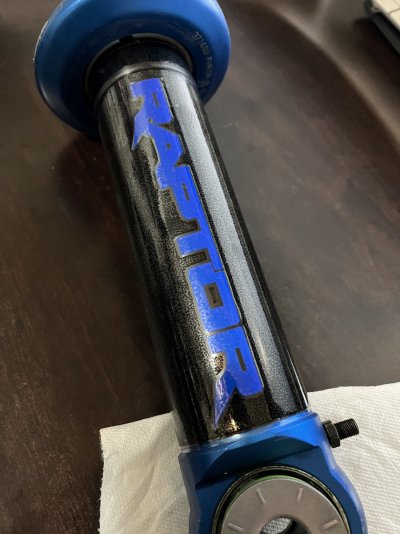
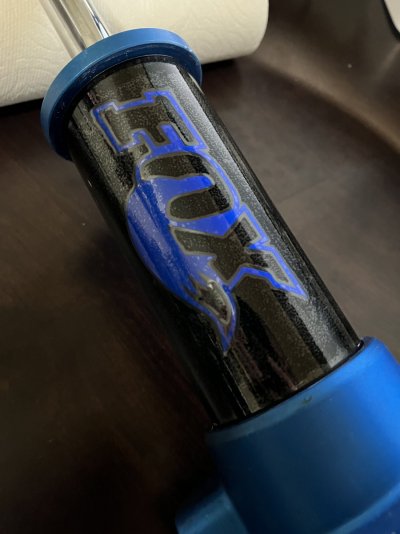
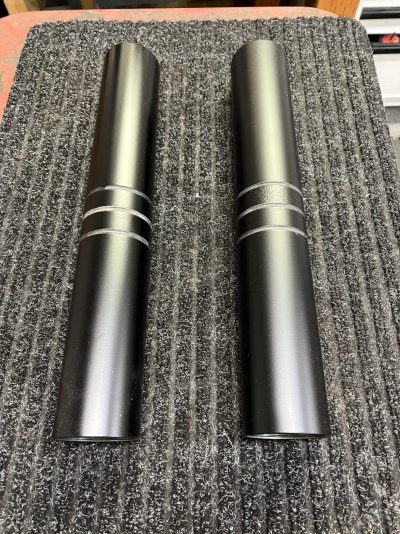
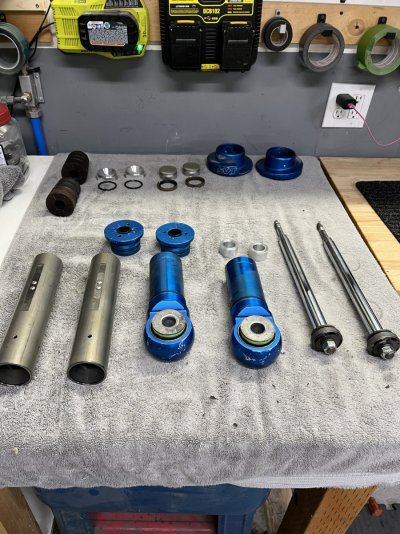
Well, front shocks are done, charged and not leaking. Learned a few lessons along the way but for the most part everything went pretty smooth. I powder coated the bodies flat black then clear cerakoted everything for a little extra corrosion protection. I also replaced the lower bushing as well as the shaft bushing since i put a good gouge in it trying to get the seals out. Word of advice, be super careful getting the seals out not to scratch that bushing since it's next to impossible to get it out. Soon as i get a good weather window i'll swap them out and see how they actually hold up.
Couple lessons learned:
1. If you're rebuilding in the winter, take the shocks and seals inside for a few days and let them warm up. The seals are much easier to get in when they're warm and pliable. I also got a set from Forged and Shock Seals and the shock seals ones seemed easier to install although those are the ones i kept inside for a few days.
2. Check to see if the little ball bearing is in the top cap. I had some leakage from the set screw when i reassembled and i found the ball was missing. I didn't remember taking the set screw all the way out but maybe i did and lost it. I did have another set of fronts that i was going to steal the ball from but when i opened those up, one ball was missing and i know i didn't lose it. FYI they are .125 diameter and you can find 100 of them on Amazon for like 8 bucks.
3. Removing the lower cap makes installing the IFP a lot easier and makes it easier to replace that bushing. It took a little heat from a propane torch and a steel rod to loosen it,but it came off without too much issue.
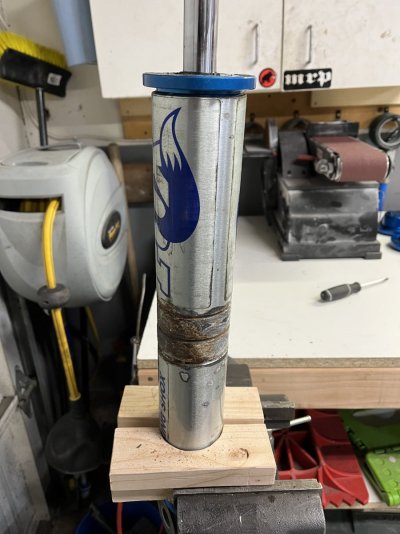
Original condition.
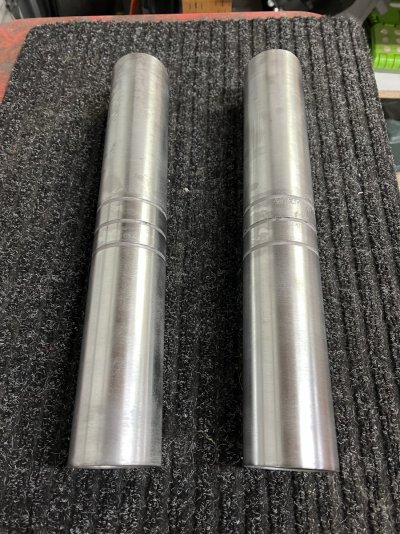
Refinish before sand blast
Powder coat
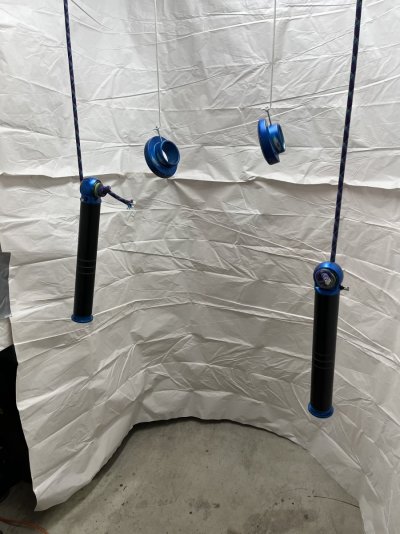
Makeshift cerakote booth
Ready to reassemble
Couple lessons learned:
1. If you're rebuilding in the winter, take the shocks and seals inside for a few days and let them warm up. The seals are much easier to get in when they're warm and pliable. I also got a set from Forged and Shock Seals and the shock seals ones seemed easier to install although those are the ones i kept inside for a few days.
2. Check to see if the little ball bearing is in the top cap. I had some leakage from the set screw when i reassembled and i found the ball was missing. I didn't remember taking the set screw all the way out but maybe i did and lost it. I did have another set of fronts that i was going to steal the ball from but when i opened those up, one ball was missing and i know i didn't lose it. FYI they are .125 diameter and you can find 100 of them on Amazon for like 8 bucks.
3. Removing the lower cap makes installing the IFP a lot easier and makes it easier to replace that bushing. It took a little heat from a propane torch and a steel rod to loosen it,but it came off without too much issue.
Original condition.

Refinish before sand blast

Powder coat

Makeshift cerakote booth

Ready to reassemble

Last edited:
Jhollowell
Full Access Member
Very Nice! Wonder if there is a write up to rebuild the live valves?
Irregular F150
its terrain good sir!
This job looks simple but also looks a bit complicated lol. Definitely going to try this with my old shocks.
Jhollowell
Full Access Member
It's really not that bad if you're just replacing seals. I have a hard time leaving rust or corrosion on anything so i take the extra time and effort to clean them up as best i can. That adds a lot of time and work, stripping, cleaning, coating, etc. The rears are the worst since the tubes are next to each other and you can't get between them easily. I was able to get the main body off but the reservoir was super tight and trying to spin the end cap is difficult. But at least i can get one of them off so i can refinish the entire tube easily, just can't powder coat since i don't want to bake any O-rings.This job looks simple but also looks a bit complicated lol. Definitely going to try this with my old shocks.
Well done! Did you wind up rigging a press for the coils?
Jhollowell
Full Access Member
I built a
i built a fixture to compress them and tested it on stock springs at low perch and worked fine. I have an extra set of fronts, so i'm going to move it to top perch and see if i can get stock springs on/off, and hopefully that'll tell me if i can get geisers on mid perch. I think my fixture will work, I'm just not sure if the press has enough throw to fully compress/decompress the spring. I only have 4" of throw so i may get a manual compressor and use that to hold the tension, while i reset the press.Well done! Did you wind up rigging a press for the coils?
Similar threads
- Replies
- 33
- Views
- 6K
- Replies
- 1
- Views
- 953
- Replies
- 2
- Views
- 997
- Replies
- 16
- Views
- 3K
Forum statistics
Latest posts
-
-
-
We have to talk about CV Axles.....
- Latest: TheFuriousFatty


