THOUGHTS AND COMMENTS
Details, Details, Details
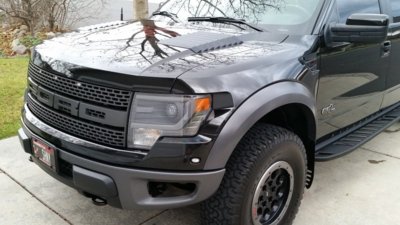
Not everyone is going to take the time to do some of the extra steps, and not every vehicle may warrant the extra time spent. I will include some of my reasons and thoughts for the way I have chosen to accomplish the detailing, while trying to eliminate or minimize any potential damage to the paint. Even though this truck is a daily driver, I want to keep the paint in good shape, and only do paint correction in the spring.
Any time that I am going to apply a product to the paint with a machine or even by hand, I always want to make sure the surfaces are super-clean. A stray bit of dirt hiding out in a crack or along some trim can get picked up in the applicator or towel, and cause scratches in the paint.
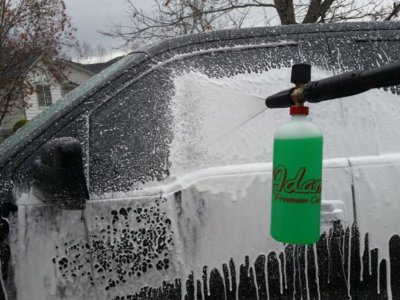
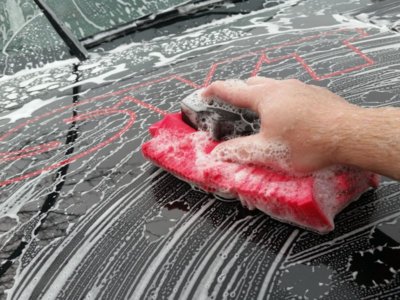
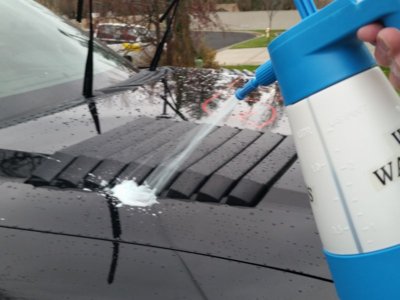
A good rinse after the wash and before claying is important. Washing with the wedge or a pad does not remove all the dirt, most just gets loosened up and is encapsulated by the lubricants in the shampoo. This means there is still dirt on the vehicle, so rinsing all this away before claying also prevents scratches.
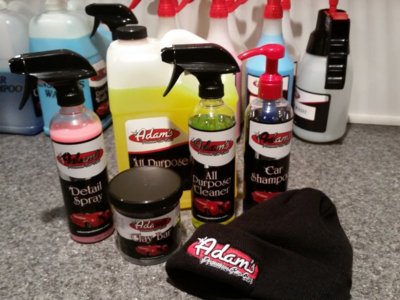
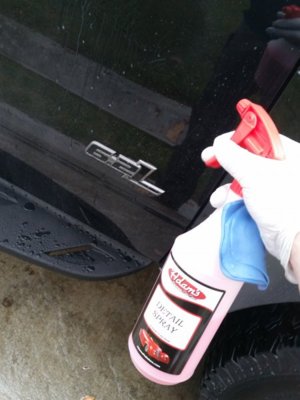
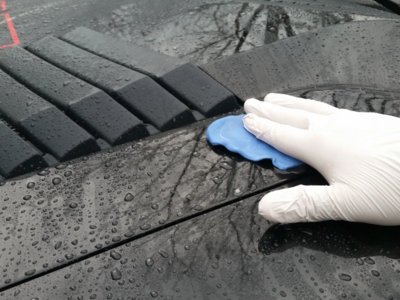
Using Detail Spray on a wet vehicle requires a good deal more product to prevent water spots while you are working, and also to provide adequate lubrication to the clay bar, since the water remaining on the surfaces dilutes the Detail Spray. If you are looking to save some product, do a quick dry and then use just enough Detail Spray to lubricate the surface.
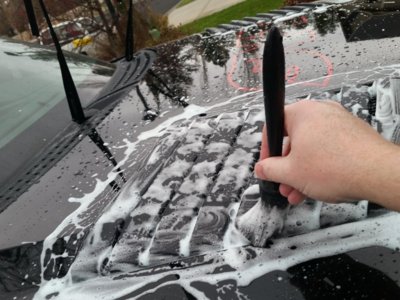
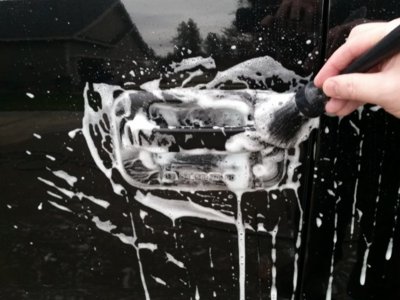
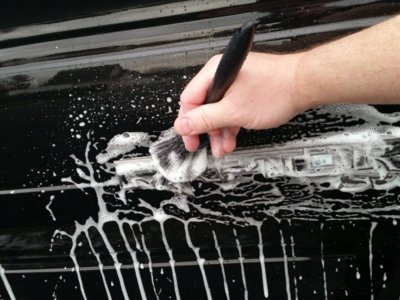
After claying, I use a rinse then a strip wash to remove the residue. The clay bar is not magic, it does not remove all of the contaminates from the surface. A good portion of the bonded contaminates will stick to the clay bar, but some and possibly a lot can just get knocked loose by the clay and remain on the surface. If you then removed the residue with a towel, these containments could possibly scratch the paint. With a machine, any loose contaminates on the surface can get into the pad and cause a lot of damage. For me, a quick rinse and wash is cheap insurance, and takes much less time than polishing out damage to the paint. This is also why I waited until the second wash to clean the nooks and crannies with the Trim Brush, since the clay residue is going to get into these areas and leave some contaminates.
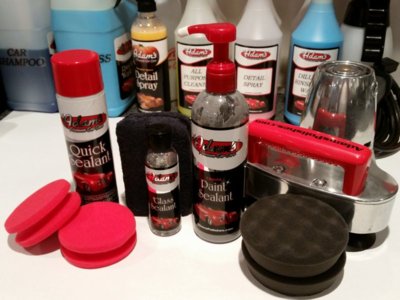
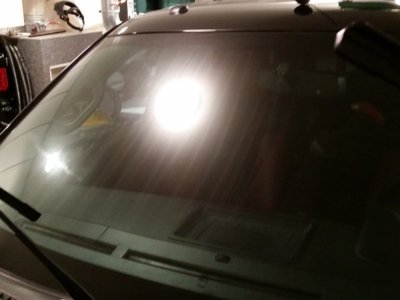
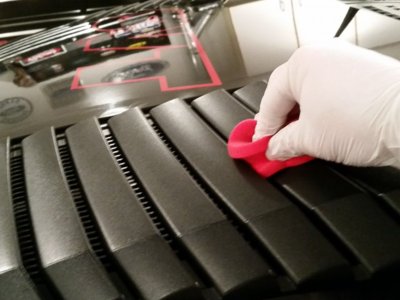
For the sealing, I did the glass first to make it easier to remove any overspray or other products. I sealed the trim and other plastics next, to ensure that any accidental bumps from the Liquid Paint Sealant did not result in staining.
Since Quick Sealant has been discontinued, if you don't have any you could use Super VRT to protect the trim and plastics. Since the Super VRT only provides short-term protection, add some longer lasting protection to these surfaces with the H2O Guard & Gloss after a few washes.
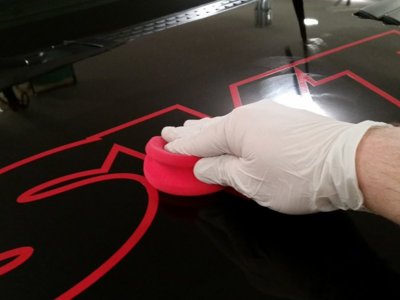
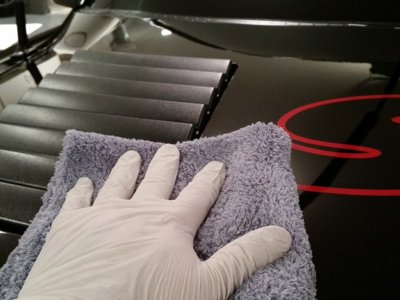
All of the sealants will bond better to clean paint, so making sure the surfaces are free of any residue from claying and any polishing will provide more longevity to the protection.
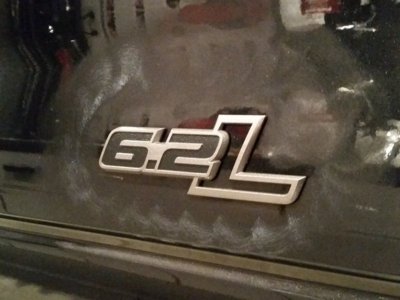
Make every effort to keep the Liquid Paint Sealant off the trim and plastics. Being a darker product, it may not be very noticeable at first, but after a few weeks any residue will dry out and become much lighter in color. Same is true for the edges of vinyl. While this product can be applied to gloss vinyl (do not use on matte vinyl), do not allow the product to build up on the edges, as it will eventually dry out and look bad. If you are going to use it on gloss vinyl, apply by hand and wipe on and wipe off in the same direction of the edge, rather than back and forth across the edge, to reduce build-up.


