Clicking from Dash (Video with Sound)

Disclaimer: Links on this page pointing to Amazon, eBay and other sites may include affiliate code. If you click them and make a purchase, we may earn a small commission.

Beach_Bum

Active Member
Joined
Nov 23, 2021
Posts
75
Reaction score
120
Location
Atlantic Beach
Hey all. A random clicking noise started coming from the dash last night while driving home. My wife and I were in the truck and I had the AC/Heat running and she had her seat warmer on. I turned off the AC and the clicking stopped after a minute. Turned the AC back on after a while and the clicking never came back. It happened again today while driving with just me in the truck and went away again after about 20 seconds. Then I went to grab some lunch, parked the car, and when I came back and opened the door the clicking started again (this is the video). I hadn't even turned the truck on yet. So I guess AC/Heat is ruled out because of that.

Any ideas what it could be? Something to do with the Nav?

 
OP
OP
B

Beach_Bum

Active Member
Joined
Nov 23, 2021
Posts
75
Reaction score
120
Location
Atlantic Beach
Thanks all. I really hope it's not the driver's side, but fear it is.

Do the passenger and driver sides make different noises? In the videos I've watched, it seems the passenger side is a fast click and the driver side is a slower click. Mine is a slower click.
 

WNCHSTR96

Full Access Member
Joined
Nov 21, 2012
Posts
628
Reaction score
1,285
Location
Athens, Alabama
@WNCHSTR96 sad something about it needing programing? (after repair) I think he said there are 3 of them? Left Right and center?
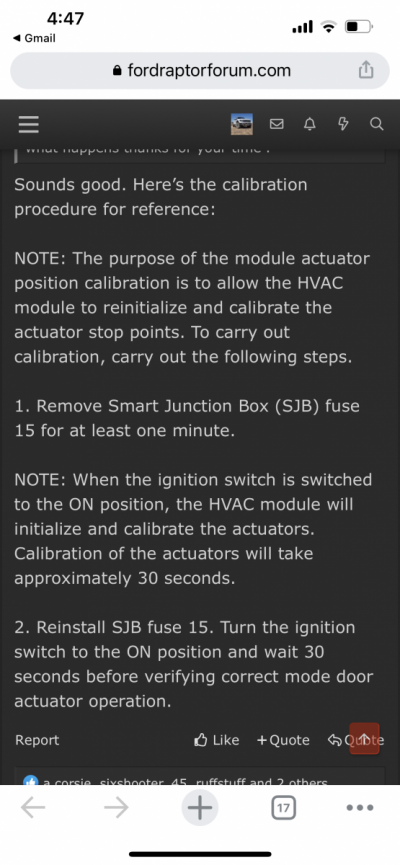
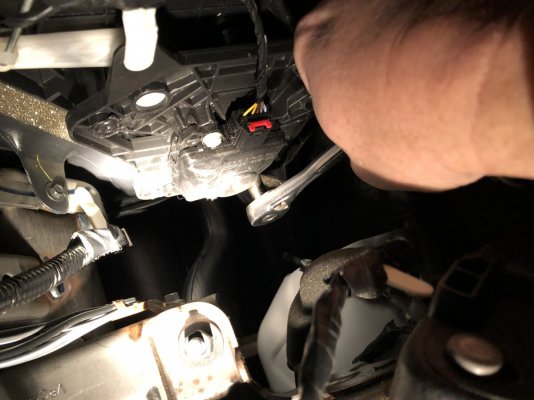
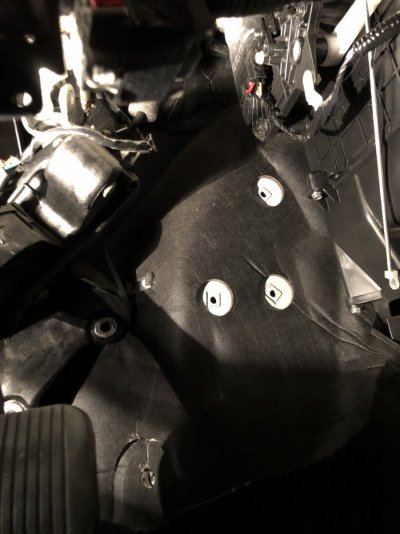
Yes, I have a screenshot of that in procedure somewhere on my phone that I took from this forum, so they should be able to search for it easier than I can. Mine was in the drivers foot well, which according to YouTube is the easiest. I actually just unbolted the pedal assembly for ease of access but it wasn’t a requirement. That one was preventing the defrost vents to come on. Not sure if that is the one you are having issues with. Since I didn't do the programming (I think it was from @FordTechOne) it’s noisy but it does work, so for now I will just deal with the noise when I change A/C settings which I rarely do. Oh I did have some pictures, not great ones, but you get the idea. I will eventually change it out properly one day, probably right after I put the fuse 27 relocation kit on. ;P
 

Attachments

  • IMG_2386.png
    IMG_2386.png
    301.3 KB · Views: 24
  • IMG_2012.jpeg
    IMG_2012.jpeg
    171.4 KB · Views: 21
  • IMG_2008.jpeg
    IMG_2008.jpeg
    150.1 KB · Views: 20
  • IMG_2007.jpeg
    IMG_2007.jpeg
    169.1 KB · Views: 20

FordTechOne

FRF Supporting Member
Supporting Member
Joined
Jul 29, 2019
Posts
6,665
Reaction score
13,044
Location
Detroit
Yes, I have a screenshot of that in procedure somewhere on my phone that I took from this forum, so they should be able to search for it easier than I can. Mine was in the drivers foot well, which according to YouTube is the easiest. I actually just unbolted the pedal assembly for ease of access but it wasn’t a requirement. That one was preventing the defrost vents to come on. Not sure if that is the one you are having issues with. Since I didn't do the programming (I think it was from @FordTechOne) it’s noisy but it does work, so for now I will just deal with the noise when I change A/C settings which I rarely do. Oh I did have some pictures, not great ones, but you get the idea. I will eventually change it out properly one day, probably right after I put the fuse 27 relocation kit on. ;P
Here’s the procedure, scan tool is not required.

NOTICE: The ignition key must be off when replacing the actuator. Energizing the actuator before installation will cause the part to become positioned incorrectly and proper orientation will be lost. Incorrect actuator operation will result.
To install, reverse the removal procedure.
NOTE: The purpose of the module actuator position calibration is to allow the HVAC module to reinitialize and calibrate the actuator stop points. To carry out calibration, carry out the following steps.
Remove BCM fuse 46 for at least one minute.
NOTE: When the ignition switch is switched to the ON position, the HVAC module will initialize and calibrate the actuators. Calibration of the actuators will take approximately 30 seconds.
Reinstall BCM fuse 46. Turn the ignition switch to the ON position and wait 30 seconds before verifying correct mode door actuator operation.
 
Top