Best a-pillar/hood mounts for BD XL80 pods

Disclaimer: Links on this page pointing to Amazon, eBay and other sites may include affiliate code. If you click them and make a purchase, we may earn a small commission.

Jimbo

Mad Frog Mattis
Joined
Sep 17, 2014
Posts
12,568
Reaction score
8,882
Location
IL
Welcome back from time out.


1jzr0.gif
 

SOAKINRED

Full Access Member
Joined
Mar 3, 2016
Posts
576
Reaction score
251
Location
Orange County CA
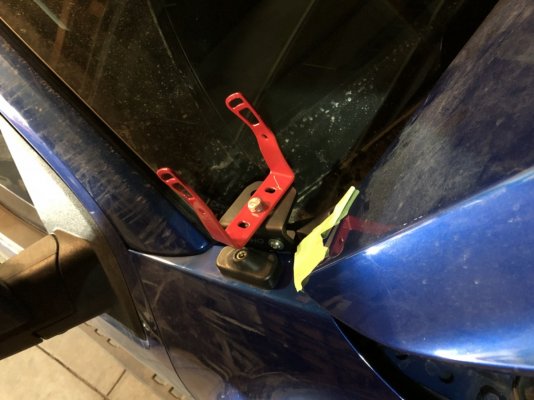
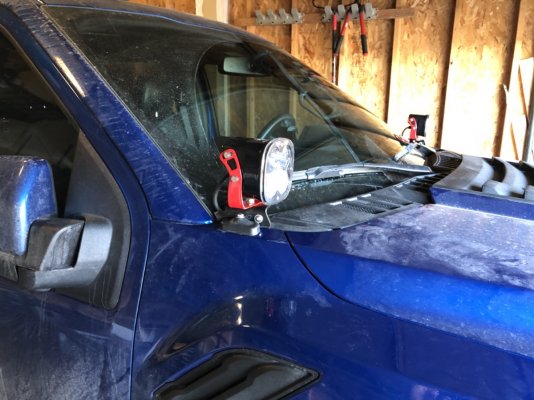
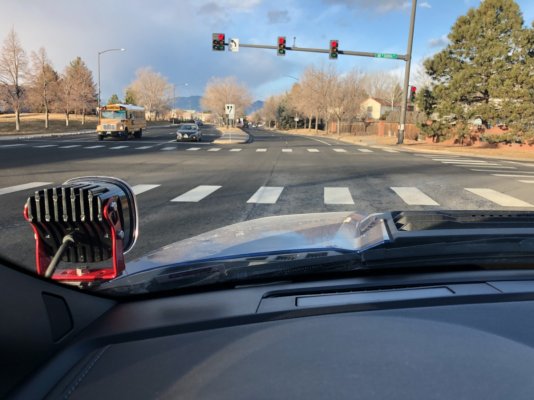
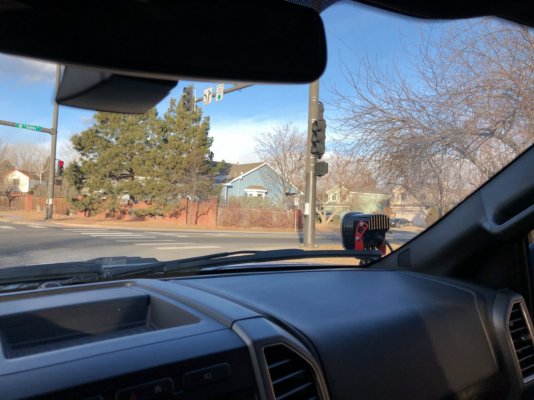
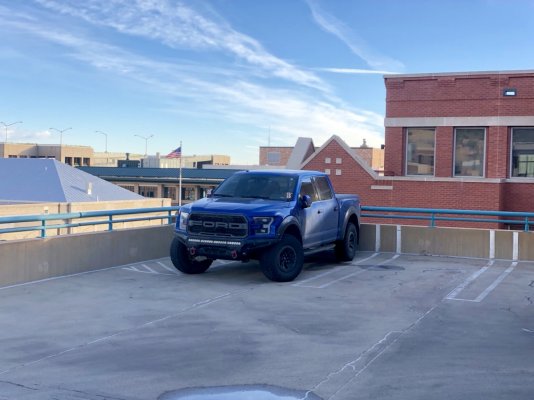
SDHQ built their Raptor specific mounts after early Gen 2 owners ran into the issue of mounting Baja Designs XL-Series lights and having antenna contact. The Raptor brackets eliminate that issue completely.

We’re an authorized dealer for both SDHQ and Baja Designs and would be happy to put a package together for you!

Nick just wanted to thank you for the brackets and lights!

I just installed them and love them!
 

Attachments

  • 3C59897D-121E-4CF9-9B99-1B495E61E1BB.jpg
    3C59897D-121E-4CF9-9B99-1B495E61E1BB.jpg
    129.2 KB · Views: 137
  • E007A958-09CD-4AD6-8837-B246202C08BC.jpg
    E007A958-09CD-4AD6-8837-B246202C08BC.jpg
    77.8 KB · Views: 139
  • 9FCE4F53-2A7D-4645-A6ED-6A347472890D.jpg
    9FCE4F53-2A7D-4645-A6ED-6A347472890D.jpg
    93.3 KB · Views: 127

K1llD4shN1n3

Full Access Member
Joined
Jul 27, 2016
Posts
546
Reaction score
331
Location
Colorado
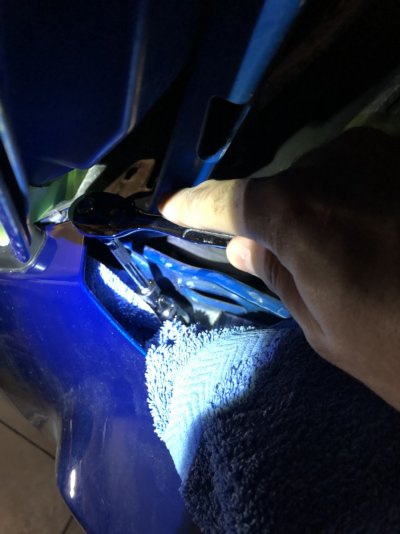
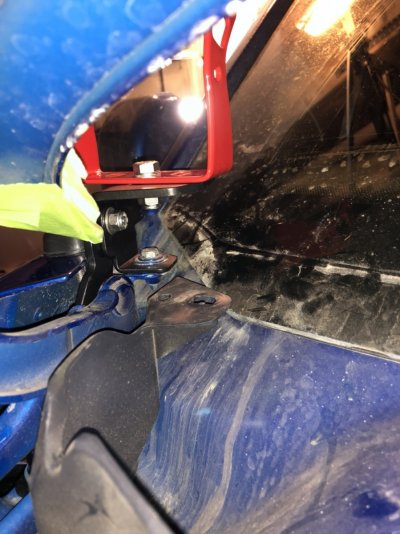
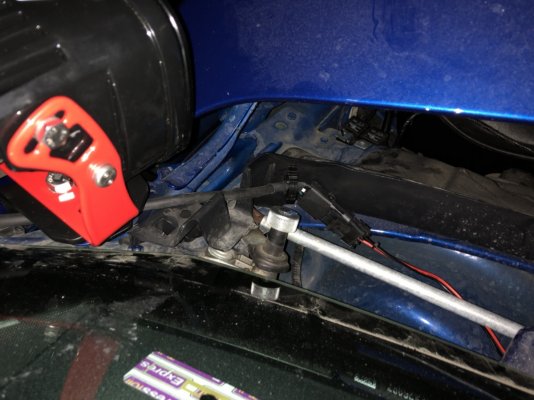
I finally got around to installing mine last night - here’s some shots of the install.

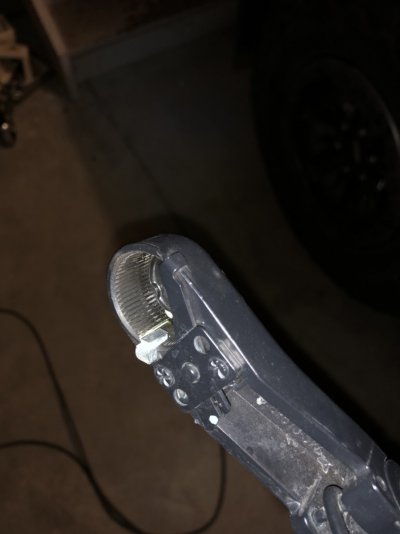
When removing the windshield wipers be careful as there is a tiny notch piece that may come out and you’ll have to go find where it falls.

2618447bd9e273bad375879f236febc2.jpg

b846d3d183ac74e56d569652df5d89ed.jpg

Definitely use a towel to fill the void next to the bolts you’re removing.

db7304e70b658a627f4cadf3eb125b95.jpg

2bb40218c1de77756e4f101b9b72bcce.jpg

40173f4c7aeb21692fe5f522878c2b3e.jpg

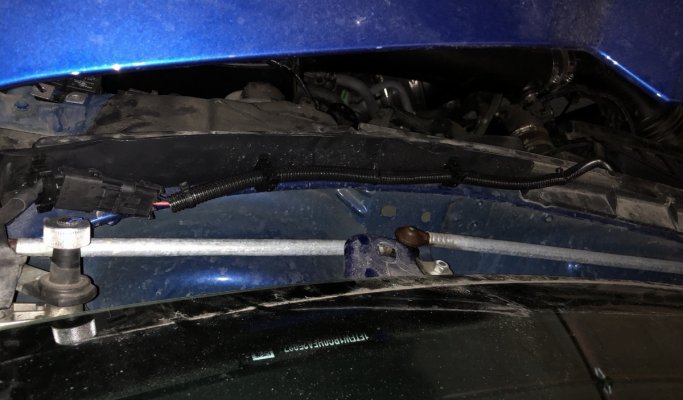
I drilled a couple 1/4” holes in the plastic to insert wire loom fasteners to keep the wires clear of the windshield wiper driving arm area. You can kind of see it below. (This is the wire loom holder clip I used https://www.amazon.com/dp/B00QWUHJVK/?tag=fordraptorforum-20)

108dbd3e9f5e83b5620a7241d44d8d11.jpg

In that area I ran the wires in a loom for more protection and it hold better with the wire loom holds. It’s worth noting I had to extend the long end of the wiring kit that came with the BD XL80s so it would be able to reach across the front.

307a629459229703a809b8376d5820b6.jpg

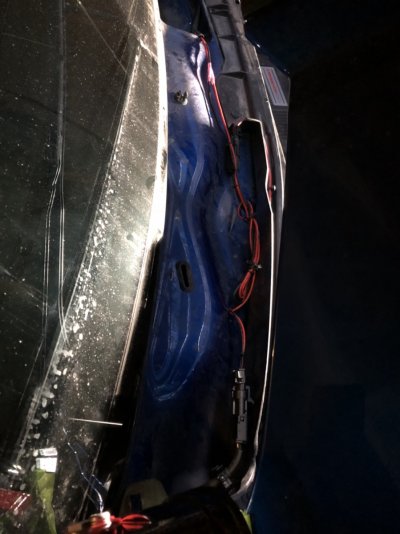
Here’s the wires looking down from the passenger side.

282398c2cbdf6f34cd92f9b9e9130a2e.jpg

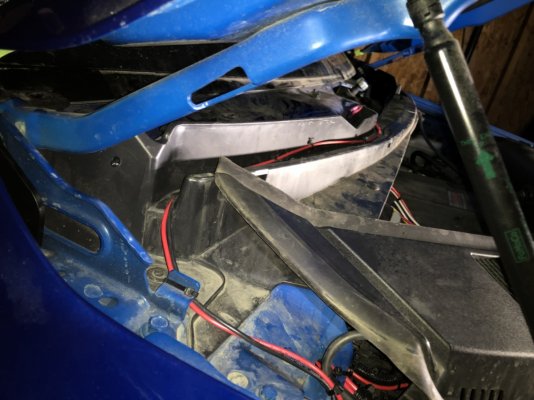
There is a gutter that I ran the wires out from the cowling into the engine bay on the passenger side. There is a similar gutter on the drivers side should you want to use that side.

75b8640fdea2987a6d3c9a0e00e6d6be.jpg

I ran to a relay off AUX 3 and that’s basically it.

33a87cfabbb5cc9736147680e08c12f7.jpg

8ba2e6deed394e358a7106d7a938c802.jpg

6c8e0c33dafc75f67642c5b498fbad6e.jpg

c36a608960059763816ad85793b85f71.jpg

These lights are way brighter than I thought they would be! I’m super happy with them and as always Nick at Apollo Optics got them to me quick!

Sent from my iPhone using Tapatalk
 
Last edited:

Nick@Apollo-Optics

Supporting Vendor
Supporting Vendor
Joined
Apr 3, 2011
Posts
7,473
Reaction score
3,124
Location
Houston, TX
I finally got around to installing mine last night - here’s some shots of the install.

When removing the windshield wipers be careful as there is a tiny notch piece that may come out and you’ll have to go find where it falls.

2618447bd9e273bad375879f236febc2.jpg

b846d3d183ac74e56d569652df5d89ed.jpg

Definitely use a towel to fill the void next to the bolts you’re removing.

db7304e70b658a627f4cadf3eb125b95.jpg

2bb40218c1de77756e4f101b9b72bcce.jpg

40173f4c7aeb21692fe5f522878c2b3e.jpg

I drilled a couple 1/4” holes in the plastic to insert wire loom fasteners to keep the wires clear of the windshield wiper driving arm area. You can kind of see it below. (This is the wire loom holder clip I used https://www.amazon.com/dp/B00QWUHJVK/?tag=fordraptorforum-20)

108dbd3e9f5e83b5620a7241d44d8d11.jpg

In that area I ran the wires in a loom for more protection and it hold better with the wire loom holds. It’s worth noting I had to extend the long end of the wiring kit that came with the BD XL80s so it would be able to reach across the front.

307a629459229703a809b8376d5820b6.jpg

Here’s the wires looking down from the passenger side.

282398c2cbdf6f34cd92f9b9e9130a2e.jpg

There is a gutter that I ran the wires out from the cowling into the engine bay on the passenger side. There is a similar gutter on the drivers side should you want to use that side.

75b8640fdea2987a6d3c9a0e00e6d6be.jpg

I ran to a relay off AUX 3 and that’s basically it.

33a87cfabbb5cc9736147680e08c12f7.jpg

8ba2e6deed394e358a7106d7a938c802.jpg

6c8e0c33dafc75f67642c5b498fbad6e.jpg

c36a608960059763816ad85793b85f71.jpg

These lights are way brighter than I thought they would be! I’m super happy with them and as always Nick at Apollo Optics got them to me quick!

Sent from my iPhone using Tapatalk


Very detailed walkthrough and I’m digging the red on the brackets. And, as always, thank you for the support!
 
Top