You are using an out of date browser. It may not display this or other websites correctly.
You should upgrade or use an alternative browser.
You should upgrade or use an alternative browser.
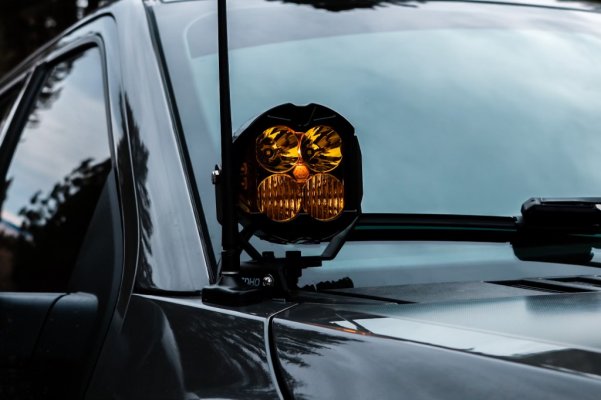
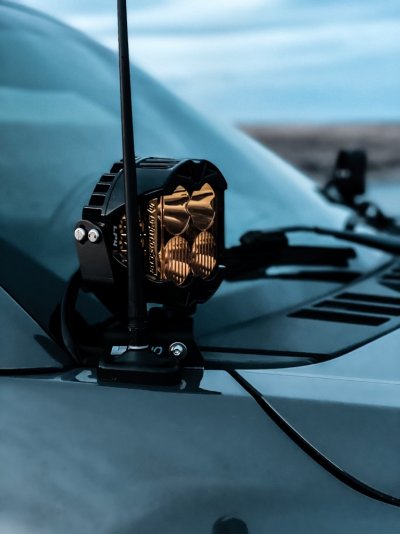
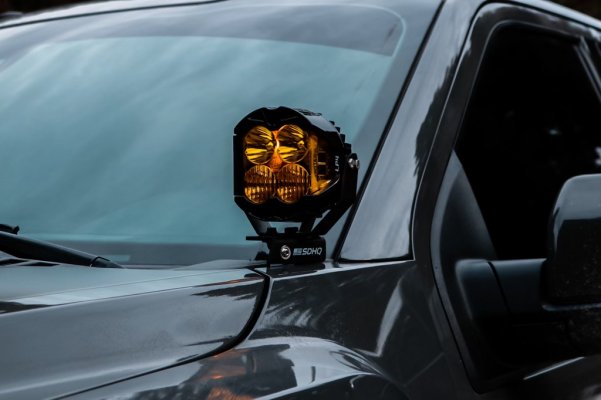
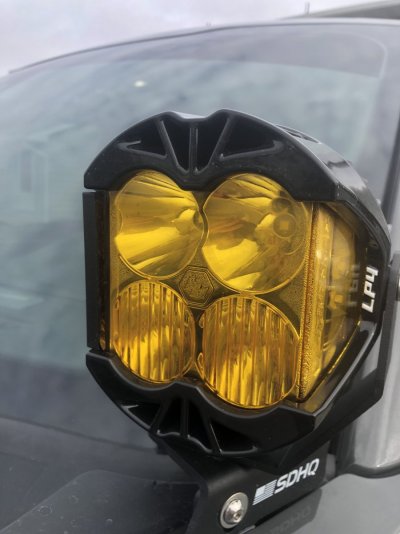
BD LP4 Pro installed on a-pillar
- Thread starter robopop
- Start date
Disclaimer: Links on this page pointing to Amazon, eBay and other sites may include affiliate code. If you click them and make a purchase, we may earn a small commission.
robopop
Member
It was surprisingly tricky to install the bracket, took numerous attempts to try to maneuver it in without damaging paint. The instructions suggest thoroughly taping the area to avoid damage which I recommend.
robopop
Member
And no wind noise that I have noticedIt was surprisingly tricky to install the bracket, took numerous attempts to try to maneuver it in without damaging paint. The instructions suggest thoroughly taping the area to avoid damage which I recommend.
pnwobrigade
Full Access Member
I've asked this same question recently in another thread and the answer was "not an issue". However, I'm not 100% sold on that tbhTy. I watched Johns install video. I’m talking about any movement or flex with bracket so close to painted surface when driving, especially off road? Or is it not that close?
Ty. I watched Johns install video. I’m talking about any movement or flex with bracket so close to painted surface when driving, especially off road? Or is it not that close?
I have the SPV brackets installed. Once bolted down tight, they remain quite stable. Won’t lie as there is the smallest of gaps but a gap nonetheless. I haven’t noticed any flex thus far. Prolly can’t tell from that angle but there is. Given the bracket openings, you could slide it a bit more inward for a little more space.I've asked this same question recently in another thread and the answer was "not an issue". However, I'm not 100% sold on that tbh
Attachments
LF LandShark 2818
Full Access Member
I can't speak to the Gen 3 but i have the LP4's on my Gen 2 with SDHQ mounts and they come with a 3M film that you put on the bracket where it is most likely to connect with the paint. This would be something that's easy to replicate just by purchasing some film before you do your install no matter who's brackets you buy. You can see in these pictures where it pokes up just above the hood line, its almost not noticeable but covers the entire length of where the bracket would meet the paint.


pnwobrigade
Full Access Member
How do you like the LP4 mounted there? That's the exact setup I'm looking at going with. Is there much noticeable glare?
LF LandShark 2818
Full Access Member
How do you like the LP4 mounted there? That's the exact setup I'm looking at going with. Is there much noticeable glare?
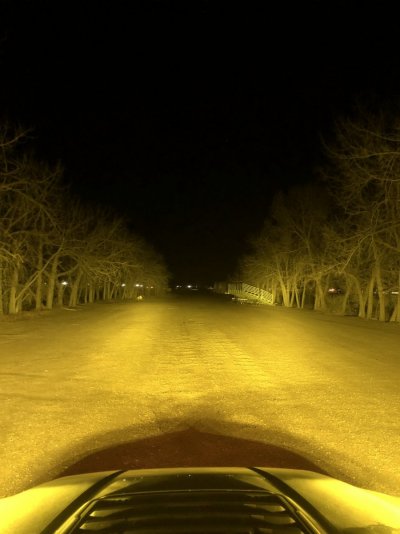
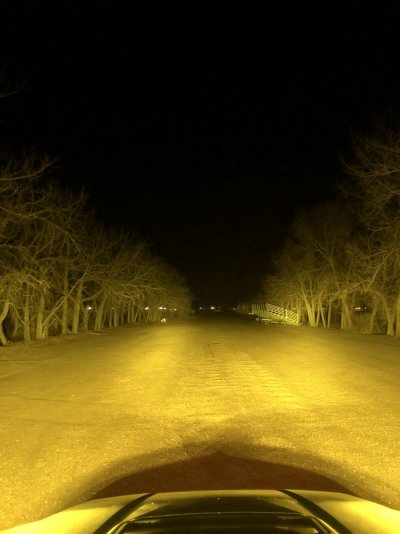
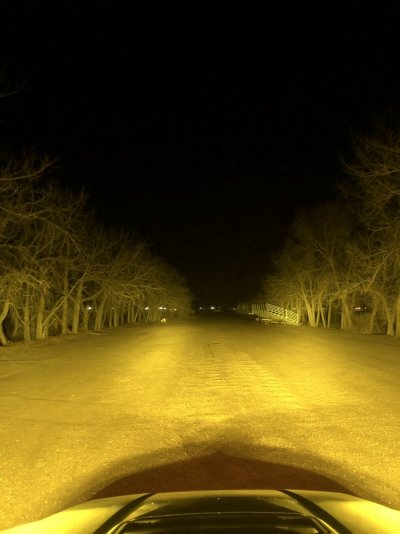
I have the SDHQ blinders installed and then added Vivid Air Release Mirror Tint to them which redirects some of the light off the hood. I was persuaded to go with XL-80's but stuck with LP4's and im so glad i did. Here is a poorly taken photo from the sunroof. This is just the LP4's aimed pretty much down the center line.
Similar threads
- Replies
- 17
- Views
- 2K
- Replies
- 17
- Views
- 831
- Replies
- 13
- Views
- 3K
Staff online
-
Big BlueAdministrator
Members online
- New recaros
- HOLLYWOOD 1
- enve46
- Rebelcowboy50
- R3P7ER
- dinocrisis
- quattrojim
- skerzz
- nickgp
- Pyro3601
- zachjbriden
- BHook
- KustomAF
- joeshua_lopez
- Muchmore
- RAW
- dnas123
- Ryan Voight
- NES431
- Aslate
- RJackson
- RaptorFun
- taquitos
- FlapJack
- RaptorND
- MidnightSpecial
- villaraptor
- leonardopessoa
- James O
- DAVfoto
- a corsie
- MOT26
- Mike27t
- Big Blue
- raptor_fredo
- thatJeepguy
- Xiaofeng Mu
- badmeat
- JimmysRides
- Jmeo
- NickyF25
- chris_tofu_r
- wweaver
- Raptor28
- Wisco
- Roush2568
- villegas15
- ej95
- Carter120204
- raptordawg1
Total: 2,411 (members: 89, guests: 2,322)
Forum statistics
Latest posts
-
-
What did you do to your Gen 3 today?
- Latest: chris_tofu_r
-


