pnwobrigade
Full Access Member
Michigan Truck Spring, in stock and quick shippingWhere did you order from?
Disclaimer: Links on this page pointing to Amazon, eBay and other sites may include affiliate code. If you click them and make a purchase, we may earn a small commission.
Michigan Truck Spring, in stock and quick shippingWhere did you order from?
@MORK did you install the upper spacers as well?
Anxiously awaiting your next post!!Don’t have the Eibachs yet, but my wife wants to go camping this weekend and I had a couple hours to burn after work today. Figured I could at least try out the bags and see how she tows our Ember TT.
I’m guessing the installation instructions from AirLift have you completely remove the springs for safety. I can’t see any other reason because it is SUPER easy leaving the springs in and just jacking up either side. I went with the 2 into 1 setup with one valve for a cleaner install and since I don’t see any reason why I would need to have the springs not at equal pressure.
It could be my measuring was a little inconsistent, but it seems like with just the bags in at atmospheric pressure, the rear end is about 1/4” higher than before.
Even more surprising (in a good way) is that with only 15 psi, it’s raised up about 5/8” unloaded.
Headed out now to do a quick drive to see how they are unloaded and then hook up the camper.
Running about 40 PSI. Swapping out for HD 1000 Raptor. Since I will be changing the airbags, I am changing the spring with 1.5 inch lift Eibachs. I'm still struggling on if I can remove the tailgate without messing up the 360 cameras. I have had some conflicting info.Interesting - what psi were you running? I imagine that with how far these coils expand, you could only run so many psi before a bubble like that would protrude.
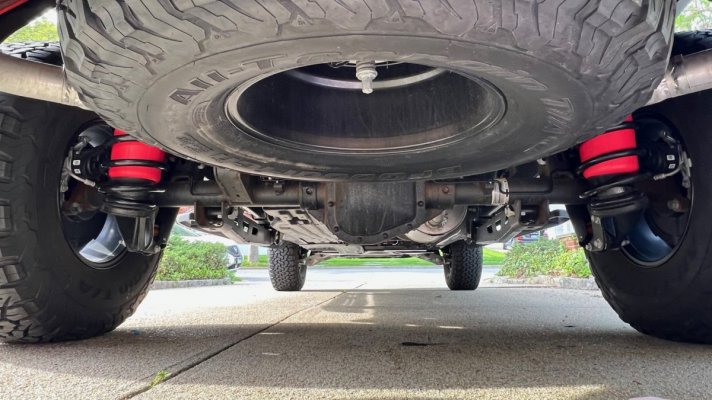
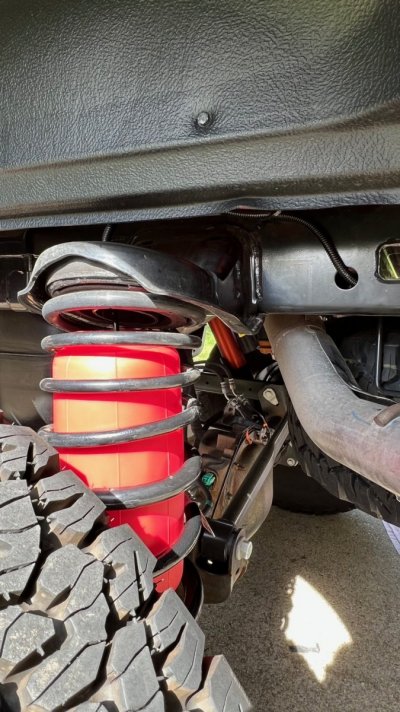
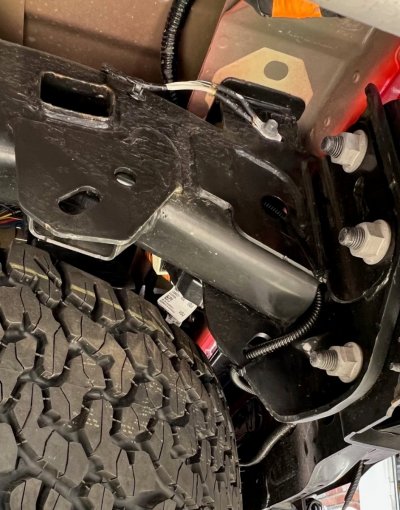
Finished install for reference:
View attachment 402320
View attachment 402321
I’m also quite happy with my Schrader location
With no load, I’ve been keeping at most a couple psi in them so they maintain contact pressure - even at 5psi, you can notice the increased spring rate.
| Eibach 21-23 Ford F-150 Raptor Pro-Lift Kit 1.5 Inch Rear Springs E30-35-060-02-02 | DMWF|E30-35-060-02-02 |
If its Gen 3 , the air lift coil bag sits inside the coil so the travel should be standard OEM, bags should have minimum pressure so spring can move.Does one lose any travel with bags?
Where did you place yours? I skipped the compressor kit for now as I don't think I will be changing the pressure much while set.@MrHomeGuy kudos on valve positioning wish I saw this prior to installing mine
If its Gen 3 , the air lift coil bag sits inside the coil so the travel should be standard OEM, bags should have minimum pressure so spring can move.
If Gen 2 , leaf spring, best to use a DayStar cradle for bottom of air bag which will not restrict the travel since the bottom of airbag is NOT attached to the axle.


