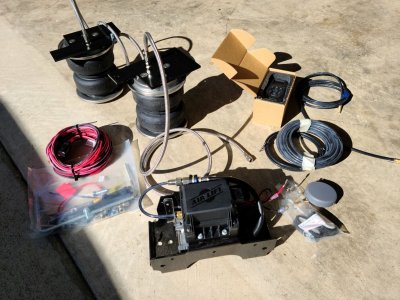
I just completed the installation of Air Lift Load Lifter kit for the rear of my 2019 Raptor. Rear bags are Load Lifter 5000 kit #89413 along with the WirelessAir EZ Mount compressor and manifold kit number 74000EZ.
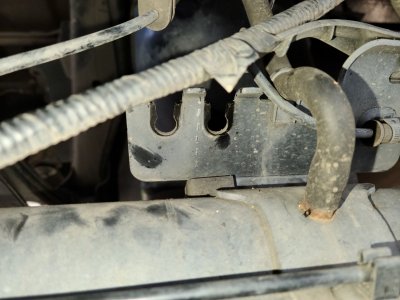
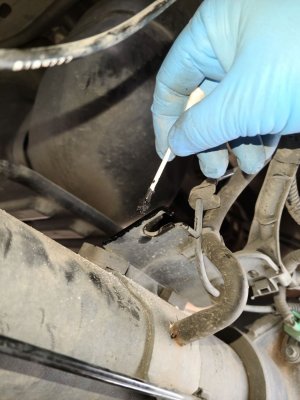
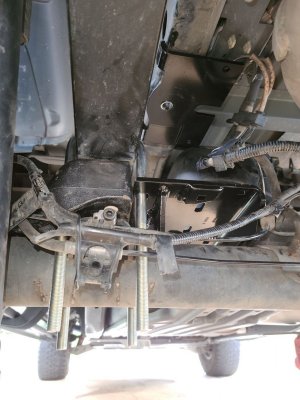
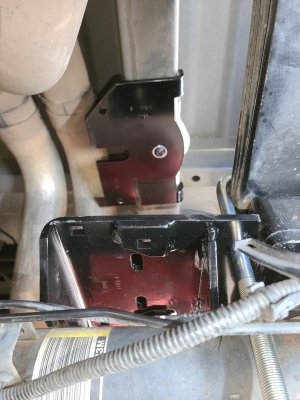
The rear bag installation went just as the directions showed with the exception of not using their brackets for the parking brake cable as my 19 Raptor has the electric parking brake. You do have to swap the jounce bumber strike plate/spacer blocks that rest under the springs. You put the left on the right and the right on the left. This is for clearance of their air bag mounting plates. Also, I opted to grind/clearance the short shoulder to clear the brake line brackets that are welded to the axle tube. Or, you can cut the brackets off and not grind the blocks. I didn't want to remove anything welded to my truck. So, I ground a small section off the blocks and painted them up real nice.
I mounted the compressor/manifold/controller to the outside of the passenger frame rail using their 5/16 self tapping bolts. They include a nice large u-bolt to clamp to the frame but, I think that's more of a generic parts that doesn't really fit the Raptor's beefy frame. When installing the self tapping bolts, I placed the assembly up on the frame rail and decided where I wanted it to go, made a few marks the drilled the holes 1/4" using a right angle drill. If you don't have one, get one and some shorty drill bits. I actually used a step drill bit because I didn't have any bits short enough. Use a bit that's around 1.5" long or so. Then I used some cutting oil on the threads of the self tapping bolts and eased the bolt in and out a little more "in" each time until the threads were in clean. You might be able to run a tap in but it's stupid tight in that area. I used my Milwaukee ratchet back and forth, back and forth back and forth until the bolt was seated. Then I removed the bolts, cleaned the holes and bolts then put some loctite red on the bolts and put them back in.
I ran the wiring through the frame and up into the engine bay. Red wire went to my Aux1 upfitter and black wire went to firewall ground. Do not connect pink wire to anything. Directions are misleading, don't use the pink wire that's supposed to go to key-on hot wire. It won't work.
Routed air lines up over and through the frame rails then out at the controller.
Their little hand-held controller that came with the kit is real slick and works great. The app not so much. I can't get it to work for me.
I haven't run my manual fill lines yet as I'm still playing with the kit. I'll find somewhere around the rear bumper to mount them but I'm not drilling holes in my bumper or cover.
Kit works great so far and suspension travel feels good when decompressed and tight when filled. I guess I need to jump it to see how it behaves!
Last edited:


