Here's a quick write up for my M&R 80 LED and a quick pass-through wire explanation just so it's fresh in everyone's minds. 
First I must address my honest review of M&R products. People ask me a lot since I was one of the first to do business with M&R on the forum and this is now my second M&R LED product.
Here is the deal, Mike at M&R offers exceptional customer service. He listens to what you're saying, and you can sense a genuine excitement in his involvement with the Raptor community. Lightning fast response times and fast shipping are definitely keeping the M&R ship afloat.
As for the product, I have been very happy. The lights are actually quite well built, and do throw a ton of light. I glanced at my 40" bar during a few pictures and saw purple spots for several minutes .
.
Are there brighter lights out there? Maybe, but the lumen per dollar value can't be beat from M&R and I'll leave it at that.
On to the install...
For my 40" install I decided to use the supplied M&R brackets - more on those later.
First step is to pull the top splash guard clips and get them out of your way so you can easily get at the bolts needed to mount the light.
1. Just loosen the anchor retainer by using a #2 Phillips until you can pull it out. Then just gently pull away the splash guard and the anchor clip will slide right out.
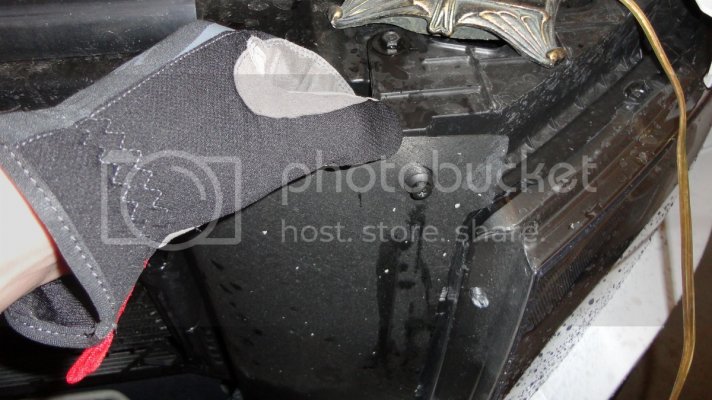
Push the splash guard off to the side for now...
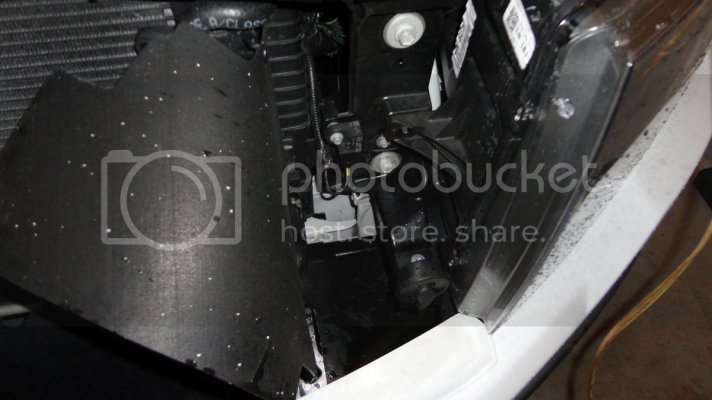
2. Next, locate the T-30 bolts that you will need to secure the light bar brackets and remove both of them. Go slow, this is a metal bolt that threads in to a plastic speed nut. It's not very strong... A socket with T-30 TORX bit makes quick work.
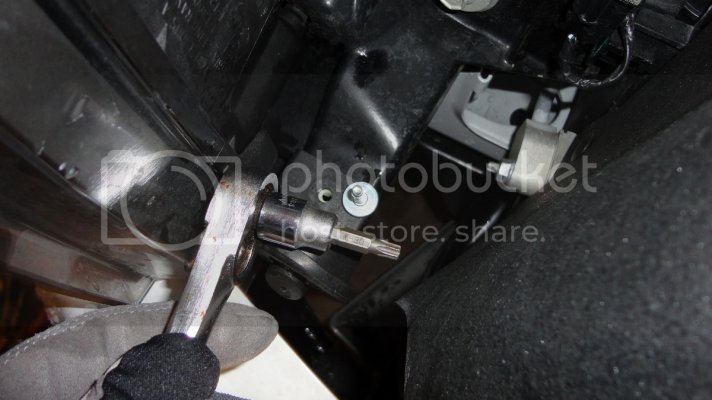
3. Now, for these brackets. I already called Mike and said "What is this action with all the washers and junk?" I was less than thrilled with the brackets provided for this install. However, they do work and they were free (more on this later).
* I gave Mike an earful about these brackets and he responded by saying he would get right on making a new/better bracket for the 40" LED bar mounting. That was great to hear although it won't help me(I ordered another set of brackets) but nonetheless, he is putting all his efforts toward offering a quality product.
So here is what I ended up doing with the brackets. I bent the L brackets in an effort to lengthen their reach. As they were supplied they did not line up with the mounting points. Using this method I only had to use 3 washers rather than 4 to space the brackets out.
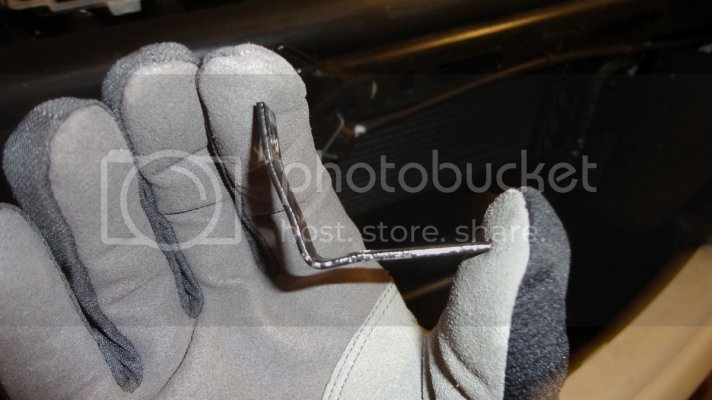
4. Attach the brackets to the light bar in the order: Bolt, nut, bracket, washer x 3 and rubber washer as shown. Use the top hole on the L bracket. The larger hole should be left to mount to the truck. The side of the L bracket with the 2 small holes is for mounting to the light bar. Snug the bolts up for now and take to the truck.
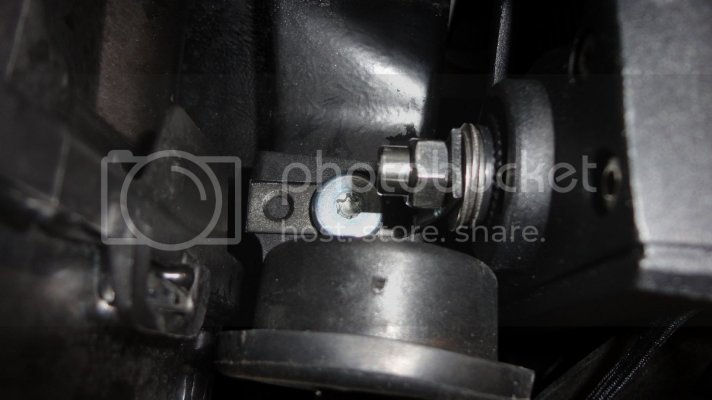
5. Insert the T-30 TORX bolt back through the larger hole on the bottom of the L bracket (closest to the inside corner). And *snug* them up on both sides. Again, this is a metal bolt that threads in to a plastic nut so you cannot over tighten it. Go until you feel it getting tight and stop. Don't try to give it that last 1/2 turn, it will strip. An extension on the TORX socket is useful here since the light is now in the way. Do both sides and your light is mounted and ready to wire up. But wait! Actually, these M&R brackets are pretty strong as it turns out. I grabbed on and pulled pretty hard on the light and it didn't budge...I'm still swapping them out though.
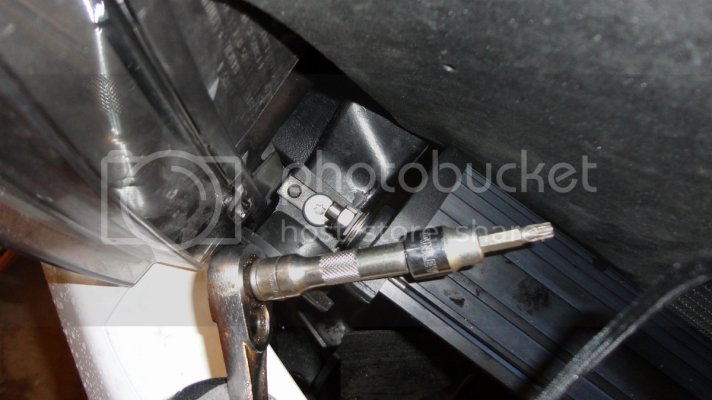
Now, for the upfitter switch wiring. Let me stress that this is extremely simple, there's still to this day confusion about how to wire the AUX switches so listen closely.
1. There are 4 wires that "pass through" the fire wall. One end of them is near the ECU on the left side of the engine bay, and the other end is behind the glove box. You access the wires behind the glove box by pulling the side panel off the dash and by releasing the glove box door - pull the tabs in on each side of the glove box drawer.
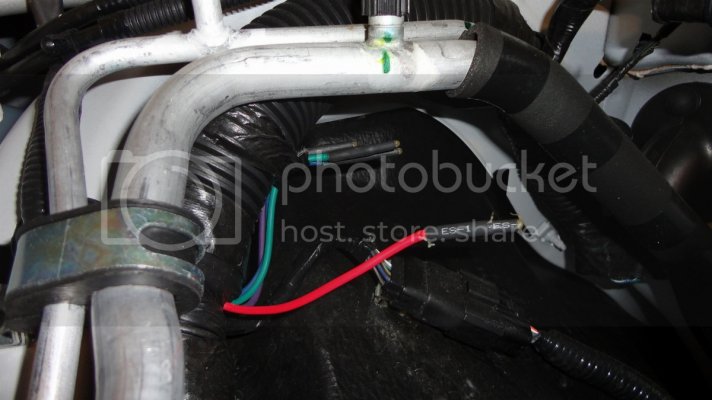
Here are the 4 wires under the hood - Red, Green, Blue and Purple. Pick one. It doesn't matter which one they are just dead end wires that pass through the firewall to behind the glove box. I chose the red wire and pulled it out from the electrical tape that holds them against some conduit from the factory.
2. Now behind the glove box you will see the same 4 pass through wires that are conveniently taped with the 4 AUX switch wires. Look in your Raptor supplement to find out which of the other 4 wires corresponds to each AUX switch. I wanted to use AUX 1 so I needed to find the yellow wire.
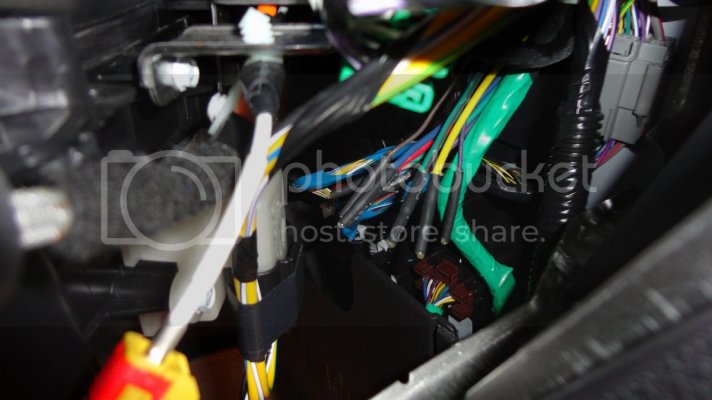
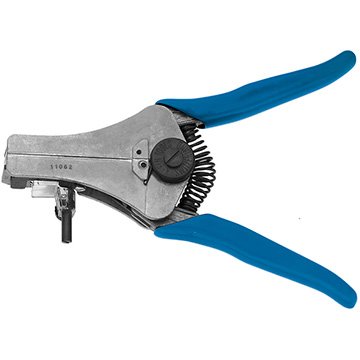
*Tip: Use a quik-strip wire stripper like this one to strip back 1/2" of wire off each of your chosen wires.
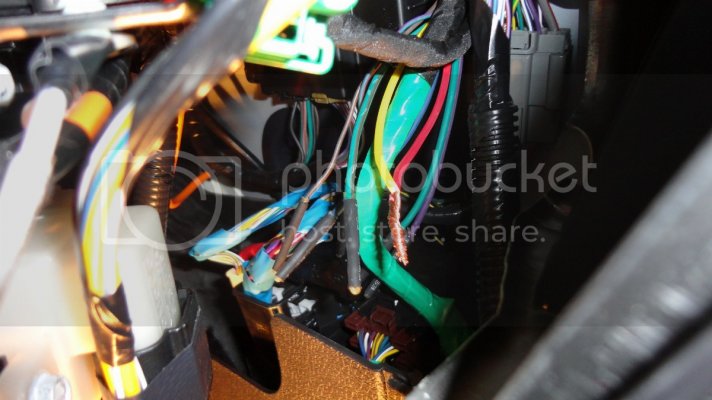
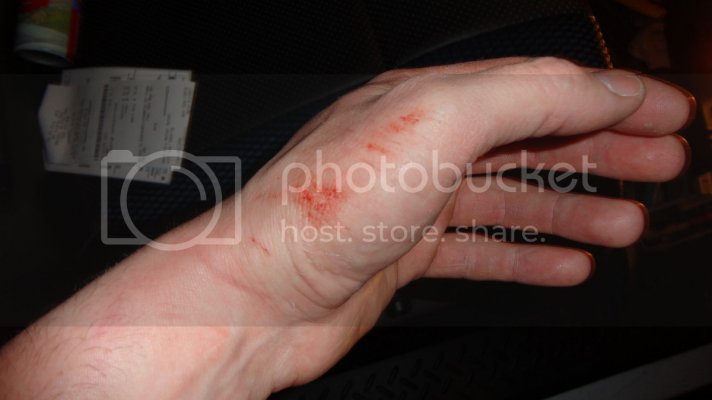
3. Get the wires twisted together and connect them however you like. Butt connector, solder, wire nut...whatever works for you. Just be forewarned that your hand will probably get chewed to bits while wrangling these wires in. If you can solder these wires together I would be glad to shake your mangled hand.
4. With the corresponding AUX switch wire connected to your chosen pass-through wire, now you just need to connect the positive wire from the light bar to the (in my case) red wire, and find a suitable ground location for the ground wire. There are plenty of factory ground locations around the pass through wires under the hood that you can hook in to with a ring terminal.
Get your light hooked in to the other end. I used crimp connectors and tightly wrapped with electrical tape.
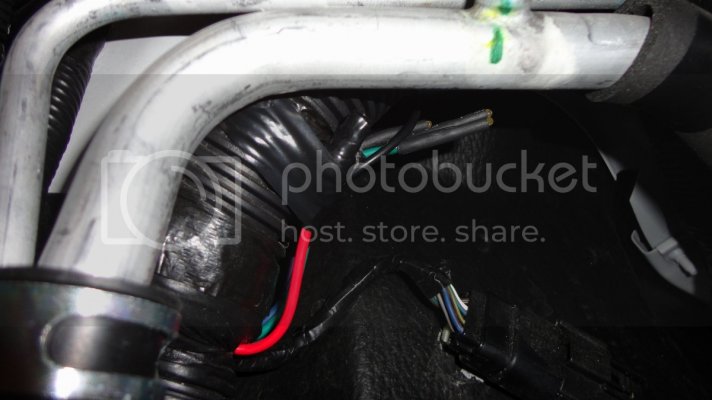
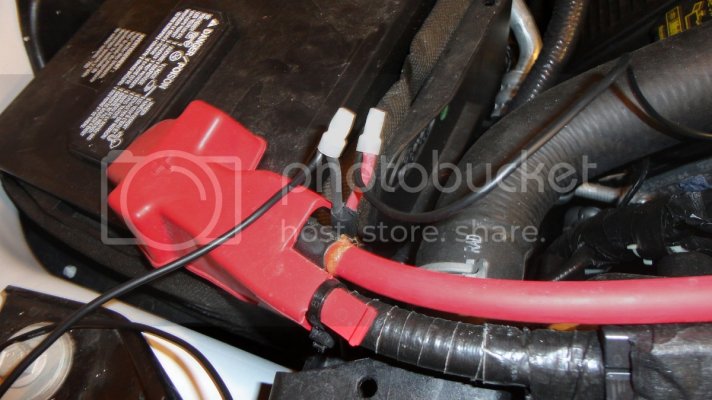
I just pulled the light bar wire through an opening to the left side of the radiator and added conduit, electrical tape and zip ties as necessary. That's up to you how neat you want it to be.
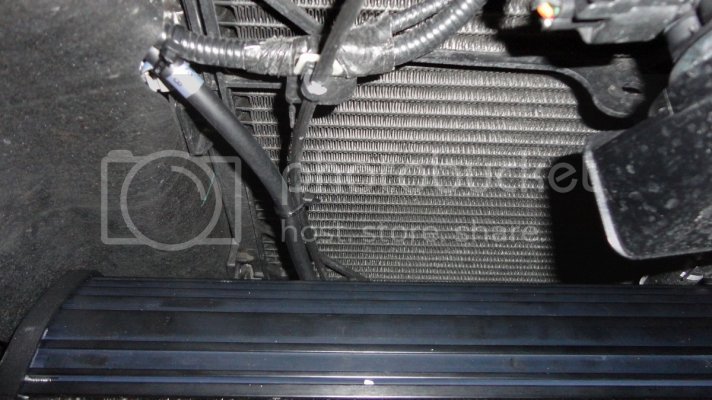
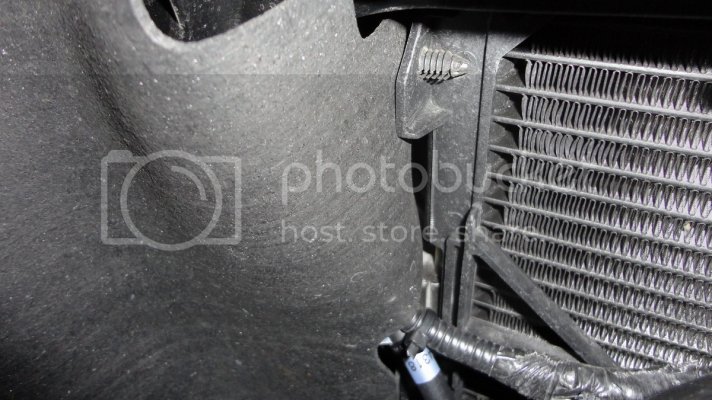
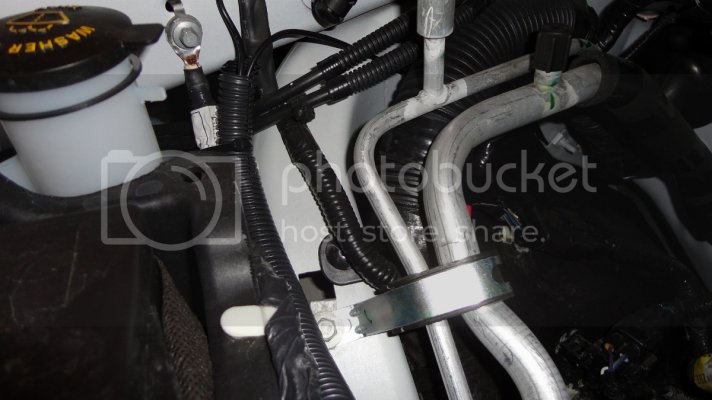
Not bad right?
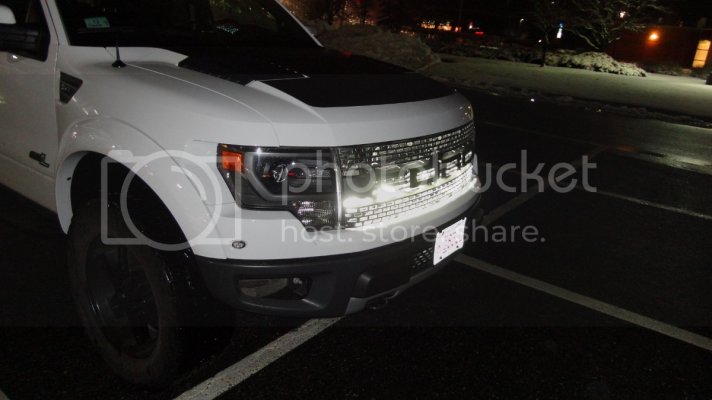
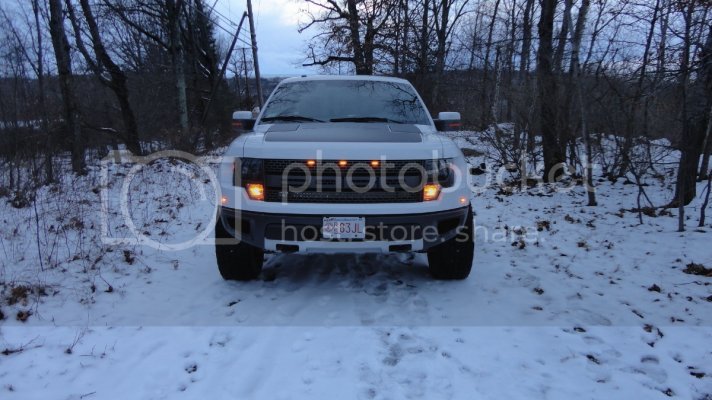
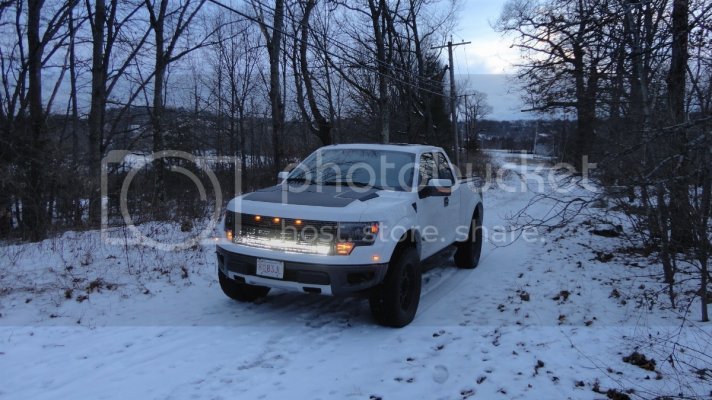
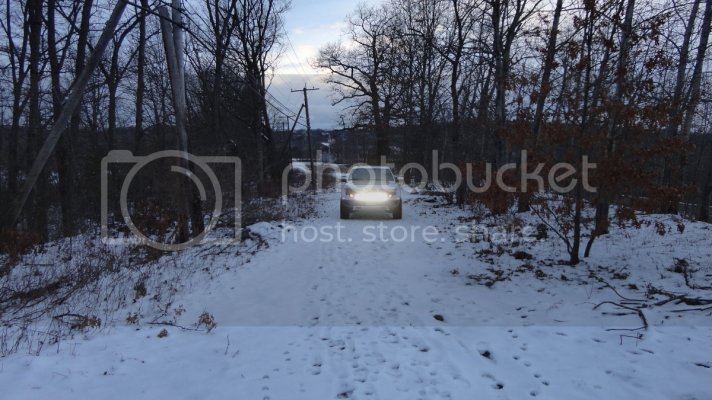
Here are the beauty shots:
First fire up and alignment.
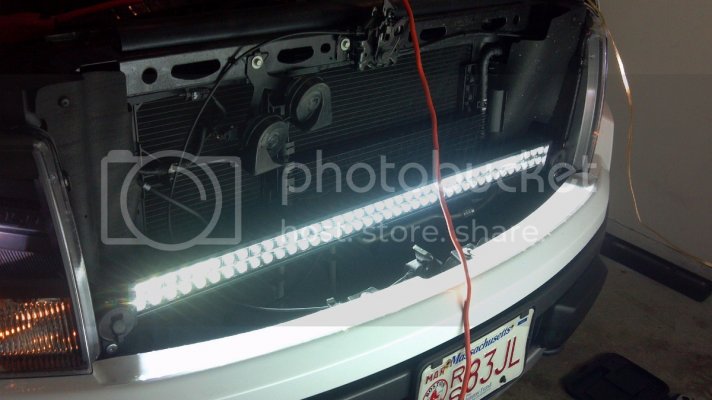
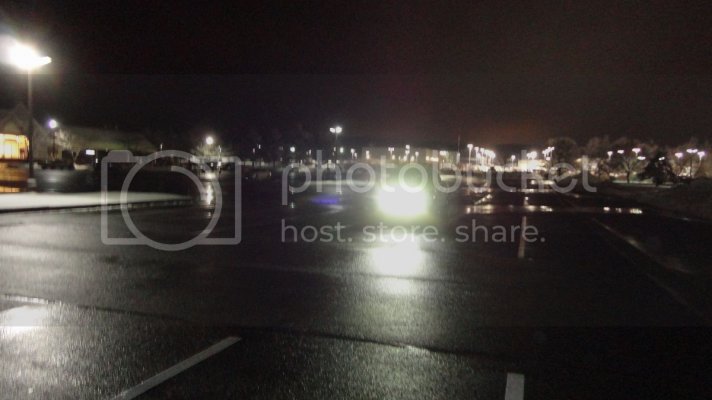
Low beams only.
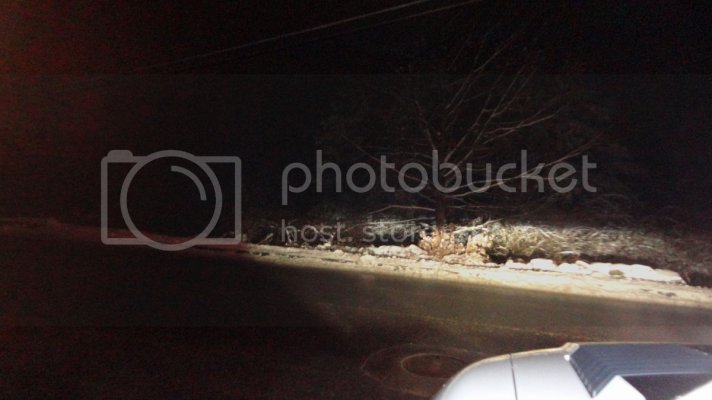
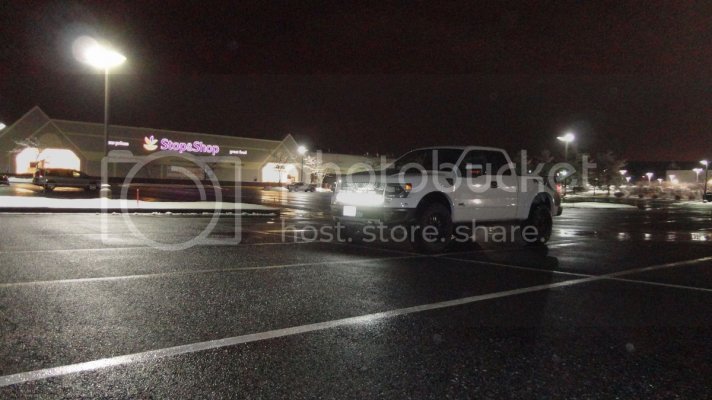
Low beams + M&R 80 LED 40"
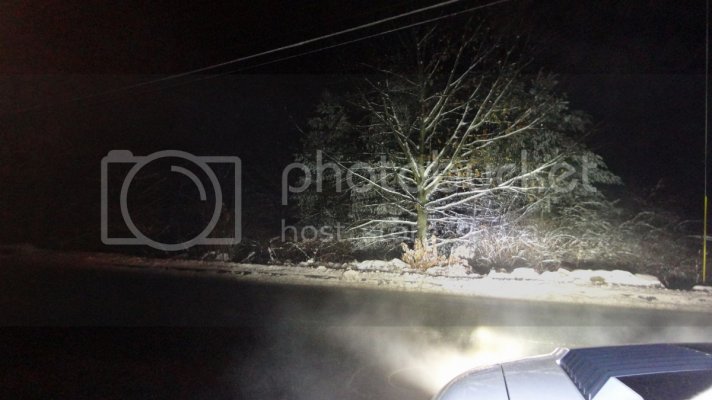
Bright!
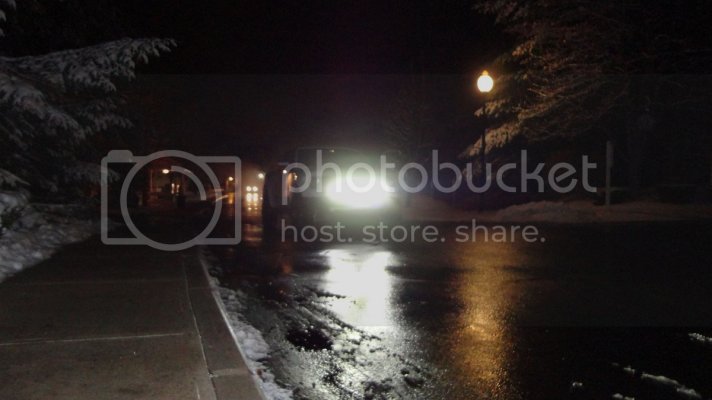
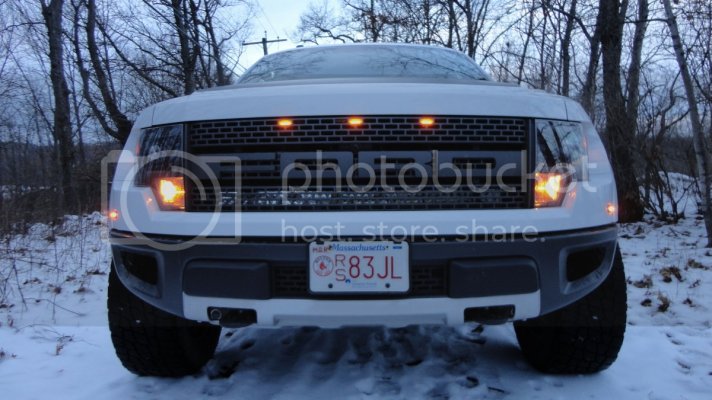
Daytime!

First I must address my honest review of M&R products. People ask me a lot since I was one of the first to do business with M&R on the forum and this is now my second M&R LED product.
Here is the deal, Mike at M&R offers exceptional customer service. He listens to what you're saying, and you can sense a genuine excitement in his involvement with the Raptor community. Lightning fast response times and fast shipping are definitely keeping the M&R ship afloat.
As for the product, I have been very happy. The lights are actually quite well built, and do throw a ton of light. I glanced at my 40" bar during a few pictures and saw purple spots for several minutes
 .
.Are there brighter lights out there? Maybe, but the lumen per dollar value can't be beat from M&R and I'll leave it at that.
On to the install...
For my 40" install I decided to use the supplied M&R brackets - more on those later.
First step is to pull the top splash guard clips and get them out of your way so you can easily get at the bolts needed to mount the light.
1. Just loosen the anchor retainer by using a #2 Phillips until you can pull it out. Then just gently pull away the splash guard and the anchor clip will slide right out.

Push the splash guard off to the side for now...

2. Next, locate the T-30 bolts that you will need to secure the light bar brackets and remove both of them. Go slow, this is a metal bolt that threads in to a plastic speed nut. It's not very strong... A socket with T-30 TORX bit makes quick work.

3. Now, for these brackets. I already called Mike and said "What is this action with all the washers and junk?" I was less than thrilled with the brackets provided for this install. However, they do work and they were free (more on this later).
* I gave Mike an earful about these brackets and he responded by saying he would get right on making a new/better bracket for the 40" LED bar mounting. That was great to hear although it won't help me(I ordered another set of brackets) but nonetheless, he is putting all his efforts toward offering a quality product.
So here is what I ended up doing with the brackets. I bent the L brackets in an effort to lengthen their reach. As they were supplied they did not line up with the mounting points. Using this method I only had to use 3 washers rather than 4 to space the brackets out.

4. Attach the brackets to the light bar in the order: Bolt, nut, bracket, washer x 3 and rubber washer as shown. Use the top hole on the L bracket. The larger hole should be left to mount to the truck. The side of the L bracket with the 2 small holes is for mounting to the light bar. Snug the bolts up for now and take to the truck.

5. Insert the T-30 TORX bolt back through the larger hole on the bottom of the L bracket (closest to the inside corner). And *snug* them up on both sides. Again, this is a metal bolt that threads in to a plastic nut so you cannot over tighten it. Go until you feel it getting tight and stop. Don't try to give it that last 1/2 turn, it will strip. An extension on the TORX socket is useful here since the light is now in the way. Do both sides and your light is mounted and ready to wire up. But wait! Actually, these M&R brackets are pretty strong as it turns out. I grabbed on and pulled pretty hard on the light and it didn't budge...I'm still swapping them out though.

Now, for the upfitter switch wiring. Let me stress that this is extremely simple, there's still to this day confusion about how to wire the AUX switches so listen closely.
1. There are 4 wires that "pass through" the fire wall. One end of them is near the ECU on the left side of the engine bay, and the other end is behind the glove box. You access the wires behind the glove box by pulling the side panel off the dash and by releasing the glove box door - pull the tabs in on each side of the glove box drawer.
Here are the 4 wires under the hood - Red, Green, Blue and Purple. Pick one. It doesn't matter which one they are just dead end wires that pass through the firewall to behind the glove box. I chose the red wire and pulled it out from the electrical tape that holds them against some conduit from the factory.

2. Now behind the glove box you will see the same 4 pass through wires that are conveniently taped with the 4 AUX switch wires. Look in your Raptor supplement to find out which of the other 4 wires corresponds to each AUX switch. I wanted to use AUX 1 so I needed to find the yellow wire.

*Tip: Use a quik-strip wire stripper like this one to strip back 1/2" of wire off each of your chosen wires.


3. Get the wires twisted together and connect them however you like. Butt connector, solder, wire nut...whatever works for you. Just be forewarned that your hand will probably get chewed to bits while wrangling these wires in. If you can solder these wires together I would be glad to shake your mangled hand.

4. With the corresponding AUX switch wire connected to your chosen pass-through wire, now you just need to connect the positive wire from the light bar to the (in my case) red wire, and find a suitable ground location for the ground wire. There are plenty of factory ground locations around the pass through wires under the hood that you can hook in to with a ring terminal.
Get your light hooked in to the other end. I used crimp connectors and tightly wrapped with electrical tape.


I just pulled the light bar wire through an opening to the left side of the radiator and added conduit, electrical tape and zip ties as necessary. That's up to you how neat you want it to be.


Not bad right?
Here are the beauty shots:
First fire up and alignment.

Low beams only.

Low beams + M&R 80 LED 40"

Bright!


Daytime!


