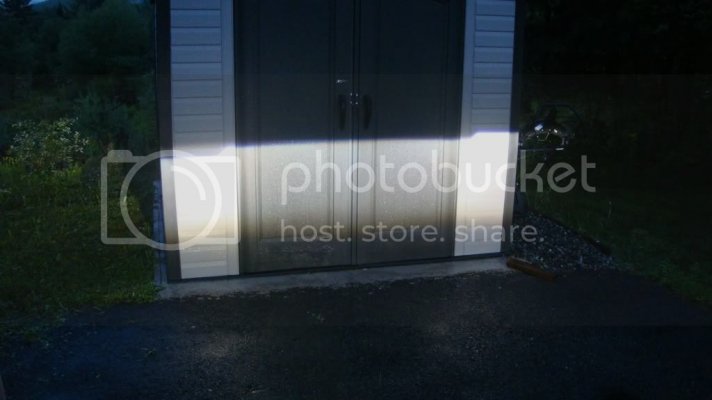
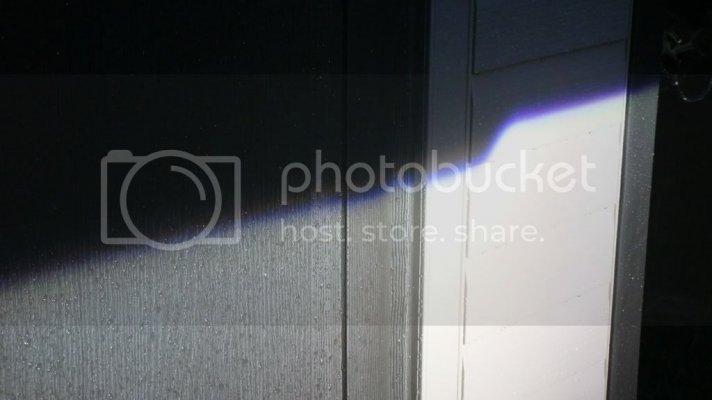
NEW - check out my custom retrofits 4 SALE !!!! - http://www.fordraptorforum.com/f29/4-sale-bi-xenon-projector-retrofit-headlights-10156/
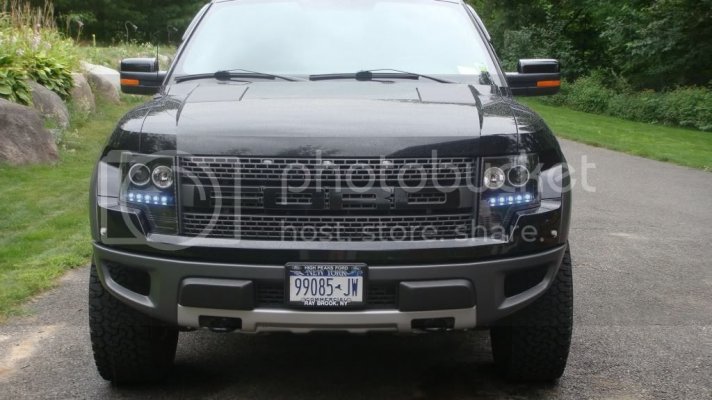
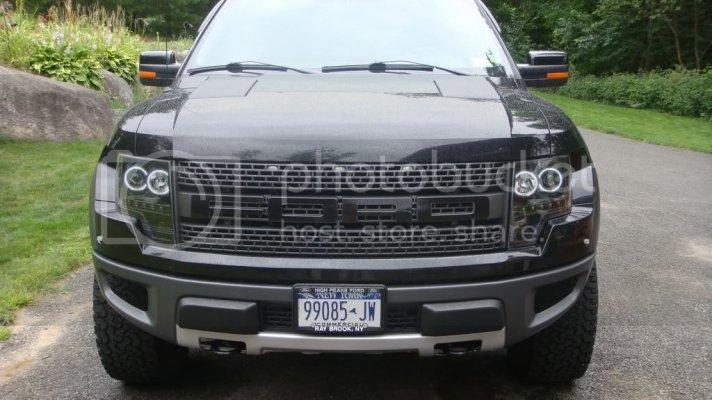
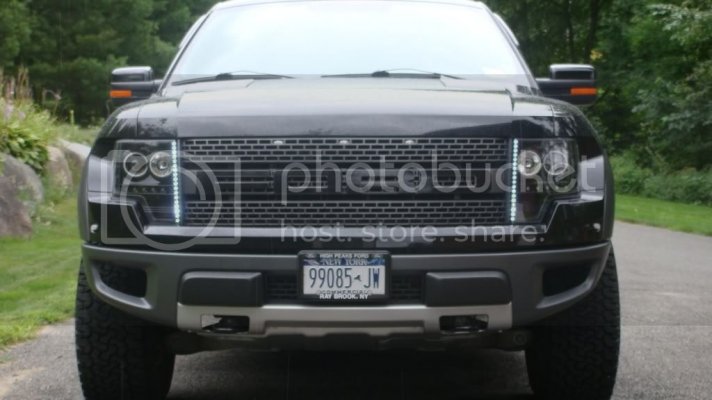
Finished them, Finally. Took two weeks mainly because I had to open them first to find out what parts I needed. I used Recon's projector headlights and upgraded the projector to a true bi-xenon HID projector and since I had them open I upgraded the garbage ccfl's and led's they came with, along with a couple other changes.
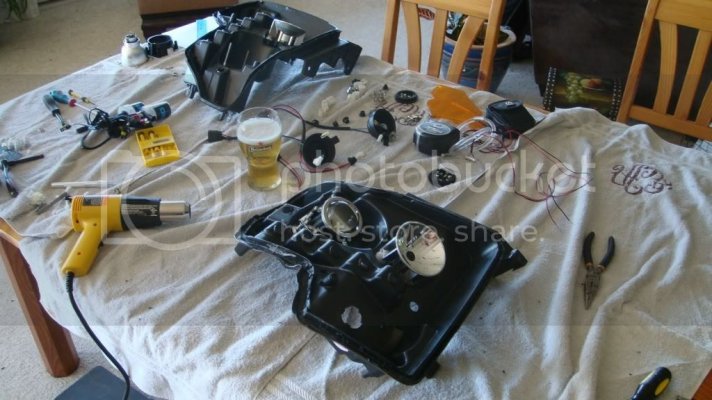
First thing was opening the headlights. Having never done a retrofit I was definitely intimidated by this but it turned out to be way easier then I thought. I tried warming them in the oven for 5 min at 200 and instantly noticed that the mounting points became pliable so I scratch that and just used a heat gun. I heated a 10 inch section at a time and used a small flat head screw driver. I found it to be easier and cleaner to heat the headlight just enough so the bond between the plastic and the sealant could be broke, as opposed to bringing the sealant to the melting point.
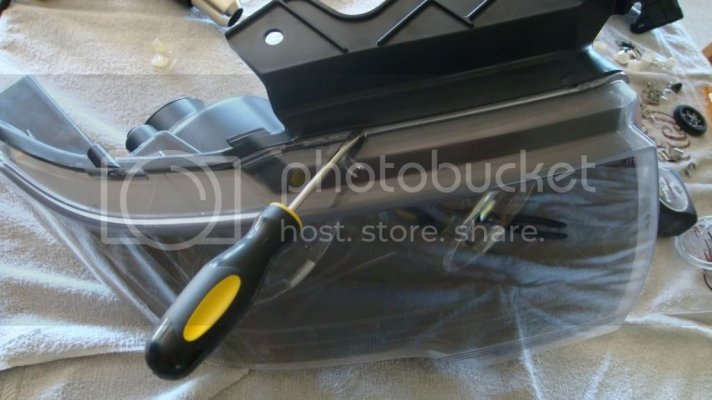
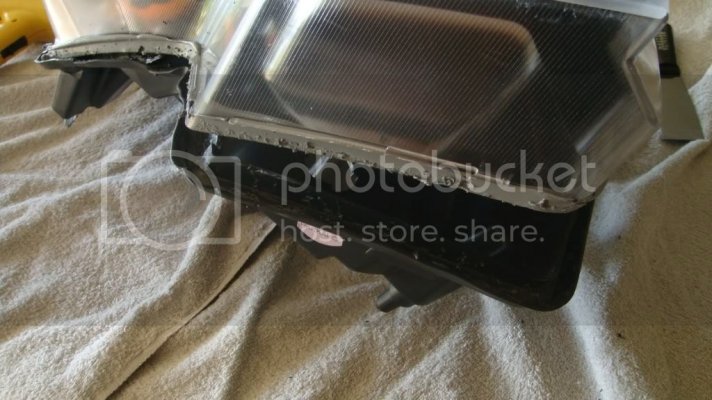
I went around the headlight one time and then got the screwdriver all the way through to break the bond on the inside. I mangled the bottom trying to get in there but Its no big deal, you can just reheat any part that got twisted and mold it back with some pliers. Keep applying heat and you can use you hands to pull it apart.
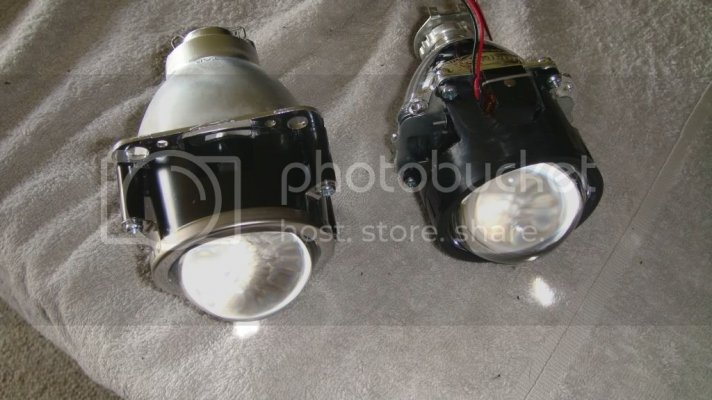
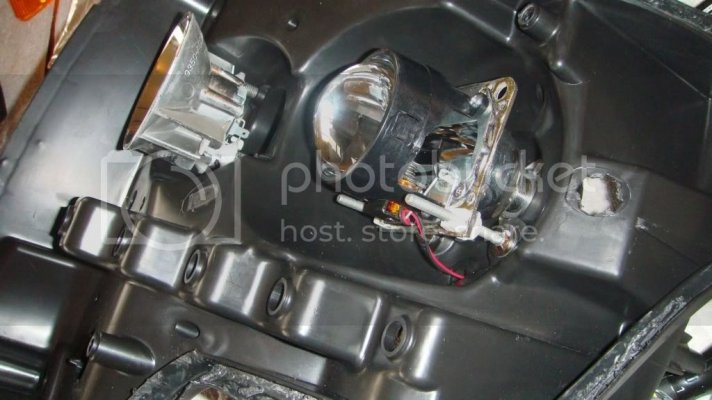
Next is mounting the projector. This is how the Recon's are mounted, I assume the other brands are similar, and a pic of the Morimoto next to it. Pretty much identical in size.
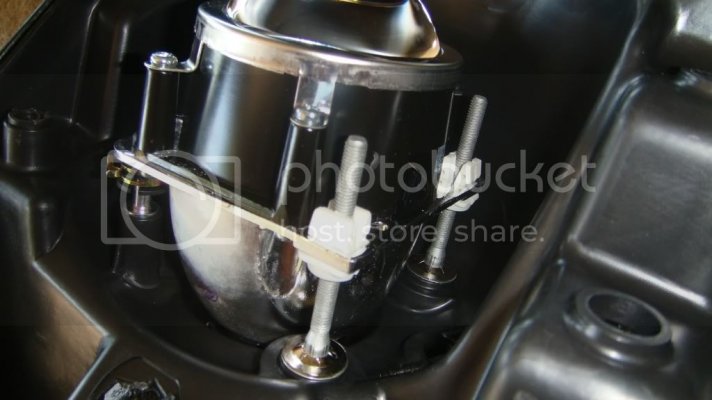
There's two adjustable points and a swiveling fixed point. My goal was to reuse these points for the new projector. To do this I ended up cutting the flat mounting plate section off of the old projector and mounting it on the back of the new one.
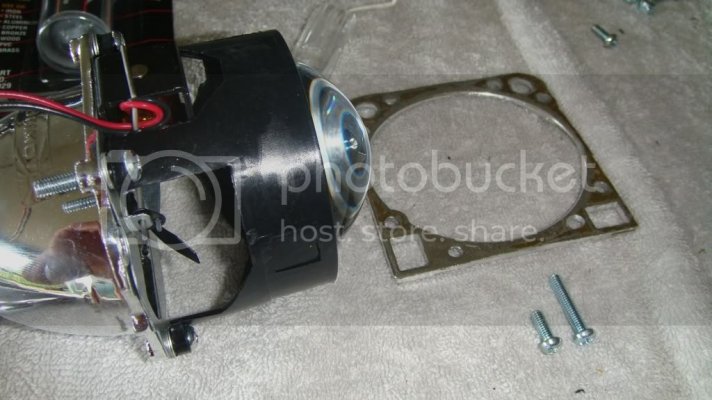
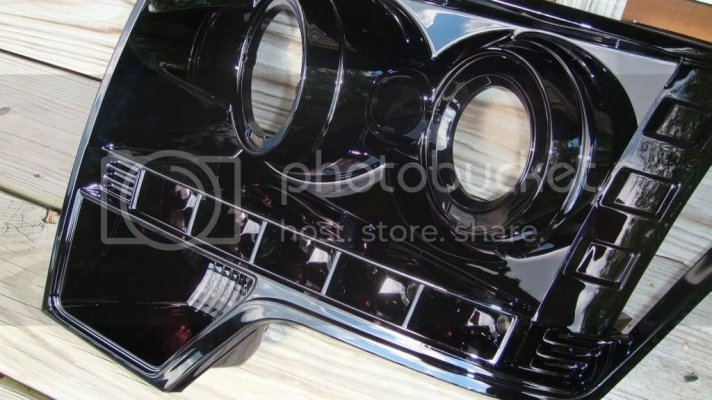
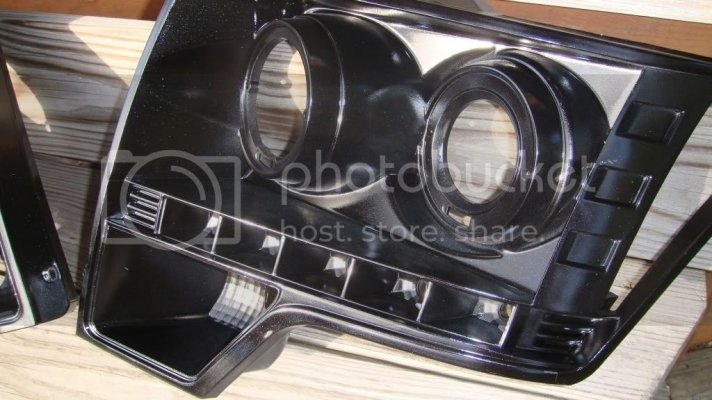
Next is the faceplate. I think what Recon did was spray a tinted clear over their chrome model for the for what they call "smoke". Whatever they did it looked great in the shade but had this deep purple reflection to it in direct sun which looked terrible against the tux black. I ordered some tux black spray paint, 3 base coats and 5 coats of clear to get it to match the truck. Turned out pretty sweet. The metallic is a bit over exaggerated because I had my flash on but its a perfect match next to the truck. here's the before and after.
The ccfl's got mounted next. The recon ones were just a glass tube with led lights. I also installed some side emitting led's I had laying around from another project.
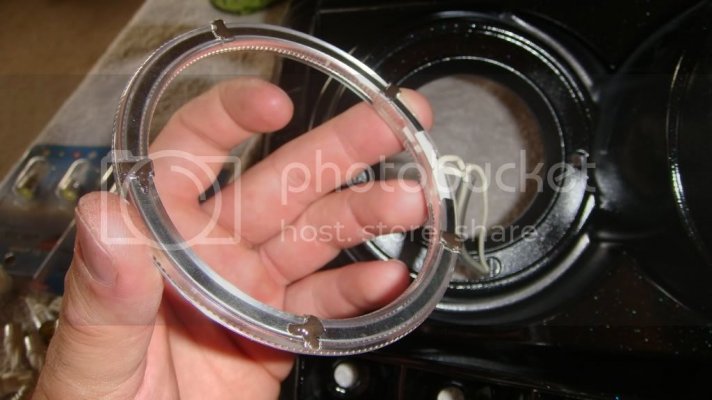
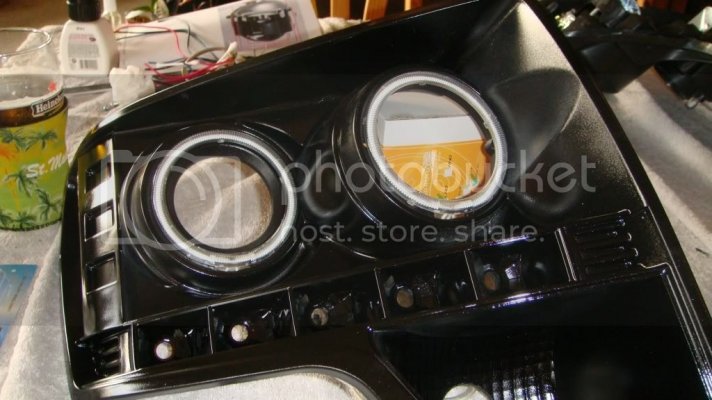
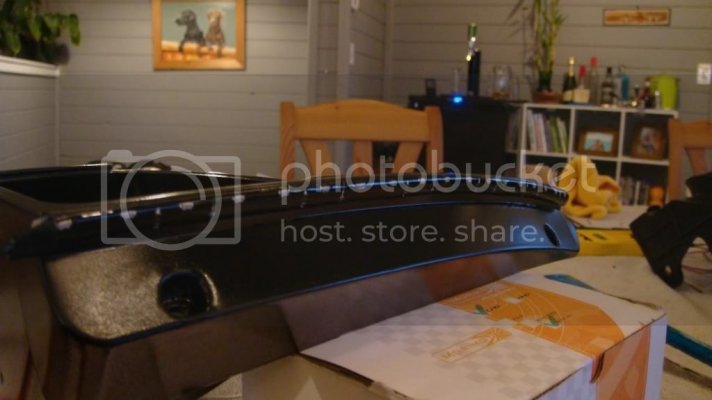
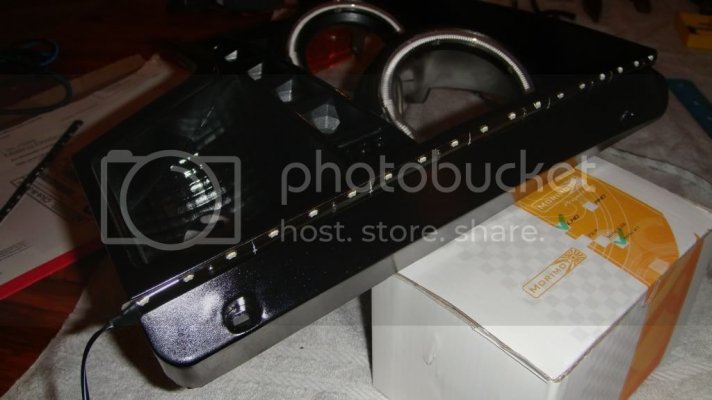
Almost done. Install the base first to get the aiming correct. You can use needle nose to grab the threaded end of the adjustment screw to aim up or down and if they need to be "clocked" you can twist them a little.
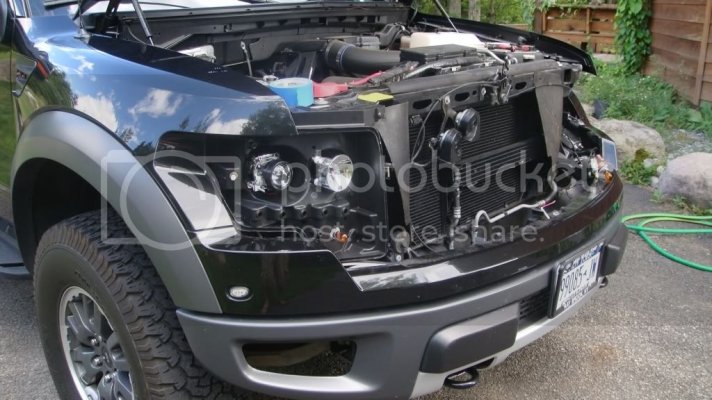
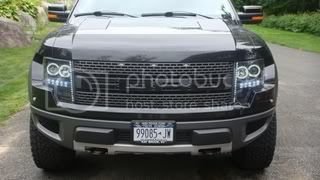
Once they were aimed I took the base back out and resealed the headlights with silicone. I used the aux switches for the different lights so I can run different combos. As soon as I got them installed it started to rain but I got a couple quick shots. Ill update with some night pics as soon as it stops raining.
Parts List...
Headlights - http://www.gorecon.com/product.php?...K-SMOKED-Projector-Headlights-Ford-F150-09-12
Projectors - http://www.theretrofitsource.com/product_info.php?cPath=25&products_id=221
HID Bulbs - http://www.retrosolutionsllc.com/servlet/the-182/DIGITAL-HID-XENON-BULBS/Detail
HID Ballast - http://www.retrosolutionsllc.com/servlet/the-172/DIGITAL-HID-XENON-CONVERSION/Detail
CCFL - http://www.retrosolutionsllc.com/servlet/the-437/Angel-Eye-Halo-CCFL/Detail
LED - http://www.retrosolutionsllc.com/servlet/the-292/158-168-194-1.5W/Detail
Side Emitting LED - http://www.theretrofitsource.com/product_info.php?products_id=233
Paint - http://www.expresspaint.com/
Finished them, Finally. Took two weeks mainly because I had to open them first to find out what parts I needed. I used Recon's projector headlights and upgraded the projector to a true bi-xenon HID projector and since I had them open I upgraded the garbage ccfl's and led's they came with, along with a couple other changes.
First thing was opening the headlights. Having never done a retrofit I was definitely intimidated by this but it turned out to be way easier then I thought. I tried warming them in the oven for 5 min at 200 and instantly noticed that the mounting points became pliable so I scratch that and just used a heat gun. I heated a 10 inch section at a time and used a small flat head screw driver. I found it to be easier and cleaner to heat the headlight just enough so the bond between the plastic and the sealant could be broke, as opposed to bringing the sealant to the melting point.

I went around the headlight one time and then got the screwdriver all the way through to break the bond on the inside. I mangled the bottom trying to get in there but Its no big deal, you can just reheat any part that got twisted and mold it back with some pliers. Keep applying heat and you can use you hands to pull it apart.


Next is mounting the projector. This is how the Recon's are mounted, I assume the other brands are similar, and a pic of the Morimoto next to it. Pretty much identical in size.


There's two adjustable points and a swiveling fixed point. My goal was to reuse these points for the new projector. To do this I ended up cutting the flat mounting plate section off of the old projector and mounting it on the back of the new one.


Next is the faceplate. I think what Recon did was spray a tinted clear over their chrome model for the for what they call "smoke". Whatever they did it looked great in the shade but had this deep purple reflection to it in direct sun which looked terrible against the tux black. I ordered some tux black spray paint, 3 base coats and 5 coats of clear to get it to match the truck. Turned out pretty sweet. The metallic is a bit over exaggerated because I had my flash on but its a perfect match next to the truck. here's the before and after.


The ccfl's got mounted next. The recon ones were just a glass tube with led lights. I also installed some side emitting led's I had laying around from another project.


Almost done. Install the base first to get the aiming correct. You can use needle nose to grab the threaded end of the adjustment screw to aim up or down and if they need to be "clocked" you can twist them a little.

Once they were aimed I took the base back out and resealed the headlights with silicone. I used the aux switches for the different lights so I can run different combos. As soon as I got them installed it started to rain but I got a couple quick shots. Ill update with some night pics as soon as it stops raining.


Parts List...
Headlights - http://www.gorecon.com/product.php?...K-SMOKED-Projector-Headlights-Ford-F150-09-12
Projectors - http://www.theretrofitsource.com/product_info.php?cPath=25&products_id=221
HID Bulbs - http://www.retrosolutionsllc.com/servlet/the-182/DIGITAL-HID-XENON-BULBS/Detail
HID Ballast - http://www.retrosolutionsllc.com/servlet/the-172/DIGITAL-HID-XENON-CONVERSION/Detail
CCFL - http://www.retrosolutionsllc.com/servlet/the-437/Angel-Eye-Halo-CCFL/Detail
LED - http://www.retrosolutionsllc.com/servlet/the-292/158-168-194-1.5W/Detail
Side Emitting LED - http://www.theretrofitsource.com/product_info.php?products_id=233
Paint - http://www.expresspaint.com/
Last edited:


 Nice job... Have you tallied up a price tag for the parts? The labor is for the love of the finished product!!!