infinitereality
SLC IR/8
First off, this is not plug & play for people wanting to just straight up swapping stock reflector housings for factory HID housings. Contact Raptor Retrofits for direct plug & play.
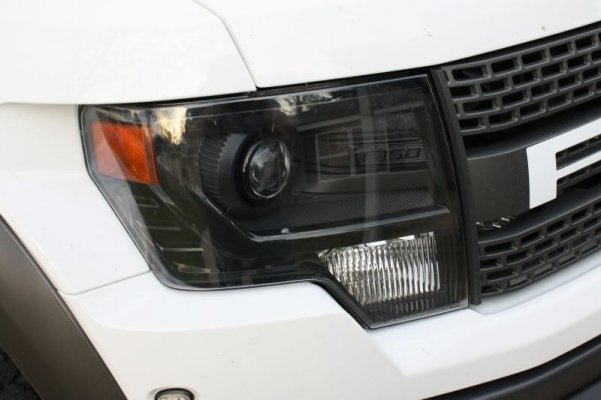
BUT this is how I made my own using a pair of slightly used stock 2013 black HID housing shells ($300 for both) along with aftermarket D2S 55w 4300K HID generic retrofit kit ($35 for 55w ballast and D2S 4300K bulbs) for $350 total!
I had a H13 HID kit on my stock reflector housings. Which they were awesome, I know the light spread sucks and though while lighting up the road the random strays of lights are an annoyance of on coming drivers.
From there I bought a set of 2013 black HID shells, this included no bulbs, no ballast and no wiring.
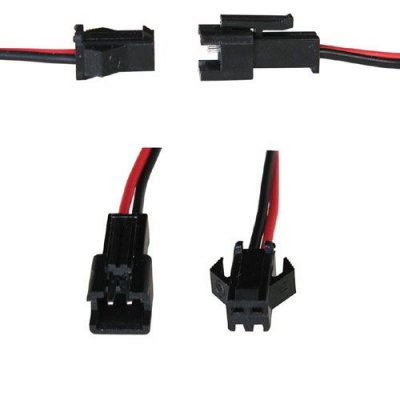
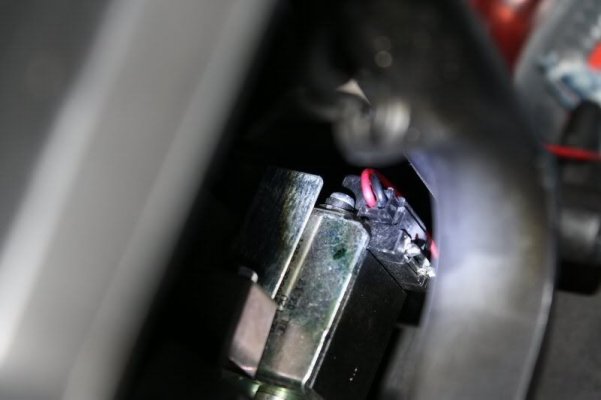
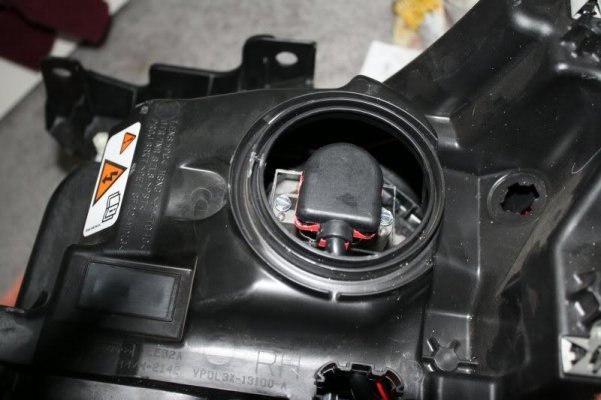
First order of business, how to do I connect the solenoid on the headlight to operate the high beams. I could see where it plugged in on it and I had a generic set of 2-wire plugs seen at bottom of the text of this thread. Just had to shave off a little bit of the sides and top of bottom and it plugged right in, nice... stock-like. Ran the wires through the stock harness location on light housing. I then cut off the solenoid plug from the H13 bulbs themselves, soldered to this harness and will allow me to connect to the H13 harness.
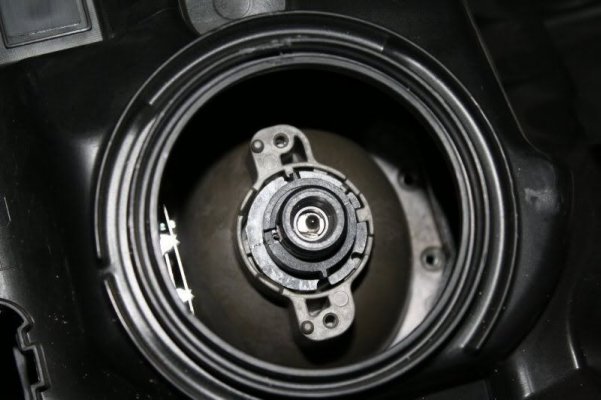
I ordered a set of D2S 55w 4300K kit from eBay dealer. I knew the D2S bulbs would fit in the same socket as the stock D3S bulbs, so the dilemma was getting the bulbs securely mounted. With some Lexan, measurements and CAD I made my own brackets which securely mounted the D2S bulbs using stock mounting holes. Plugged D2S harness on the bulbs and ran it through where the stock harness would go on the light housing.
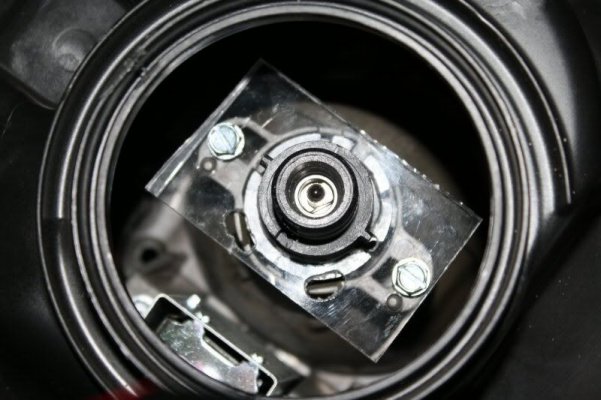
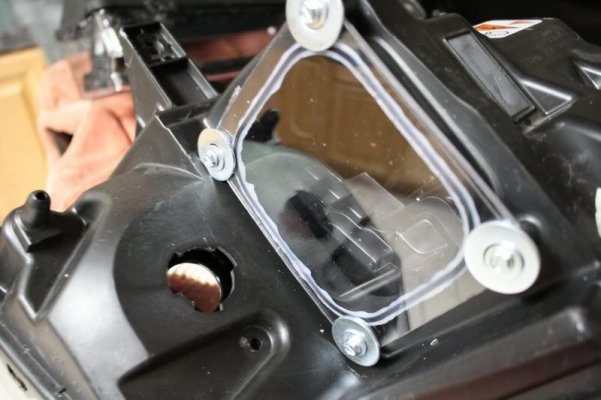
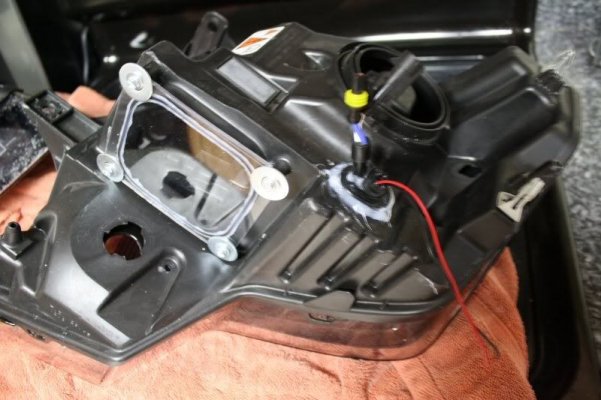
Next up was I needed to cover up location where stock ballast would have gone to seal up opening. Cut a piece of Lexan out with holes on it that would go AROUND the stock mounting points. Added a couple washers to keep it flush and securely mount it to the stock housing. Before finally securing it, I applied a bead of silicon to outside ring to make sure it was definitely sealed.
Now I used the generic HID grommets that comes with the HID kits, while it was circle in shape, I applied a bead of silicon and it fit nicely around opening. After an hour to secure it, I came back with silicon to seal up the holes on the sides and anything else I thought may cause a leak. I did this another time, just to be safe.
With having the H13 module from my HIDs already installed, this allowed me to easily plug & play my new 2013 housings onto that module just like my retrofitted H13 bulbs with ZERO cutting any stock wiring. Everything just plugged in from bulbs to solenoid to signals to running lights.
Put them in and let the new bulbs burn in for 10-15min, which I've always done from 2005 since I ever installed HID kit on any vehicle. Probably not a necessity, but always have.
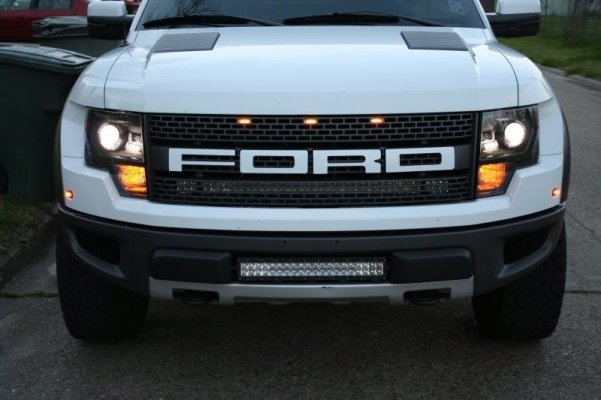
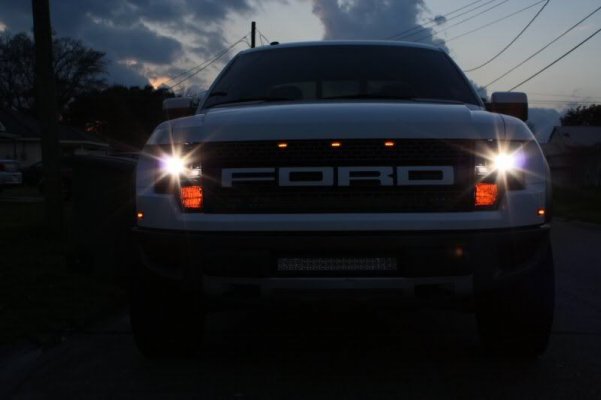
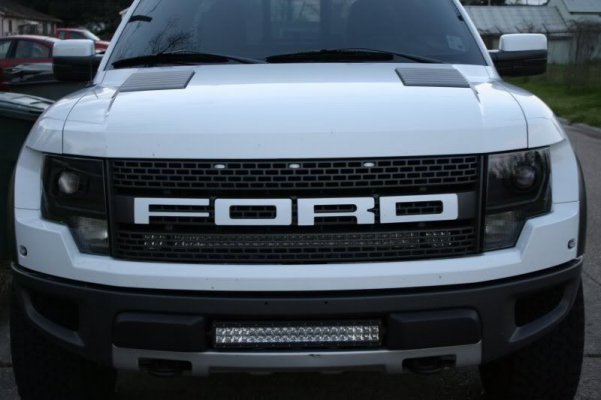
Now I have a set of 2013 black HID housings with aftermarket D2S 55w 4300K HID kit and everything works just as stock! The cutoff is 1000x better than stock, it actually has one now! I also should get 20w more per bulb output compared to actually 100% retrofitting a 2013 stock housing, bulbs, and ballast.
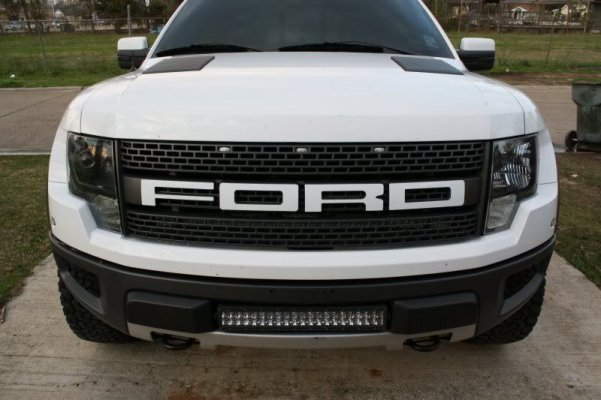
My opinion.... the stock H13 HID retrofit was a little brighter but no doubt due to the random spread of light EVERYWHERE. Now there's a nice sharp cutoff line and the light is WAY more even all the way across the road. Plus when the lights are off, I guess you could say my 2010 Raptor looks more up-to-date now.
I'm still in R&D phase of this process, I want to give it a week of trial to make sure everything works and operates as it has been for past couple days. We had 2 straight days of rain and no fogging so my lights are sealed at least! My only concern right now is the H13 harness that came with my H13 retrofit will work fine with the D2S bulbs. I see no reason why it won't, but want to make sure before anyone that decides this is a route/project they want to take on will work with no issues!
I forgot to post a link and picture of what I used and modified slightly so it'd plug into the stock solenoid inside the housing. I just used the female end of it. Couldn't ask for a more perfect fit!!
https://www.allelectronics.com/index.php?page=item&id=CON-240


Last edited:

