After scouring the net for instructions on how to properly install a craven speed stubby antenna, my search came up short. Thanks to the great members of FRF and some knowledgeable techs at the various ford dealerships, I set off on my adventure to tackle this job in my driveway with a few basic tools.
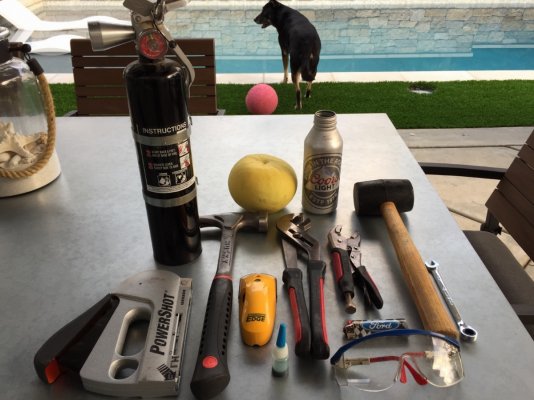
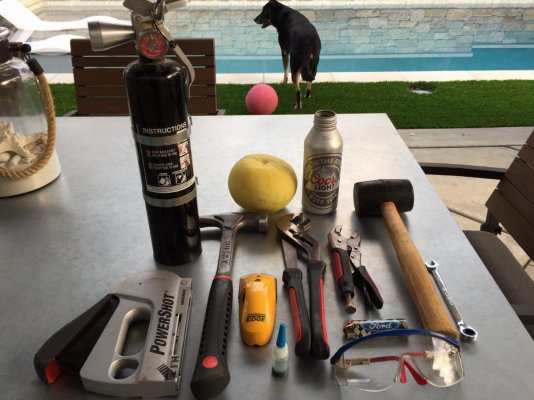
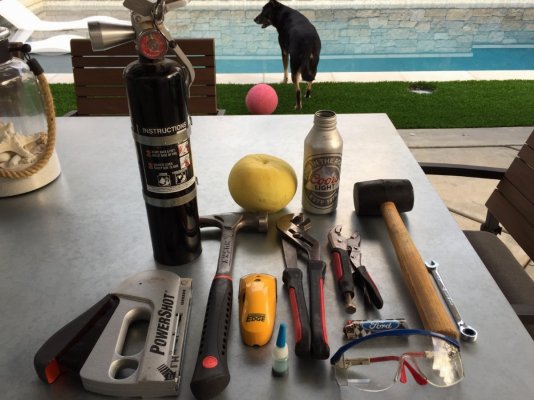
Here is a detailed list of needed items:
-Stud finder
-Safety glasses
-Rubber mallet
-Grapefruit
-Lighter
-Hammer
-Vice grips
-Chanel locks
-Fire extinguisher
-3/8" wrench
-Staple Gun
-Locktite
-Silver bullet (most important)
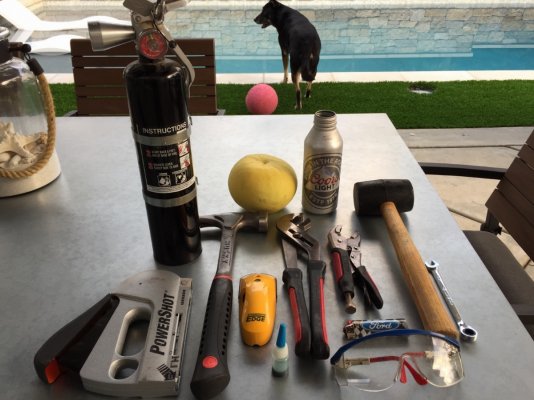
So with my killer set of tools, I set out to install this marvel of engineering known as the craven stubby antenna.
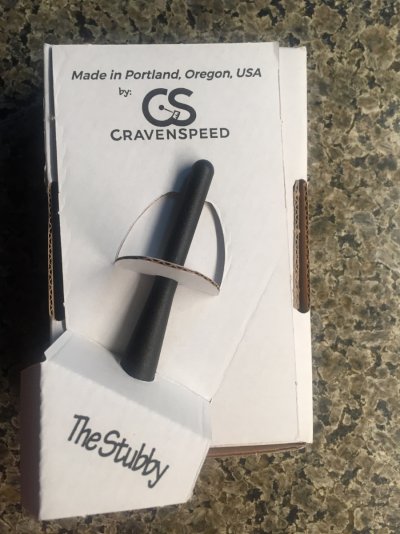
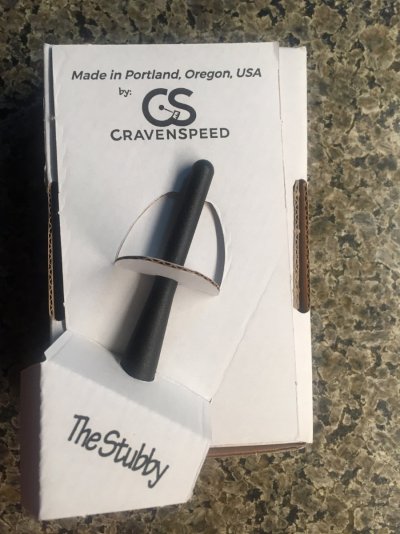
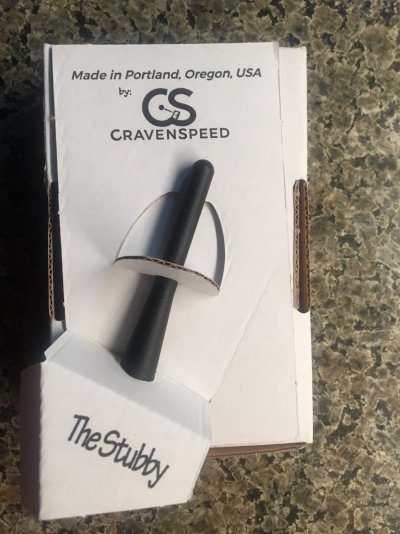
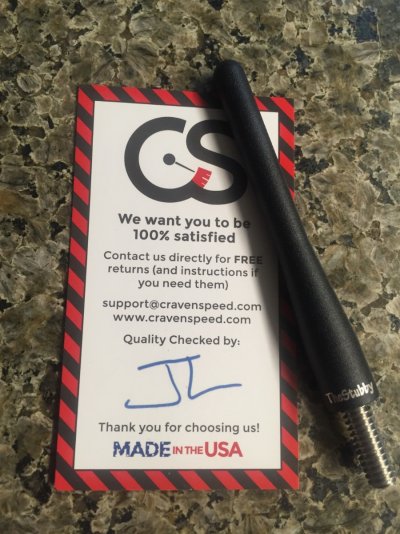
Let's take a deeper look at the product for a second:
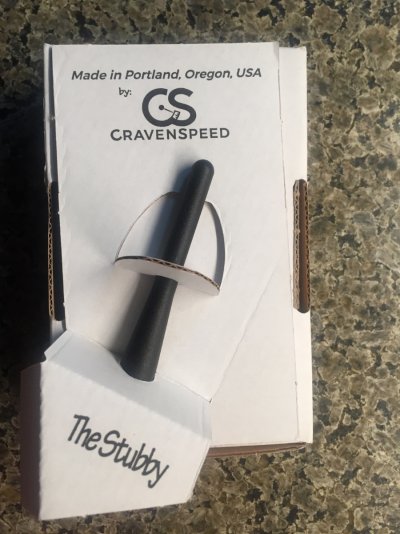
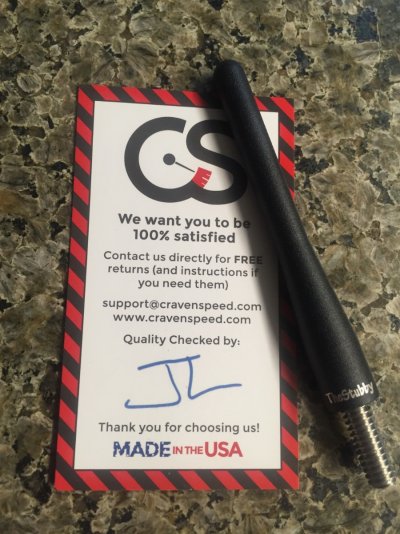
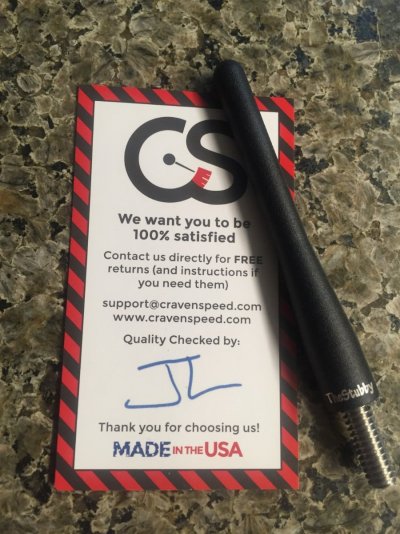
Strict quality control at the craven factory. Thanks JL for making sure my stubby was flawless
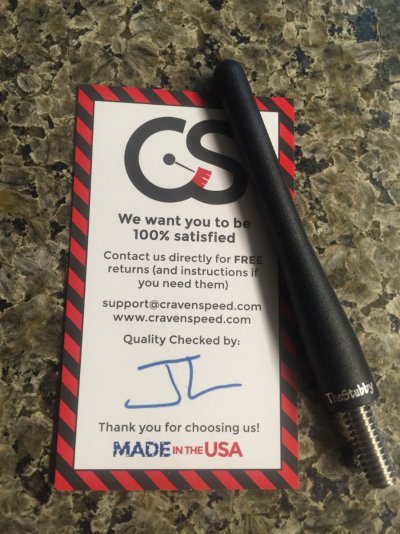
Now time to install this bitch...
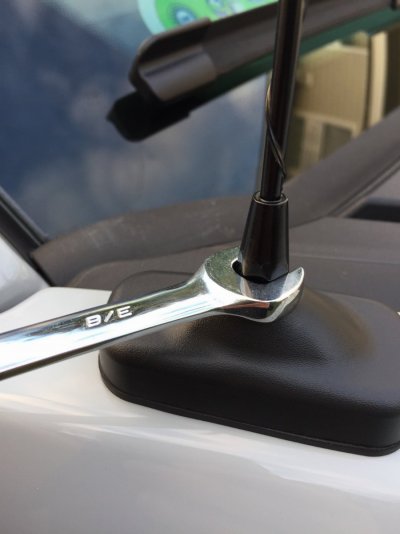
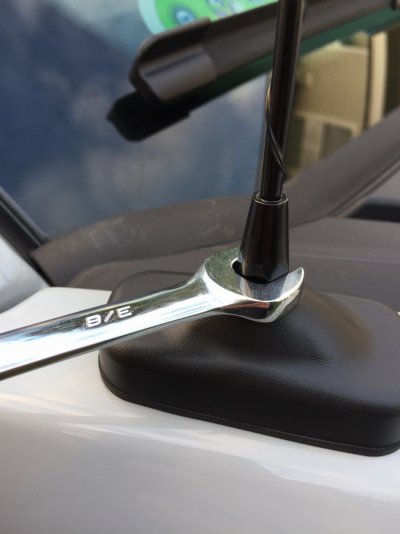
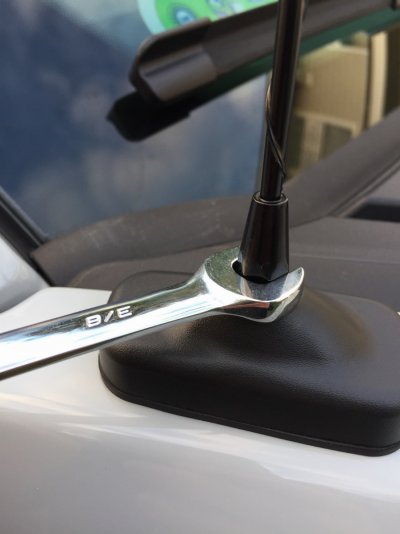
With safety googles on, I proceeded to hammer the stock antenna to loosen the threads with the rubber mallet. It wasn't enough so I then proceeded to heat it with my lighter and use a real hammer for the remaining loosening. Once the threads have given way, I used the channel locks and vice grips simultaneously to loosen it further. Didn't work so I busted out the trusted stud finder. Once I found the weak point, I used the 3/8" wrench for the final loosening of the stock unit. Reference pic:
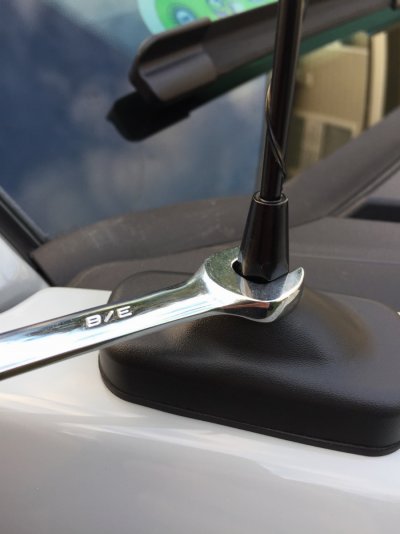
Phew.... the hard part is done. Slammed the CL tall boy and proceeded with the install.
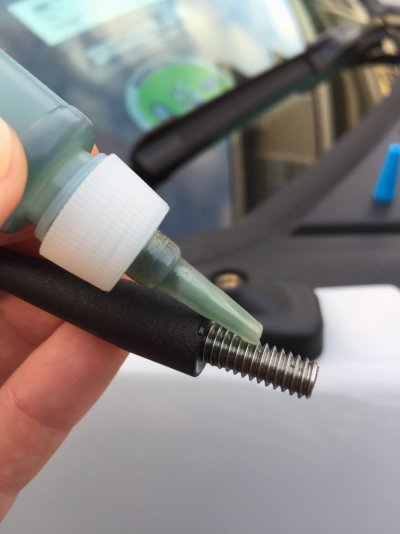
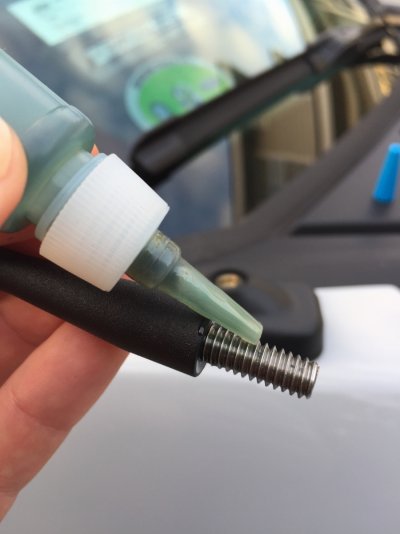
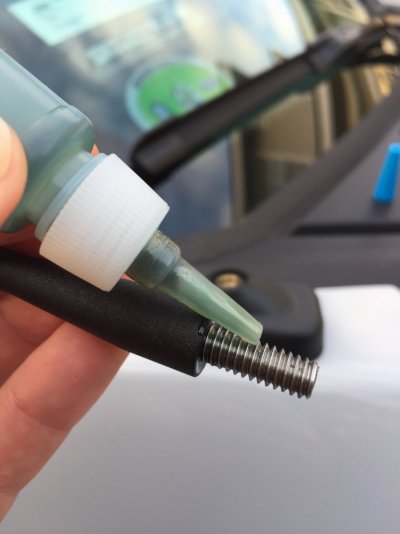
I coated the threading on the stubby with some old crusty locktite I had.
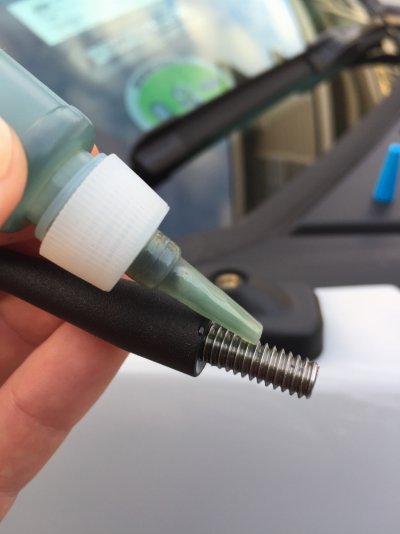
You see in the hood, you never know who's gonna walk off with your stubby. Now here's where the grapefruit comes in. I place the grapefruit on the hood every night as a peace offering. Works every time and I somehow wake up to my stubby still intact but the grapefruit is gone so I know it works.
Hopefully this helps some of ya'll that are hesitant to do this yourself. It's not as hard as it looks.
I have @Aaron coming over in a couple weeks to recalibrate my sync 3 module to communicate properly with the stubby. He may be able to elaborate further on those steps in the meantime.
Here is a detailed list of needed items:
-Stud finder
-Safety glasses
-Rubber mallet
-Grapefruit
-Lighter
-Hammer
-Vice grips
-Chanel locks
-Fire extinguisher
-3/8" wrench
-Staple Gun
-Locktite
-Silver bullet (most important)

So with my killer set of tools, I set out to install this marvel of engineering known as the craven stubby antenna.
Let's take a deeper look at the product for a second:

Strict quality control at the craven factory. Thanks JL for making sure my stubby was flawless

Now time to install this bitch...
With safety googles on, I proceeded to hammer the stock antenna to loosen the threads with the rubber mallet. It wasn't enough so I then proceeded to heat it with my lighter and use a real hammer for the remaining loosening. Once the threads have given way, I used the channel locks and vice grips simultaneously to loosen it further. Didn't work so I busted out the trusted stud finder. Once I found the weak point, I used the 3/8" wrench for the final loosening of the stock unit. Reference pic:

Phew.... the hard part is done. Slammed the CL tall boy and proceeded with the install.
I coated the threading on the stubby with some old crusty locktite I had.

You see in the hood, you never know who's gonna walk off with your stubby. Now here's where the grapefruit comes in. I place the grapefruit on the hood every night as a peace offering. Works every time and I somehow wake up to my stubby still intact but the grapefruit is gone so I know it works.
Hopefully this helps some of ya'll that are hesitant to do this yourself. It's not as hard as it looks.
I have @Aaron coming over in a couple weeks to recalibrate my sync 3 module to communicate properly with the stubby. He may be able to elaborate further on those steps in the meantime.


