TheJoker
FRF Addict
So as I was getting ready for a recent "expedition", and I wanted to maximize the room under my bed cover (Bak Flip F1). I knew that where I was going I may need to bring an axe and shovel, you know, just in case we encountered zombies. Well, to kept them secure and up off the floor, I came up with a rack system which is removable, light weight, and strong.
I ordered elevator bolts from Fastenal and used Plasidip to coat the large heads. These are the same bolts which Bak Flip uses to secure the cover to the rails. I then went to the hardware store where I purchased stainless steel fender washers, lock nuts, plastic thumb screws, and plastic 4 1" x 1" furniture plugs. I also picked up a 1" x 1" x 36" galvanized square tubing which was pre-drilled every inch.
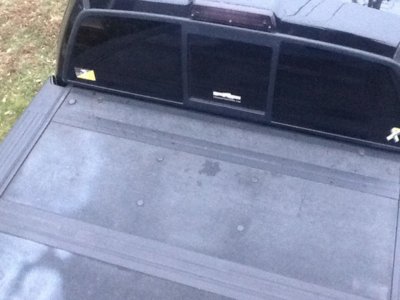
I then cut the galvanized tubing into 2 16" lengths, painted them with rattle can bed liner and inserted the furniture plugs into each end to finish them off. Using the pre-drilled holes, I laid out the holes to drill in the bed cover. I then secured the bolts to the cover using thin rubber washers to keep any water out
To mount the axe and shovel to the rack, I bought Davis Quick Fist #540, using stainless hardware, I secured them to the tubing using the pre-drilled holes. Once this was done, I mounted the axe and shovel to them, in order to determine how far off the cover I needed to place the tubing. I wanted to have the shovel barely make contact with the cover when everything was mounted. Using several thick rubber washers, I got the spacing I needed, and then I used the thumb screws to attach the tubing to the bolts already secured to the cover.
As for the axe and shovel, I had these lying around. All I had to do was paint the metal and PlasiDip the handles, they looked brand new. So far there is not any sagging at all.
Hopefully the pics do a better job of explaining everything.
Here is the finished set up:


The elevator bolts:

The tubing:


I ordered elevator bolts from Fastenal and used Plasidip to coat the large heads. These are the same bolts which Bak Flip uses to secure the cover to the rails. I then went to the hardware store where I purchased stainless steel fender washers, lock nuts, plastic thumb screws, and plastic 4 1" x 1" furniture plugs. I also picked up a 1" x 1" x 36" galvanized square tubing which was pre-drilled every inch.
I then cut the galvanized tubing into 2 16" lengths, painted them with rattle can bed liner and inserted the furniture plugs into each end to finish them off. Using the pre-drilled holes, I laid out the holes to drill in the bed cover. I then secured the bolts to the cover using thin rubber washers to keep any water out
To mount the axe and shovel to the rack, I bought Davis Quick Fist #540, using stainless hardware, I secured them to the tubing using the pre-drilled holes. Once this was done, I mounted the axe and shovel to them, in order to determine how far off the cover I needed to place the tubing. I wanted to have the shovel barely make contact with the cover when everything was mounted. Using several thick rubber washers, I got the spacing I needed, and then I used the thumb screws to attach the tubing to the bolts already secured to the cover.
As for the axe and shovel, I had these lying around. All I had to do was paint the metal and PlasiDip the handles, they looked brand new. So far there is not any sagging at all.
Hopefully the pics do a better job of explaining everything.
Here is the finished set up:


The elevator bolts:

The tubing:


