GEN 2 Reverse Lights

Disclaimer: Links on this page pointing to Amazon, eBay and other sites may include affiliate code. If you click them and make a purchase, we may earn a small commission.

Muchmore

FRF Addict
Joined
Dec 23, 2018
Posts
1,679
Reaction score
3,220
Location
Kansas City
This looks like a clean look. Water intrusion would be a problem in my region however. I have thought about the goto’s (S1 and S2’s), but to me it takes away from the clean look out back and adds a bit much of the utility truck look. Is there a small and thin higher quality light bar available to mount under the bumper as shown above?

I've installed 3 sets of these on friends and family and haven't had a set go bad yet. My light has been submerged multiple times. I'm only referencing the light I listed in the post, I've never tried any other brand but these do last and work fantastic. There is a perfect "slot" in the hitch that keeps the light protected from any kind of crushing even. They fit perfectly!
 

sixshooter_45

2019 Ruby Red Metallic SC, 3.5 L Twin Turbos.
Joined
Jun 17, 2012
Posts
1,594
Reaction score
874
Location
Arnold
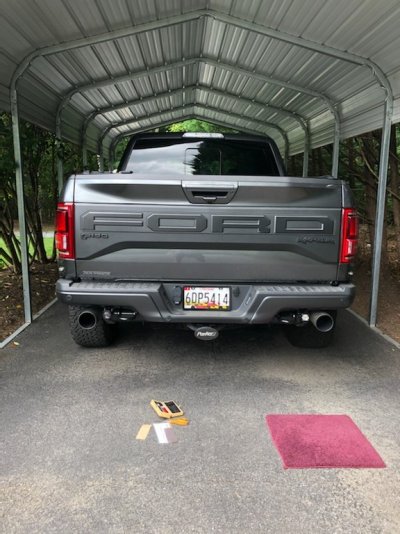
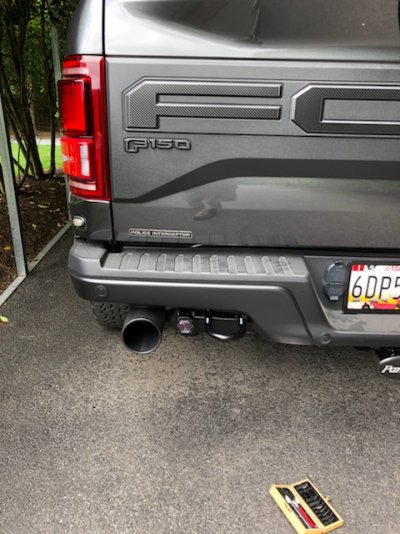
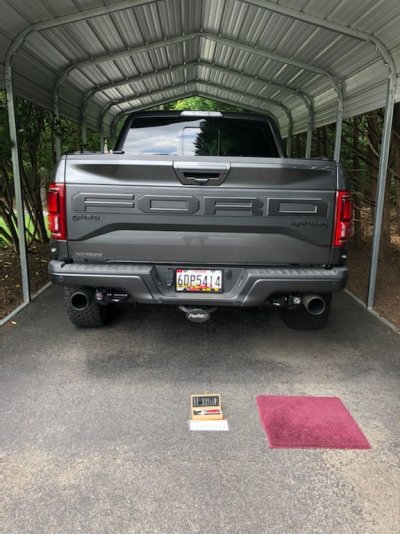
Here are mine. Mounting hardware blacked out, 1 piece of smoked film over the lenses. PLENTY of light, barely noticeable and makes a world of difference when backing up..... Top pic shows the film over only the driver's side light at that point.

F9RJ9I.jpg

9JM39r.jpg

gMZlTu.jpg

Where did you get the smoked film?

Will that film hold up to the heat from prolonged use of the back up lights?
 

Todd Turbo S

FRF Addict
Joined
Nov 28, 2012
Posts
1,012
Reaction score
1,497
Location
Nor Cal
Of course. So, I simply used some blue painters tape to overlay and draw on. I then measured out the optimum place for the lights (given that there are several radius is in the area) and then drilled starter holes in the corners and used and air saw to cut out the plates. Please don’t use a grinder, an air saw is the only way to get the lines just right. I then used a deburring tool to ensure the edges were smooth before applying primer and paint to the holes edges. Make sure you have a good set of center punches as you cannot afford to get the holes for the lights off-center. Then simply mount with the included hardware, making sure you don’t over-toque them (again as you are working with a flat plate on a bit of a radius) and then get yourself a tube of black all weather silicone for windows from Home Depot. (Do not use arc/rtv silicone. The kind I’m talking about repels dirt so it always looks clean). Then run the wiring up through the frame. It’s much easier then it sounds. Just use a coat hanger and pull it out some progress holes as you go along. (Remember to tape the ends of the wires together so they don’t keep getting stuck on things they would normally slide by). Let me know if you have any more questions. Hopefully I answered your question. Flush mount kicks ass. View attachment 161604View attachment 161605View attachment 161606
Wow, that is a very professional looking cut out, extremely clean. I need to find someone with your skills to make the cut outs for mine. Great job and thank you for the write up.
 

Johnkn

FRF Addict
Joined
Nov 29, 2018
Posts
1,259
Reaction score
894
Location
LaPlata, MD
Where did you get the smoked film?

Will that film hold up to the heat from prolonged use of the back up lights?

The film is from LaMinX (Fog Film) and looks perfect after 8 months. Many shades. I originally used it to tone down my BD outer yellow fog lights to exactly match the color and intensity of the factory amber lights.

.
 
Top