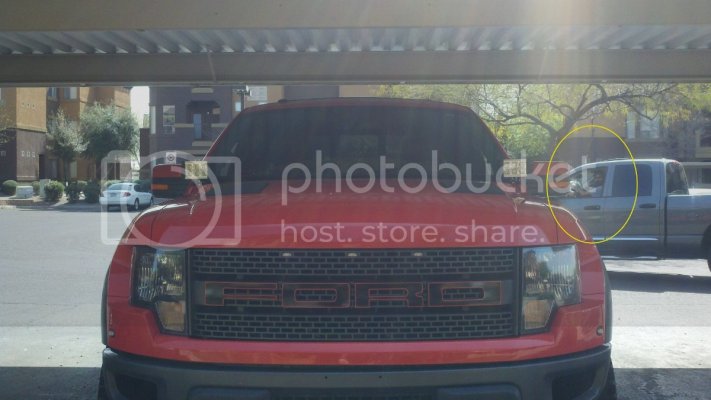
Well a few weeks ago I ordered me some coming home presents for putting up with working in the ******** that I do. So today I finally got around to putting a couple on, and there's still two more to do, I'll hopefully have those done sometime next week. It's looking like the Badlanz cutout will be Friday and Wicked's pedal kit will be here next week if all goes well.
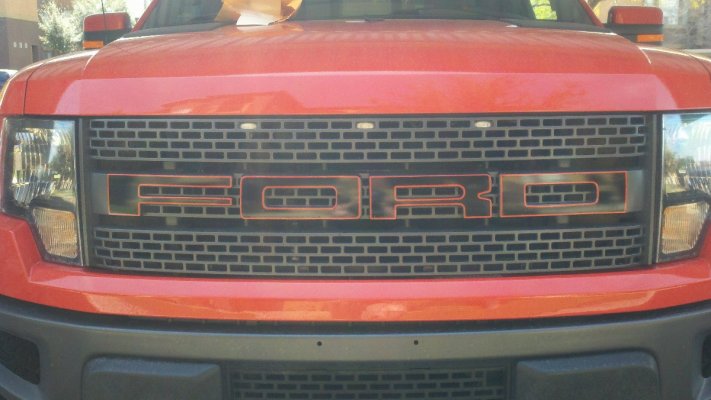
Anyhow, I digress. I'll get into the mods I did today and I'll do a small write up on each. So for starters we'll do the Ebay "FORD" logo sticker kit for the grille. Now I'm not going to divulge his info on here publicly, but I'll be more than happy to drop you a link in a PM.
They're kind of a pain to get on straight, especially the O and the D surprisingly, but with some patience it's not impossible. So...pics!
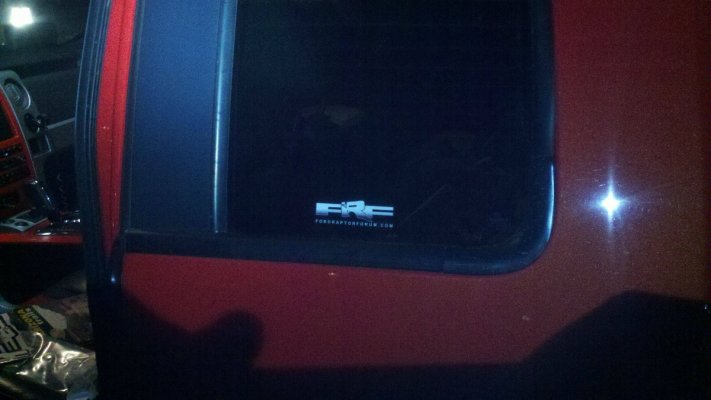
Next up was a pretty simple one, but important nonetheless. I had to put on my FRF sticker. So I went for the small one, but I wish there was another of the smallest size so I could put one on each wing window. Since there wasn't I just slapped it on the drivers side:
Now on to the most involved part of today's festivities. Installing my 6" M&R LED lights onto my Outlaw Offroad hood mounts.
OUTLAW HOOD MOUNTS:
I learned a few tricks for doing this quickly and painlessly. The first of which was to take a sharpie and make some marks around the hood bracket before I loosened up the bolts, like this:
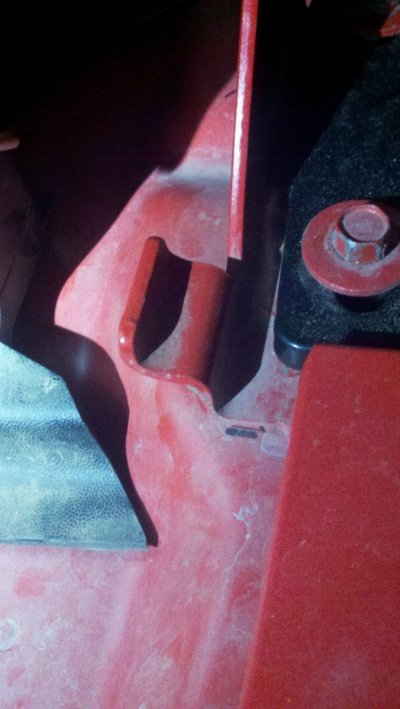
You can see my sharpie mark right there on the bottom left corner of the bracket, I also put two along the outboard side of the mount so I could get my side to side alignment. This was huge as it let me get the hood realigned in about 30 seconds without pulling the hydraulic struts off of the hood.
I simply used one hand to push up on the hood until the mount lined up with the holes, then finger tightened the bolts, grabbed my socket wrench and pushed on the hood again until it lined back up with the lines and tightened down the bolts while pushing up on the hood to keep it lined up.
Rinse and repeat on the other side and the hood was still aligned perfectly. Total install time on the Outlaw mounts was 45 mins or so from opening the hood to closing it.
M&R 6" ELITE LED LIGHTS:
Next I set to getting the M&R lights on the mounts. I found it easiest to take the light off of the bottom bracket and then bolt the bracket to the Outlaw mount before bolting the light to the bracket. The main problem here is the limited space to get the nut onto the bolt because the mount sits low enough that it's a squeeze between the fender and the mount.
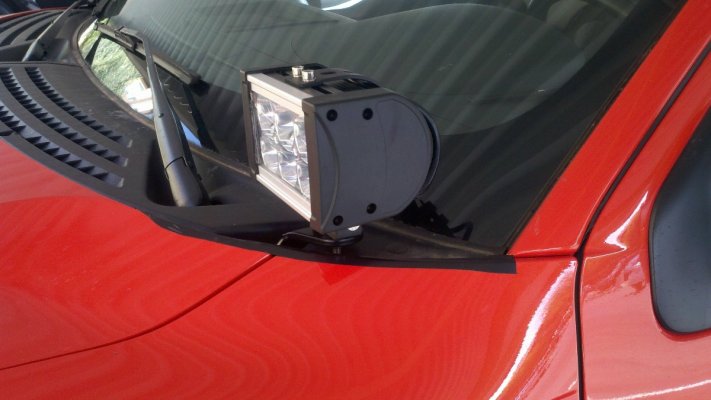
A good trick to use if you don't want to scratch the crap out of your paint is to put a line of tape over the top edge of the fender and hood. I used electrical tape (not reccomended b/c it leaves residue) you might want to go with masking or painters' tape instead. Here's a good shot of what I mean with the tape, and you can also see how little clearance there is to get a wrench under that mount.
I didn't get any pictures of wiring them up because really it's pretty straightforward. I used Aux 4 due to it having a 10 amp fuse, which is about 5 amps more than I need, but it should be fine, I may change it tomorrow, but I'll probably stick with it. For a ground I used one of the ground lugs on the left side of the engine bay.
I will say that Ford sucks for the way they left the upfitter wires behind the glovebox so damned short. Mechanical strippers are the ONLY way to go for this, there just is not room for any other method. If you have mega hands be prepared to hate your life at this point.
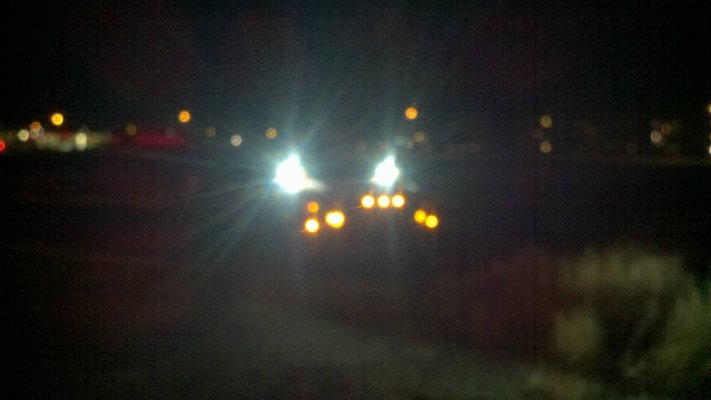
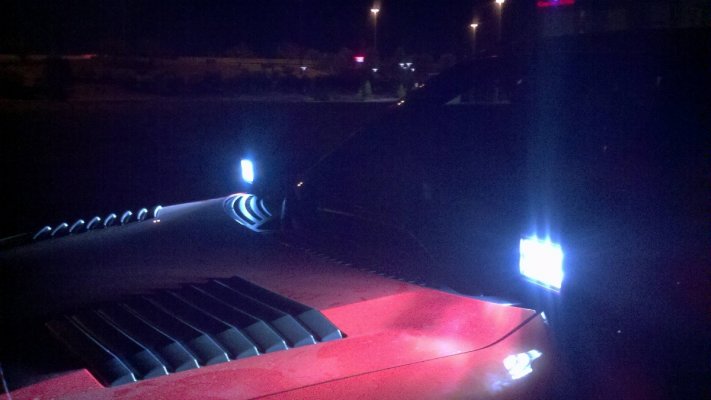
So all wired up and ready to rock and roll. I took some pics and then headed out to a dark field across the street to play with them. Pictures...activate:
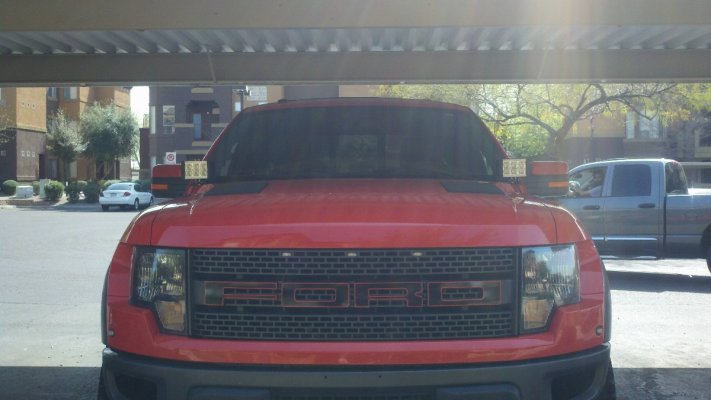
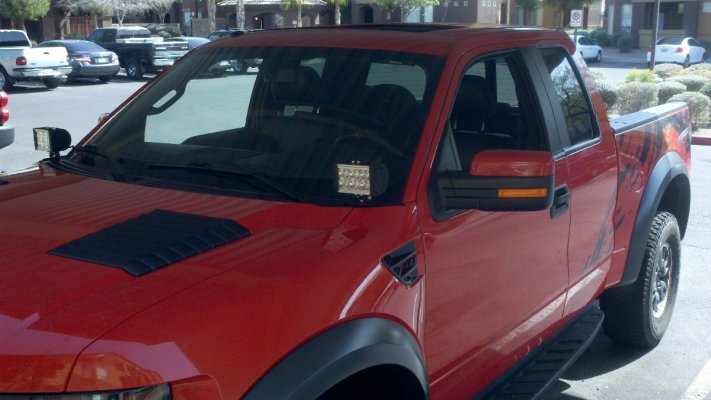
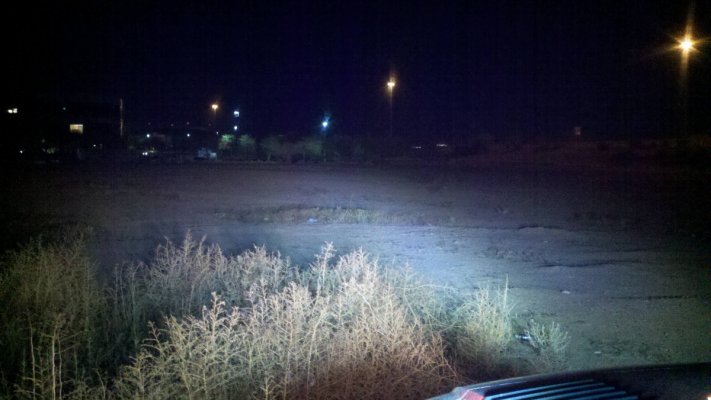
These lights on pics kind of suck because I had to take them with my phone, but they really are this freaking bright.
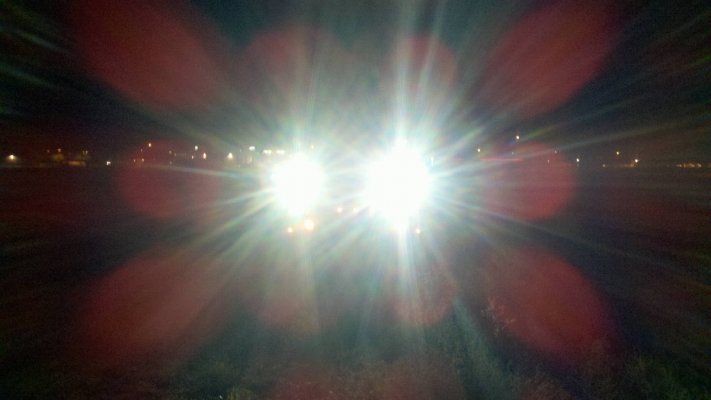
Now for some drivers' perspective light comparisons
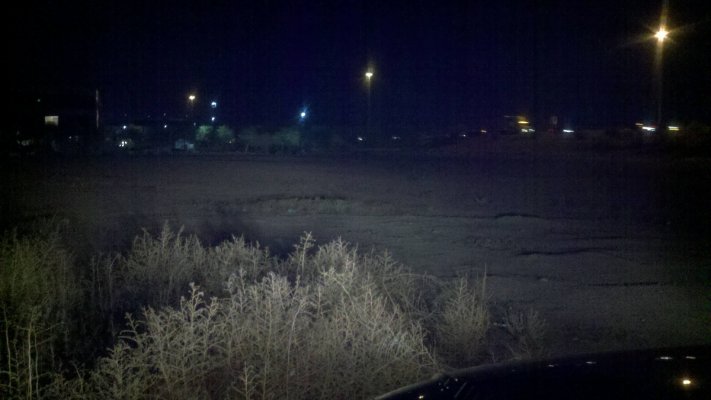
First here are just the headlight high beams:
Now just the M&R 6" lights:
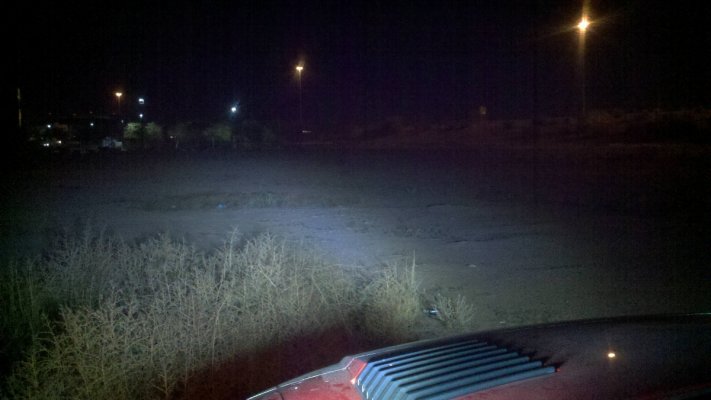
They throw some really bright white light. They're supposed to be spots, but they do a great job of illuminating everything off the the sides too kind of like a flood would. They don't light the hood up enough to cause any eye strain though, at least it doesn't seem like it would, I need to run them at night for awhile to really see. They do light it up a bit, but its really tolerable.
Now for Highs + M&R lights:
Ok and last, I wanted to show you guys how I figured I can secure these lights. It seems kind of daunting just because of the sheer number of bolts that the M&R lights come with. I lacked access to a welder, or I might have gone that route instead, but I went with JB weld and I think it'll do the job nicely. I'm honestly not even worried about these things walking away now because it'll take enough effort that my shock sensor on my alarm will trip for sure.
I filled in the heads of the top allen bolts and then laid some JBW around the sides to secure them to the bracket as well. Didn't bother with the bottom ones because if the top ones are on there this well, getting the bottom two off does freaking nothing for a thief.
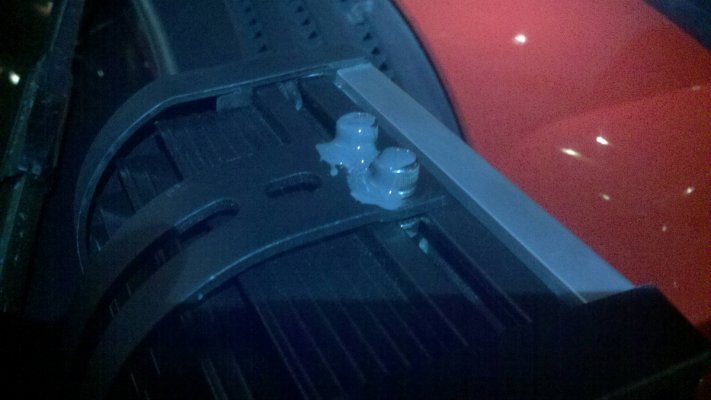
Then I did the outside head of the side bolts since the inside is captive and you cannot get a wrench on that nut. I also did some between the M&R mount and the outlaw mount. This may be a bit much for you, but since I have them aimed where I like, it's extra security. I did it front and back, as well as going underneath and putting some along one side of the nut AND gumming the threads up with JB Weld. It's excessive, but I hate getting my stuff stolen.
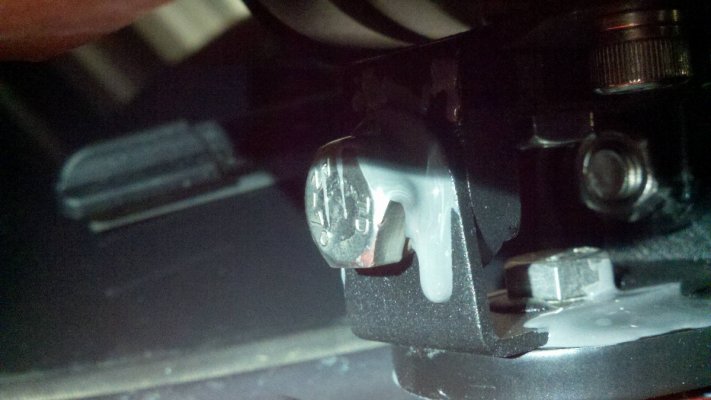
In the center you see the bolts that let you adjust elevation. if you look just to the right you can see how I laid down the JBW between the M&R bracket and the Outlaw mount. I couldn't get a good picture of the nut underneath, but it's going to be plenty secure.
Overall I have to say that I'm impressed with the M&R lights, especially for the price. I feel like I got my $200/pr worth on these. I can't wait to take them out and do some night trail running with them. I'll be looking to them for a 20" and possibly a 40" in the future for sure. They may not be Rigid or Vision X, but honestly the price point is right for me and the build quality is great. These lights just feel stout when you pull them out of the box.
A note on using them with the outlaw mount though. It might not be a bad idea to get bolts that are a little shorter for the one that sticks through the outlaw mount. If they were any longer I wouldn't have been able to get my box end wrench off the end!
The outlaw hood mounts are also really high quality, and they work exactly as advertised. They're freaking rock solid and I really doubt the lights are going to shake around at all.
I'll be adding to this after my Cutout install is complete and then again once I get my Wicked Pedals in, so stay tuned!
Anyhow, I digress. I'll get into the mods I did today and I'll do a small write up on each. So for starters we'll do the Ebay "FORD" logo sticker kit for the grille. Now I'm not going to divulge his info on here publicly, but I'll be more than happy to drop you a link in a PM.
They're kind of a pain to get on straight, especially the O and the D surprisingly, but with some patience it's not impossible. So...pics!

Next up was a pretty simple one, but important nonetheless. I had to put on my FRF sticker. So I went for the small one, but I wish there was another of the smallest size so I could put one on each wing window. Since there wasn't I just slapped it on the drivers side:

Now on to the most involved part of today's festivities. Installing my 6" M&R LED lights onto my Outlaw Offroad hood mounts.
OUTLAW HOOD MOUNTS:
I learned a few tricks for doing this quickly and painlessly. The first of which was to take a sharpie and make some marks around the hood bracket before I loosened up the bolts, like this:

You can see my sharpie mark right there on the bottom left corner of the bracket, I also put two along the outboard side of the mount so I could get my side to side alignment. This was huge as it let me get the hood realigned in about 30 seconds without pulling the hydraulic struts off of the hood.
I simply used one hand to push up on the hood until the mount lined up with the holes, then finger tightened the bolts, grabbed my socket wrench and pushed on the hood again until it lined back up with the lines and tightened down the bolts while pushing up on the hood to keep it lined up.
Rinse and repeat on the other side and the hood was still aligned perfectly. Total install time on the Outlaw mounts was 45 mins or so from opening the hood to closing it.
M&R 6" ELITE LED LIGHTS:
Next I set to getting the M&R lights on the mounts. I found it easiest to take the light off of the bottom bracket and then bolt the bracket to the Outlaw mount before bolting the light to the bracket. The main problem here is the limited space to get the nut onto the bolt because the mount sits low enough that it's a squeeze between the fender and the mount.
A good trick to use if you don't want to scratch the crap out of your paint is to put a line of tape over the top edge of the fender and hood. I used electrical tape (not reccomended b/c it leaves residue) you might want to go with masking or painters' tape instead. Here's a good shot of what I mean with the tape, and you can also see how little clearance there is to get a wrench under that mount.

I didn't get any pictures of wiring them up because really it's pretty straightforward. I used Aux 4 due to it having a 10 amp fuse, which is about 5 amps more than I need, but it should be fine, I may change it tomorrow, but I'll probably stick with it. For a ground I used one of the ground lugs on the left side of the engine bay.
I will say that Ford sucks for the way they left the upfitter wires behind the glovebox so damned short. Mechanical strippers are the ONLY way to go for this, there just is not room for any other method. If you have mega hands be prepared to hate your life at this point.
So all wired up and ready to rock and roll. I took some pics and then headed out to a dark field across the street to play with them. Pictures...activate:


These lights on pics kind of suck because I had to take them with my phone, but they really are this freaking bright.


Now for some drivers' perspective light comparisons
First here are just the headlight high beams:

Now just the M&R 6" lights:

They throw some really bright white light. They're supposed to be spots, but they do a great job of illuminating everything off the the sides too kind of like a flood would. They don't light the hood up enough to cause any eye strain though, at least it doesn't seem like it would, I need to run them at night for awhile to really see. They do light it up a bit, but its really tolerable.
Now for Highs + M&R lights:

Ok and last, I wanted to show you guys how I figured I can secure these lights. It seems kind of daunting just because of the sheer number of bolts that the M&R lights come with. I lacked access to a welder, or I might have gone that route instead, but I went with JB weld and I think it'll do the job nicely. I'm honestly not even worried about these things walking away now because it'll take enough effort that my shock sensor on my alarm will trip for sure.
I filled in the heads of the top allen bolts and then laid some JBW around the sides to secure them to the bracket as well. Didn't bother with the bottom ones because if the top ones are on there this well, getting the bottom two off does freaking nothing for a thief.

Then I did the outside head of the side bolts since the inside is captive and you cannot get a wrench on that nut. I also did some between the M&R mount and the outlaw mount. This may be a bit much for you, but since I have them aimed where I like, it's extra security. I did it front and back, as well as going underneath and putting some along one side of the nut AND gumming the threads up with JB Weld. It's excessive, but I hate getting my stuff stolen.

In the center you see the bolts that let you adjust elevation. if you look just to the right you can see how I laid down the JBW between the M&R bracket and the Outlaw mount. I couldn't get a good picture of the nut underneath, but it's going to be plenty secure.
Overall I have to say that I'm impressed with the M&R lights, especially for the price. I feel like I got my $200/pr worth on these. I can't wait to take them out and do some night trail running with them. I'll be looking to them for a 20" and possibly a 40" in the future for sure. They may not be Rigid or Vision X, but honestly the price point is right for me and the build quality is great. These lights just feel stout when you pull them out of the box.
A note on using them with the outlaw mount though. It might not be a bad idea to get bolts that are a little shorter for the one that sticks through the outlaw mount. If they were any longer I wouldn't have been able to get my box end wrench off the end!

The outlaw hood mounts are also really high quality, and they work exactly as advertised. They're freaking rock solid and I really doubt the lights are going to shake around at all.
I'll be adding to this after my Cutout install is complete and then again once I get my Wicked Pedals in, so stay tuned!


