KaiserM715
Kaiser Söze
Trail Tips 10 Important Tasks After Driving Off-Road : Off-Road.com
In a new monthly column here at Off-Road.com, off-road trainer Tom Severin will provide useful insight and tips on a variety of topics related to preparing you for that next off-road adventure. He is a certified professional 4WD Trainer by the International 4-Wheel Drive Trainers Association and a Wilderness First Responder (WFR). He is a member of the California Association of Four Wheel Drive Clubs (CA4WDC), United Four Wheel Drive Associations and the BlueRibbon Coalition. He also is a certified UFWDA and a CA4WDC 4WD instructor. Severin has an extensive background (over 40 years experience) with four-wheel drive vehicles, on and off road, in various conditions and countries. His company, Badlands Off-Road Adventures, offers 4WD training and 4WD tour service specializing in four-wheel-drive vehicles. The company has trained hundreds of students, including the Orange County (CA) Sheriff's Department, the Gas Company, the National Park Service, and the US Marine Corps.
For more information about Badlands Off-Road Adventures, visit 4x4training.com.
1. Air Up Your Tires
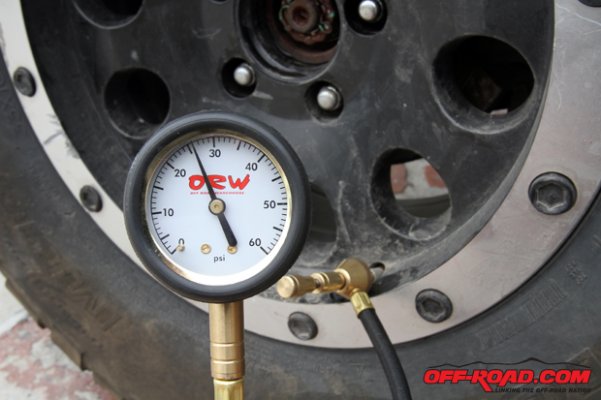 Check your tire pressure and be sure to air up after you get off the trail to avoid an accident or damaging your tires.
Don’t try to drive on pavement with your tires low on pressure. Not only will you have difficulty handling the vehicle, but you risk serious damage to tires and rims. Check your tire pressure the following morning. It can drop 2 to 5 PSI overnight. Remember that you aired up when the tires were hot.
2. Wash and Vacuum Your Vehicle
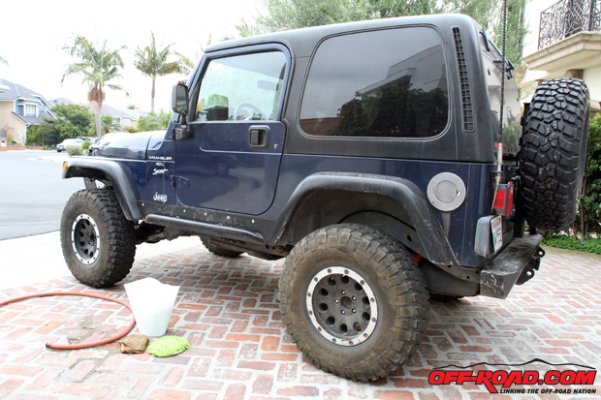
This will help prevent the spread of weed seeds to other areas, but it also makes it easier to spot any fluid leaks and damage that needs repairing. Invasive plants are a problem all over the U.S., caused in part by people driving in multiple areas—sometimes even in different states—without cleaning their vehicles between trips. As a result, they spread noxious weeds to new locations. Be a good sport and clean your vehicle after each off-road drive.
3. Wash Your Engine
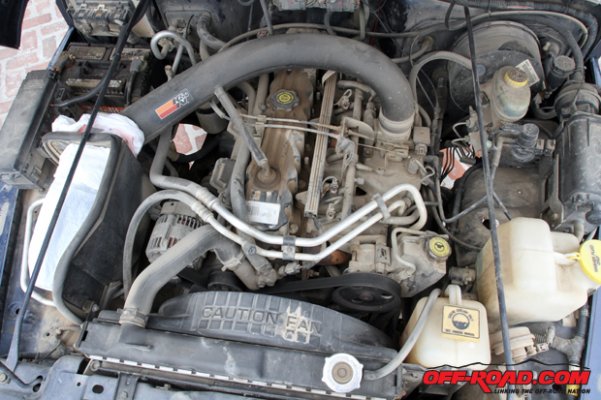 Once your engine has cooled, wash it down to help detect any leaks or breaks in hoses, belts or clamps. Also, be sure to cover the air intake while you wash it to avoid getting water in the engine. A simple trash bag will suffice.
Drive to an appropriate facility, turn off the engine, and hose it down. With a clean engine, you can spot any leak that has developed, as well as a loose bolt, hose, clamp, or other part.
4. Check Fluid Levels, Fan or Serpentine Belt and Other Parts
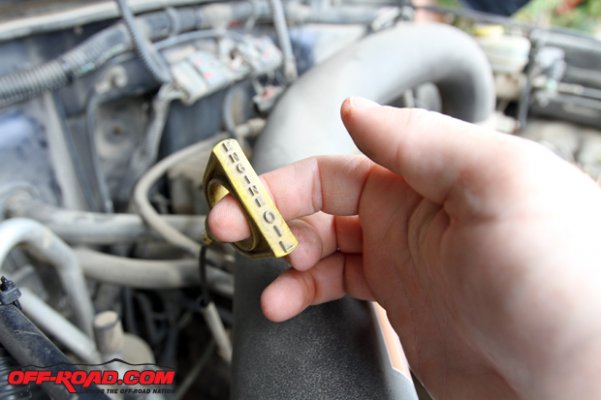 Double check the fluid levels after your ride. Aside from topping off the fluids, this can help you determine if there’s a major leak if levels are extremly low.
If you do this frequently enough, you will become accustomed to your engine compartment, and it will be easier to spot a problem or potential problem when one occurs.
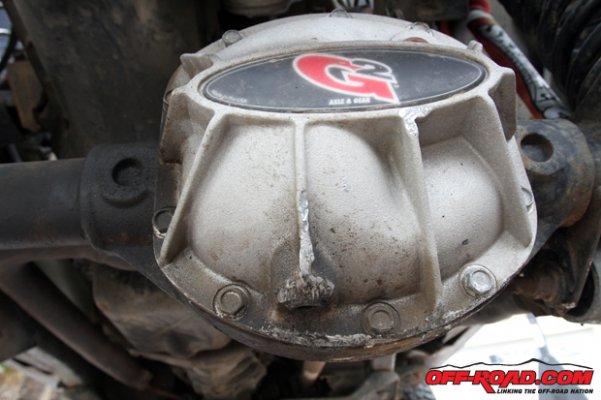 Scuffs and scrapes will occur on the trail from time to time on the diff covers and on other parts. The important things is to distinguish a scuff from a more detrminental scrape that can cause leaking or fluid loss.
5. Examine the Differential and Transmission for Cracks and the Fluids for Water
Scrapes and scuffs on differential covers can be common when off-roading, but you need to make sure there’s no fluid leaking. Same goes for any potential transmission leaks – be sure to inspect both for any fluid leaks. Also, check the fluids to make sure no water has mixed with the transmission fluid, which similar to engine oil mixing with water will have a milky appearance.
6. Inspect and Clean Drum Brakes, if Applicable
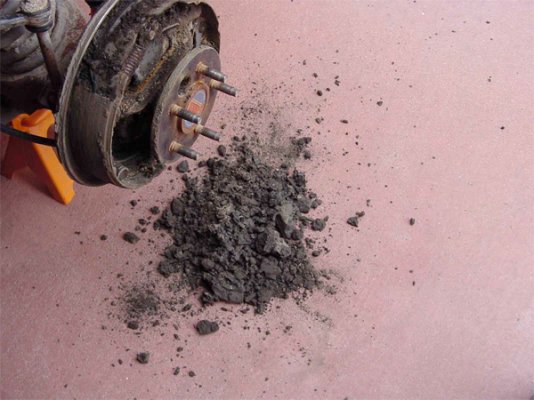 Dirt and mud can build up around brake drums. Depending upon the terrain and conditions, it might be a good idea to inspect your brakes after the ride.
Pull off the drums and clean out any mud or sand inside. That will wear down your brakes in a hurry. This is a good time to adjust your brakes or even replace the shoes, if need be.
7. Inspect CV boots, Struts and Shocks, and Other Underbody Parts
Any need replacing? Take a look at joints, bearings, and other parts that may need regreasing. What about the nuts and bolts that hold the axle and suspension together? The vehicle’s suspension system (track bar, control arm, shocks, and spring) are very susceptible to loosening and affect the drivability. Problems with any one of these items could cause damage to the drive train over time.
8. Push and Pull on the Suspension to See if Anything is Loose
Push on the side of the vehicle. Are the track bars loose? Have a friend rotate the steering wheel back and forth while you inspect the tie rod ends. Make sure to tighten down any bolts or nuts that have wiggled loose on the trail.
9. Inspect Your Tools. Are They Clean, in Order, and Accessible?
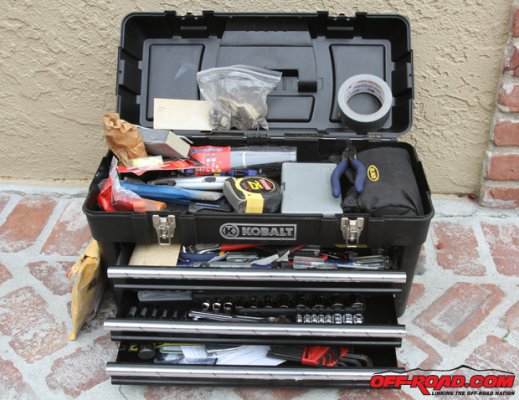 It’s easy to misplace a tool while fixing or repairing something on the trail. Once you return, be sure everything is in its right place as you remember so you have it the next time.
10. Clean and Restock any Fluids or Gear
Not only do you need to check tools and recovery kits, be sure to restock things such as medical supplies, spare parts, and check the fire extinguisher level. Also, double check on items you used or that may have gotten damaged (such as recovery straps).
Create a list of repairs and other action items during the trip or on the way home while it is still fresh in your mind. Make sure you put back all the essential items and that your vehicle is tidy and prepared for your next trip.
In a new monthly column here at Off-Road.com, off-road trainer Tom Severin will provide useful insight and tips on a variety of topics related to preparing you for that next off-road adventure. He is a certified professional 4WD Trainer by the International 4-Wheel Drive Trainers Association and a Wilderness First Responder (WFR). He is a member of the California Association of Four Wheel Drive Clubs (CA4WDC), United Four Wheel Drive Associations and the BlueRibbon Coalition. He also is a certified UFWDA and a CA4WDC 4WD instructor. Severin has an extensive background (over 40 years experience) with four-wheel drive vehicles, on and off road, in various conditions and countries. His company, Badlands Off-Road Adventures, offers 4WD training and 4WD tour service specializing in four-wheel-drive vehicles. The company has trained hundreds of students, including the Orange County (CA) Sheriff's Department, the Gas Company, the National Park Service, and the US Marine Corps.
For more information about Badlands Off-Road Adventures, visit 4x4training.com.
1. Air Up Your Tires
 Check your tire pressure and be sure to air up after you get off the trail to avoid an accident or damaging your tires.
Don’t try to drive on pavement with your tires low on pressure. Not only will you have difficulty handling the vehicle, but you risk serious damage to tires and rims. Check your tire pressure the following morning. It can drop 2 to 5 PSI overnight. Remember that you aired up when the tires were hot.
2. Wash and Vacuum Your Vehicle

This will help prevent the spread of weed seeds to other areas, but it also makes it easier to spot any fluid leaks and damage that needs repairing. Invasive plants are a problem all over the U.S., caused in part by people driving in multiple areas—sometimes even in different states—without cleaning their vehicles between trips. As a result, they spread noxious weeds to new locations. Be a good sport and clean your vehicle after each off-road drive.
3. Wash Your Engine
 Once your engine has cooled, wash it down to help detect any leaks or breaks in hoses, belts or clamps. Also, be sure to cover the air intake while you wash it to avoid getting water in the engine. A simple trash bag will suffice.
Drive to an appropriate facility, turn off the engine, and hose it down. With a clean engine, you can spot any leak that has developed, as well as a loose bolt, hose, clamp, or other part.
4. Check Fluid Levels, Fan or Serpentine Belt and Other Parts
 Double check the fluid levels after your ride. Aside from topping off the fluids, this can help you determine if there’s a major leak if levels are extremly low.
If you do this frequently enough, you will become accustomed to your engine compartment, and it will be easier to spot a problem or potential problem when one occurs.
 Scuffs and scrapes will occur on the trail from time to time on the diff covers and on other parts. The important things is to distinguish a scuff from a more detrminental scrape that can cause leaking or fluid loss.
 5. Examine the Differential and Transmission for Cracks and the Fluids for Water
Scrapes and scuffs on differential covers can be common when off-roading, but you need to make sure there’s no fluid leaking. Same goes for any potential transmission leaks – be sure to inspect both for any fluid leaks. Also, check the fluids to make sure no water has mixed with the transmission fluid, which similar to engine oil mixing with water will have a milky appearance.
6. Inspect and Clean Drum Brakes, if Applicable
 Dirt and mud can build up around brake drums. Depending upon the terrain and conditions, it might be a good idea to inspect your brakes after the ride.
 Pull off the drums and clean out any mud or sand inside. That will wear down your brakes in a hurry. This is a good time to adjust your brakes or even replace the shoes, if need be.
7. Inspect CV boots, Struts and Shocks, and Other Underbody Parts
Any need replacing? Take a look at joints, bearings, and other parts that may need regreasing. What about the nuts and bolts that hold the axle and suspension together? The vehicle’s suspension system (track bar, control arm, shocks, and spring) are very susceptible to loosening and affect the drivability. Problems with any one of these items could cause damage to the drive train over time.
8. Push and Pull on the Suspension to See if Anything is Loose
Push on the side of the vehicle. Are the track bars loose? Have a friend rotate the steering wheel back and forth while you inspect the tie rod ends. Make sure to tighten down any bolts or nuts that have wiggled loose on the trail.
9. Inspect Your Tools. Are They Clean, in Order, and Accessible?
 It’s easy to misplace a tool while fixing or repairing something on the trail. Once you return, be sure everything is in its right place as you remember so you have it the next time.
 10. Clean and Restock any Fluids or Gear
Not only do you need to check tools and recovery kits, be sure to restock things such as medical supplies, spare parts, and check the fire extinguisher level. Also, double check on items you used or that may have gotten damaged (such as recovery straps).
Create a list of repairs and other action items during the trip or on the way home while it is still fresh in your mind. Make sure you put back all the essential items and that your vehicle is tidy and prepared for your next trip.

