TheDoubleAA
Full Access Member
Hope this helps, I only have a Raptor center console on hand so I'm a bit limited on some pictures. If someone else could help fill in the gaps I'd greatly appreciate it.
Ford Raptor Ambient light cup holder Install.
First you’ll need to put truck in acc mode and pull the shifter back to the farthest position, make sure the brake is on. Pop the cover off, the whole center console cover just pulls right up. You’ll notice that the cup holder comes with the whole set up. You can pull this apart from cover just by pulling out on it.
Now that you have this done you’ll need to decide where to drill the hole for running wires. I chose a mid point where the rubber cup holders will hide the wire flowing downwards and minimal will be seen. **NOTE THE LIGHT IS DESIGNED TO GO ON DRIVERS SIDE AND FACE TOWARDS PASSENGER SIDE SO MAKE SURE TO DRILL ON DRIVER SIDE**
(SEE PICTURE)
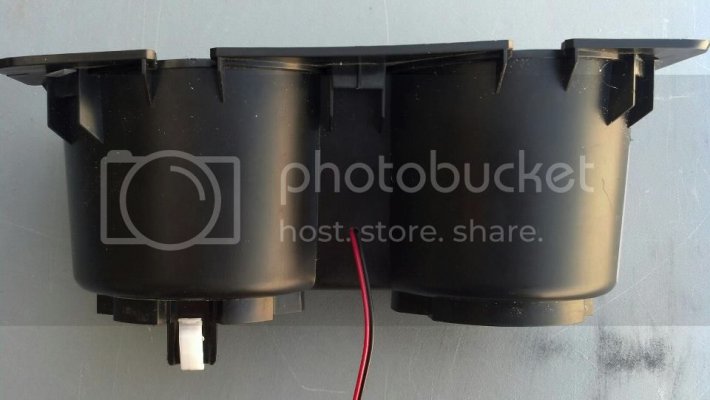
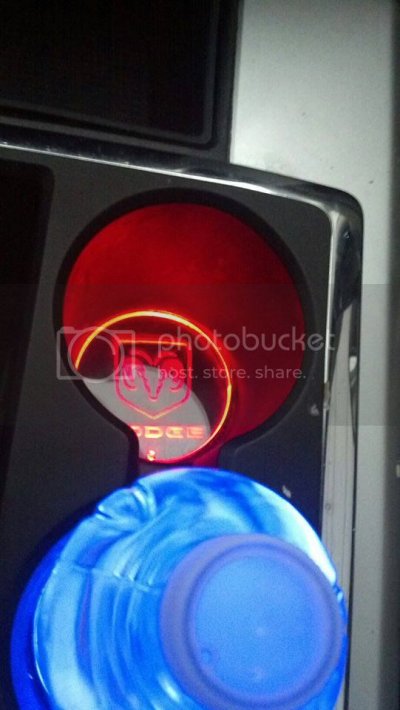
After drilling hole and running wire give your self a little bit of room and put one of the rubber cup holders in and set your light where you like it, once done remove super sticky tape backing and set light permanently.
(SEE PICTURE)
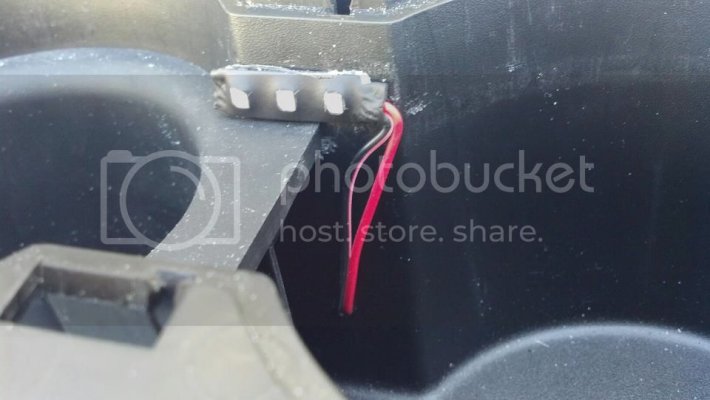
Once you have done this take any slack out of wire and set the other cup holder in place
(SEE PICTURE)
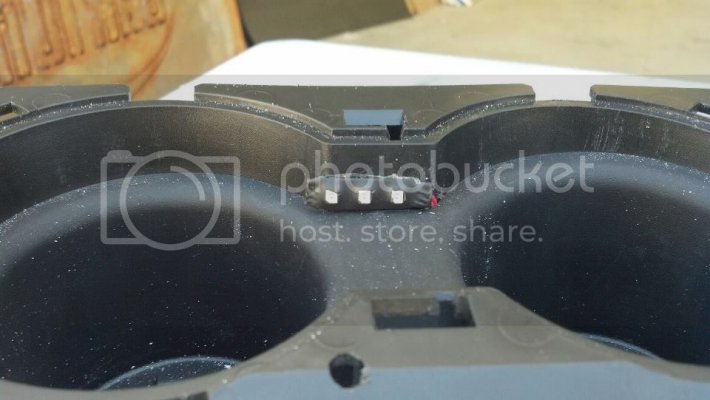
Now the hard part is done. You can test the light with a 9V battery or 12V power source.
You'll now to need to tap power from the shift light indicator. This should be pretty simple as you already have the center console section out and can follow the wire back to the passenger side harness to see the best place to tap. I didn't get pictures of this the other day but the blue wire was the power wire (red) and black was negative (black). I include 3m fold over vampire style connectors to tap inline wires.
Once you have tapped the wires you can test to make sure everything works but turning on the vehicle ** MAKE SURE YOU PUT TRUCK BACK IN PARK** You'll also need to turn on the head lights as this circuit is only active when the head lights are on.
Now the light should be working and now you can set the cup holder in its slot and snap the console back together.
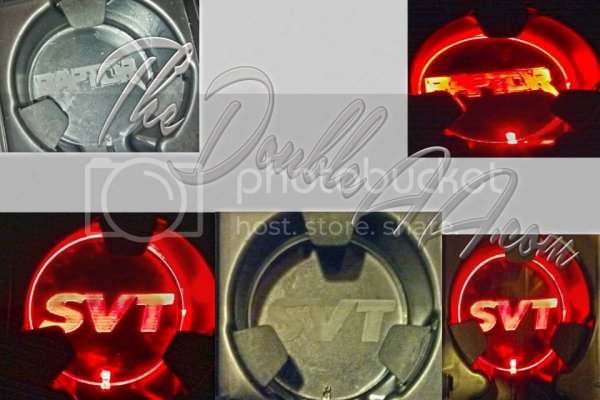
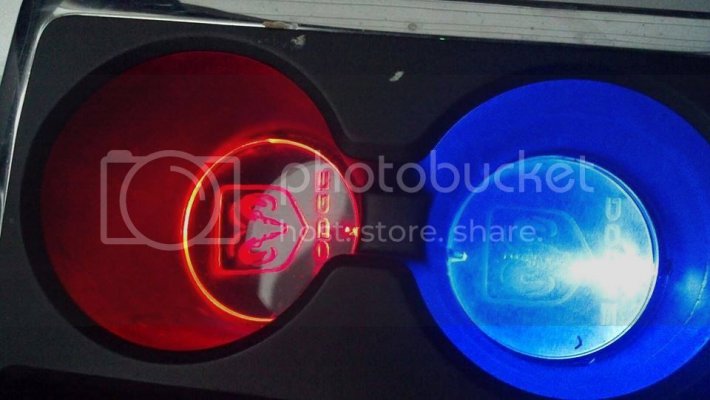
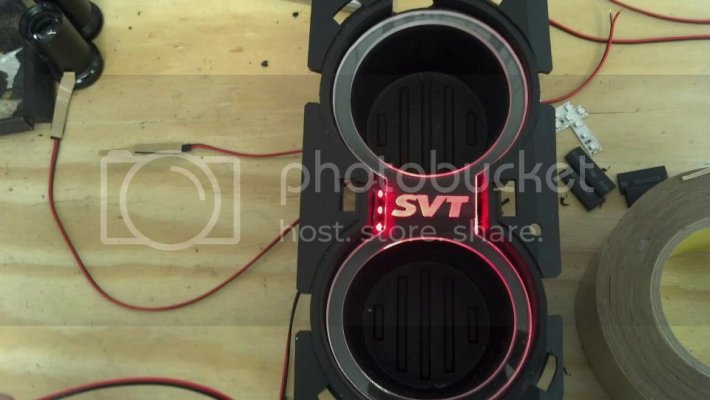
The last part will be putting the illuminated cup holder plate in place (this can be removed along with rubber cup holders for easy cleaning with out removing the light)
(SEE PICTURE)
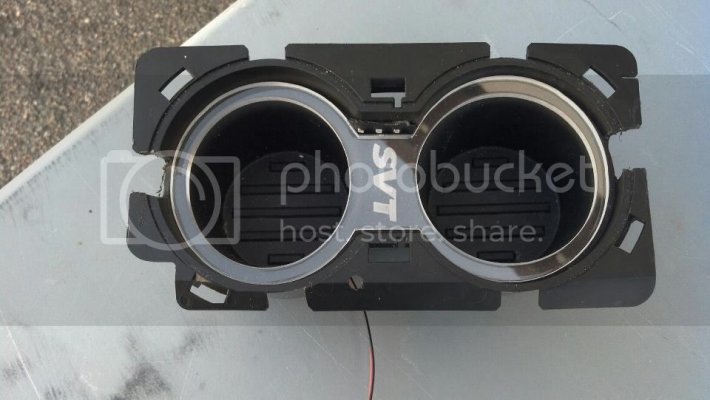
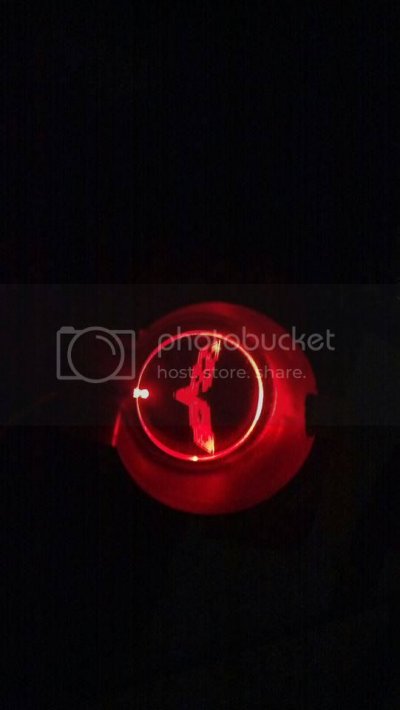
This is a bench test but should give you an idea of what the light and plate look like.
Ford Raptor Ambient light cup holder Install.
First you’ll need to put truck in acc mode and pull the shifter back to the farthest position, make sure the brake is on. Pop the cover off, the whole center console cover just pulls right up. You’ll notice that the cup holder comes with the whole set up. You can pull this apart from cover just by pulling out on it.
Now that you have this done you’ll need to decide where to drill the hole for running wires. I chose a mid point where the rubber cup holders will hide the wire flowing downwards and minimal will be seen. **NOTE THE LIGHT IS DESIGNED TO GO ON DRIVERS SIDE AND FACE TOWARDS PASSENGER SIDE SO MAKE SURE TO DRILL ON DRIVER SIDE**
(SEE PICTURE)

After drilling hole and running wire give your self a little bit of room and put one of the rubber cup holders in and set your light where you like it, once done remove super sticky tape backing and set light permanently.
(SEE PICTURE)

Once you have done this take any slack out of wire and set the other cup holder in place
(SEE PICTURE)

Now the hard part is done. You can test the light with a 9V battery or 12V power source.
You'll now to need to tap power from the shift light indicator. This should be pretty simple as you already have the center console section out and can follow the wire back to the passenger side harness to see the best place to tap. I didn't get pictures of this the other day but the blue wire was the power wire (red) and black was negative (black). I include 3m fold over vampire style connectors to tap inline wires.
Once you have tapped the wires you can test to make sure everything works but turning on the vehicle ** MAKE SURE YOU PUT TRUCK BACK IN PARK** You'll also need to turn on the head lights as this circuit is only active when the head lights are on.
Now the light should be working and now you can set the cup holder in its slot and snap the console back together.
The last part will be putting the illuminated cup holder plate in place (this can be removed along with rubber cup holders for easy cleaning with out removing the light)
(SEE PICTURE)

This is a bench test but should give you an idea of what the light and plate look like.


