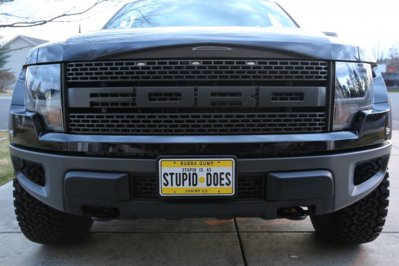
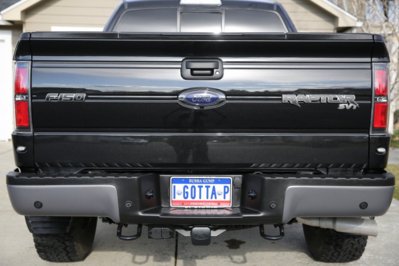
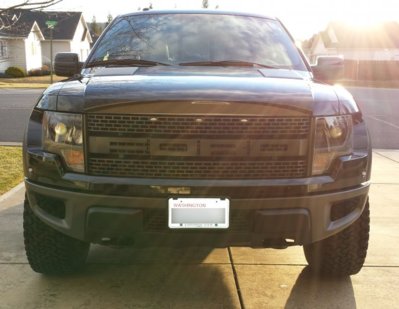
First Detail - Adamized the Raptor

Disclaimer: Links on this page pointing to Amazon, eBay and other sites may include affiliate code. If you click them and make a purchase, we may earn a small commission.

TheWolf

Full Access Member
Joined
Nov 15, 2013
Posts
970
Reaction score
1,337
Location
Spokane, Washington
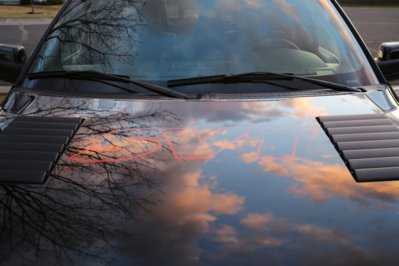
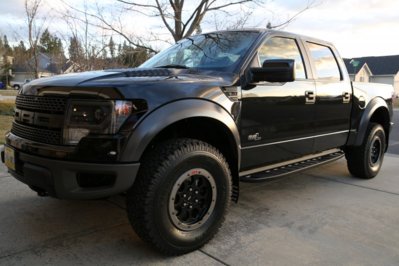
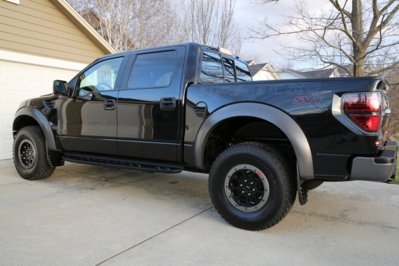
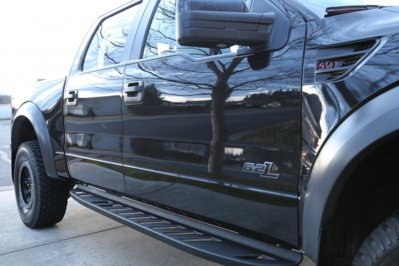
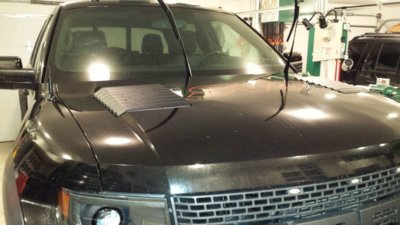
I finally found the time to do the first detail of the new Raptor. After reading most of the detailing threads and seeing how much everyone liked the Adam's products, I went all-in and ordered just about everything, including a Cyclo polisher. I was never much into detailing before but this truck made me want to do everything I could to protect the finishes. I also wanted a good layer of protection to make it easier to wash, since having a black truck takes a little more work if you want it to look good.

Here is the process that I used. For some of the steps, I listed how much product I used and also about how long it took. The paint did not have any scratches or swirl marks so I did not do any correcting.

Detailing Process without paint correction (machine application):

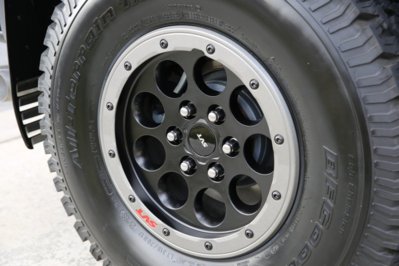
  1. Clean tires and rims with Deep Wheel Cleaner, wheel wells with All Purpose Cleaner [30 minutes].
  2. Wash vehicle with pressure washer and Car Wash Shampoo 2-bucket method, pressure washer rinse [60 minutes].
  3. If needed, do iron decontamination on body with Deep Wheel Cleaner, rinse within 5 minutes, do not let dry.
  4. Thorough rinse and then apply Detail Spray, do not dry.
  5. Clay Bar treatment with Detail Spray (used 1.5 bars or 75% of one pack) [45 minutes]
  6. Wash vehicle with Car Wash Shampoo and 2-bucket method [45 minutes].
  7. Dry with Great White Drying Towel, do not use Detail Spray [30 minutes].
  8. SVRT on trim with Block Applicator and Microfiber Utility Towel (used 10%) [50 minutes].
  9. SVRT on tires with Hex Grip Pro Tire Dressing Applicator (used 15%) [10 minutes].
  10. Quick Sealant spray on vinyl graphics, wipe with Double Soft Towel [10 minutes].
  11. Quick Sealant spray on wheels, wipe with Microfiber Utility Towel [10 minutes].
  12. Liquid Paint Sealant with Gray Foam Pad and Double Soft Towel (used 20%) [90 minutes].
  13. Brilliant Glaze with Red Foam Pad and Double Soft Towel (used 20%) [90 minutes].
  14. Americana Paste Wax with Gray Foam Pad and Double Soft Towel (used about 15%) [120 minutes].
  15. Glass Cleaner on exterior windows with Microfiber Glass Cleaning Towel [10 minutes].
  16. Glass Sealant on exterior windows with Microfiber Applicator and Microfiber Glass Cleaning Towel (used 10%) [30 minutes].
  17. Invisible Undercarriage Spray in wheel wells.
  18. In & Out Spray on front grill.
  19. Vacuum interior.
  20. Total Interior Detailer on dash and door panels with Microfiber Utility Towel.
  21. Glass Cleaner on interior windows with Microfiber Glass Cleaning Towel.
  22. Leather & Interior Cleaner on seats with Microfiber Utility Towel.
  23. Leather Conditioner on seats with Microfiber Applicator and Microfiber Utility Towel.
I was very impressed with the Adam's products. The sealant, glaze and wax were easy to use and the Double Soft Towels are amazing. Using the SVRT on the trim before sealing was important since I hate cleaning product off the rubber and trim. After waxing, there was very minor clean-up to do.
 
Last edited:
OP
OP
TheWolf

TheWolf

Full Access Member
Joined
Nov 15, 2013
Posts
970
Reaction score
1,337
Location
Spokane, Washington
Here's some pics and comments on the process.

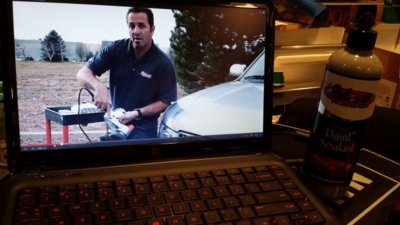
Unless you are a pro, watch the videos on the Adam's site before you do each step.

20140329_165726.jpg

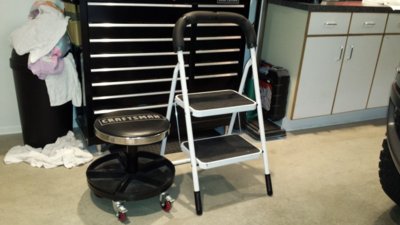
Having a rolling seat helps with the lower areas and I also added some padding to the handle of the stool so I don't scratch anything getting too close and it is also nice to rest your knees against when reaching for the center of the roof.

20140330_142828.jpg

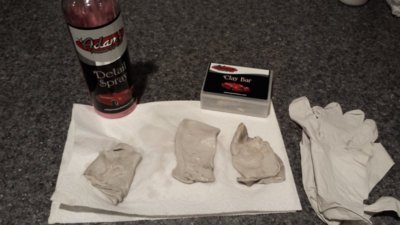
Clay baring leaves a lot of residue, so I added a full wash before doing the paint sealant.

20140329_130908.jpg

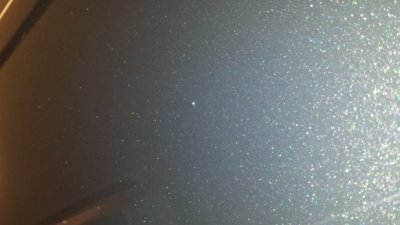
See all the stuff the clay cleaned off.

20140329_130830.jpg

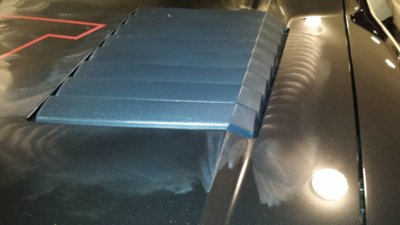
For each section, I did around all the trim and other plastic by hand with a mini applicator to reduce the amount of clean-up. I also did the sealant on the graphics by hand.

20140330_120421.jpg

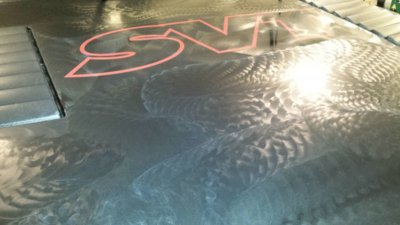
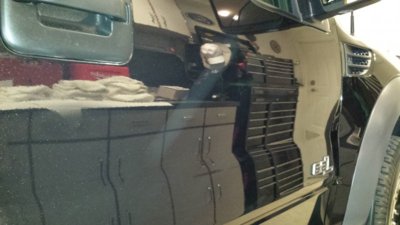
I then did the rest of the large areas with the Cyclo. This machine is great.

20140330_121041.jpg

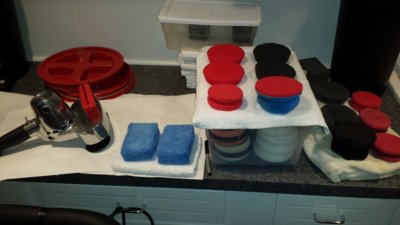
Buy all the good stuff.

20140330_142702.jpg

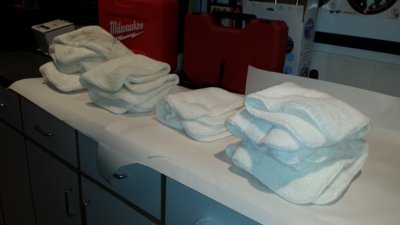
And have lots of Double Soft Towels.

20140330_142614.jpg
 
Last edited:
OP
OP
TheWolf

TheWolf

Full Access Member
Joined
Nov 15, 2013
Posts
970
Reaction score
1,337
Location
Spokane, Washington
HELPFUL TIPS AND ADVICE FROM MR. OCD

Wear clean clothes and change your shirt if it gets dirty or wet during washing. You don’t want any dirt from your clothing falling into the polish or wax as it could cause damage to the paint. Do not wear rings, watches or other jewelry.

Work in a clean area if possible. If you have to work outside, avoid windy days so dirt or dust does not get blown onto the paint while you are working.

Be emotionally prepared to find some factory flaws in the paint of your brand new Raptor that you did not see during your inspection at the dealer.

20140330_110802.jpg

Cleaning the truck is the most important step. Any dirt hiding out could get picked-up during polishing or waxing and create damage.

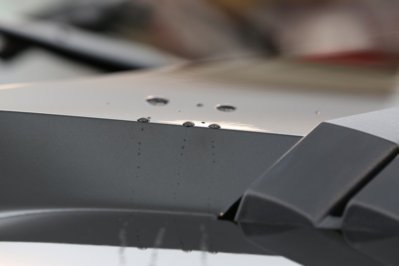
Drying took a long time trying to get under all the trim and I still had sneaky drips during the Paint Sealant and the water around the lug nuts jumped out when I sprayed the Quick Sealant. A blower like the MetroVac Sidekick would have been useful. If you use a compressor make sure it is oil-less, you don’t want to be spraying a mist of oil onto the paint prior to sealing it.

Watch the How-To videos on the Adam’s website for each step.

Any paint correction would occur before the Paint Sealant and I would wash again after any large paint correcting job to remove any abrasives from the nooks and crannies since the abrasives could get picked-up by the applicator during the sealant, glaze or wax and cause damage.

Do the Liquid Paint Sealant on everything painted including flares and bumpers. I only did the Glaze on the shiny body paint.

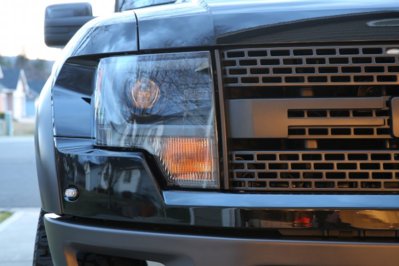
Do the headlights and taillights with the same steps as the paint.

Spray the rear shocks, tow hooks and hitch receiver with Quick Sealant.

Have extra towels and applicators for each step. If you drop it, DO NOT USE IT AGAIN even if it looks clean. Same goes for the clay bars. Figure on using two Double Soft Towels for each step but have a few extra.

The Paint Sealant and Glaze were easy to remove but the Americana Wax took some more work. Don’t get too far ahead applying the wax before going back to remove the haze. The Glaze was slow to dry, I applied to the whole truck before removing. The Paint Sealant is very hard to clean out of applicators. I used a lot of All Purpose Cleaner and Microfiber Revitalizer but next time I will just toss the applicators used on the Paint Sealant.

20140330_142556.jpg
 
Last edited:
OP
OP
TheWolf

TheWolf

Full Access Member
Joined
Nov 15, 2013
Posts
970
Reaction score
1,337
Location
Spokane, Washington
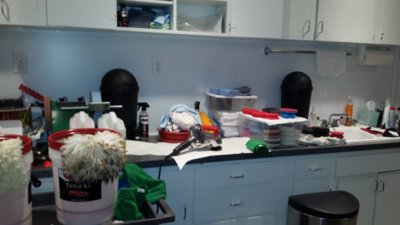
PS - Cleaning all the stuff is a pain. I tried to wash the applicators after each step rather than saving it all for the end. Do not leave applicators dirty overnight.

20140330_205724.jpg
 
Top