(part 2...)
10-09-2010
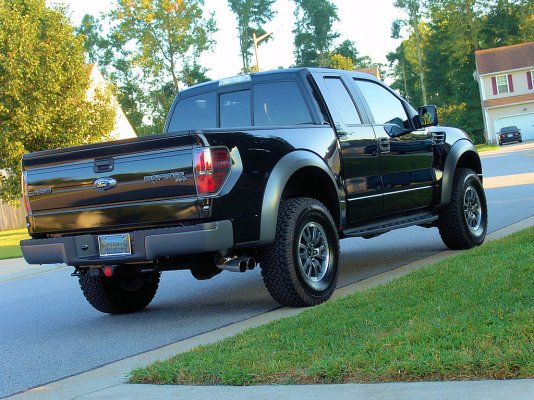
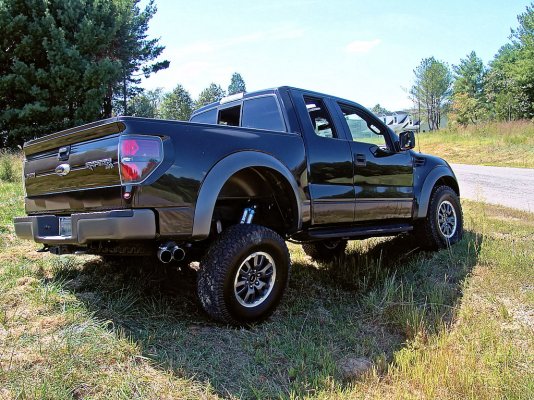
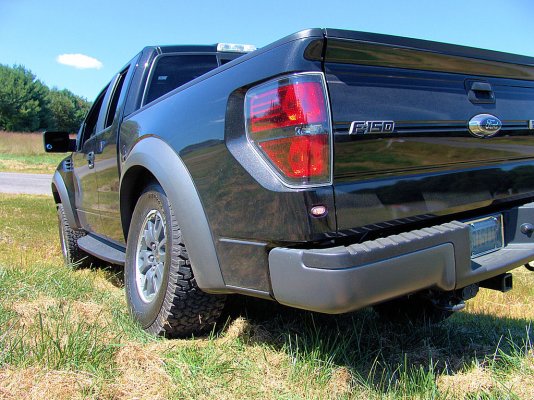
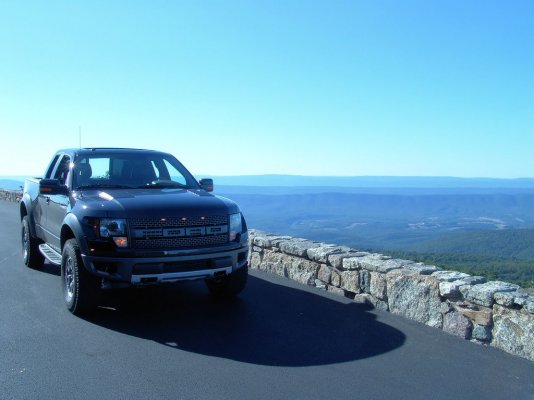
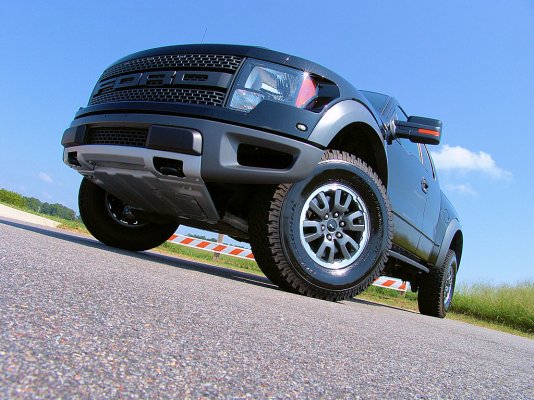
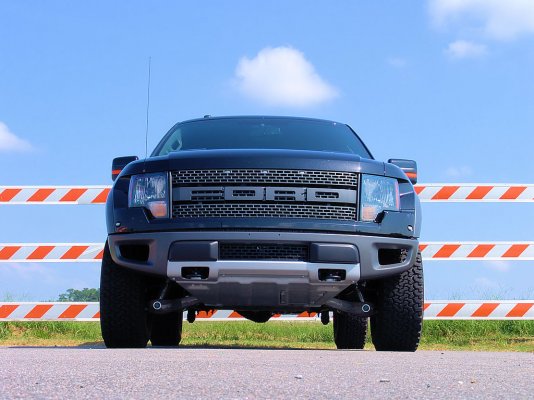
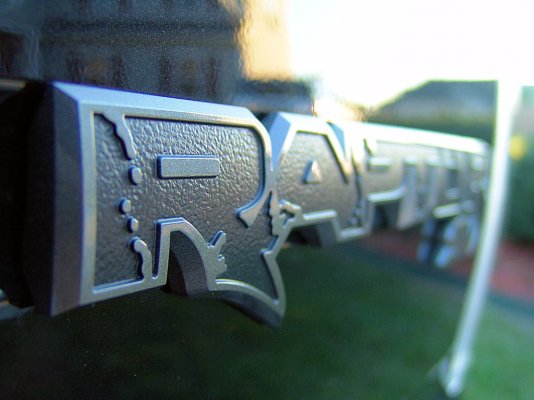
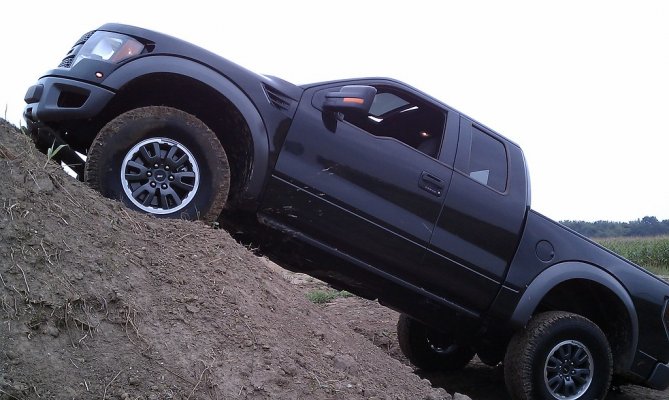
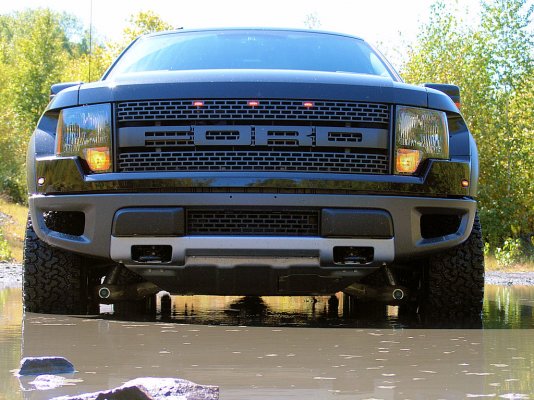
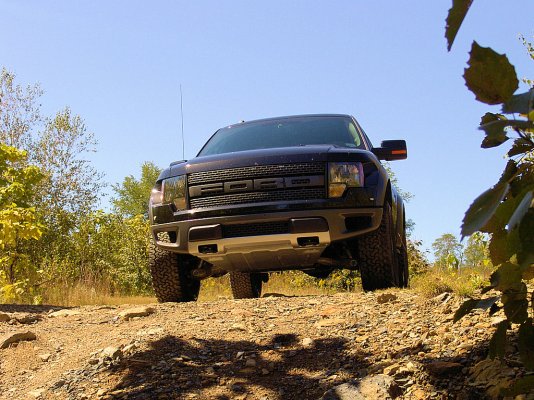
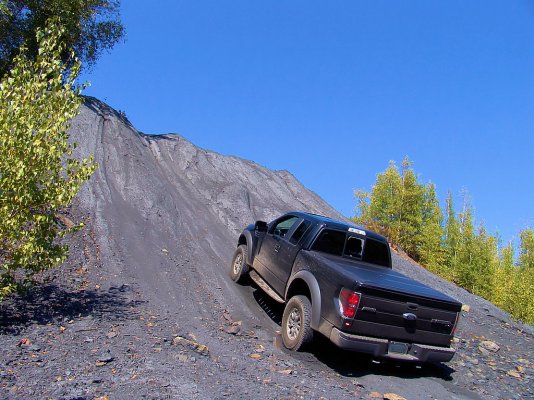
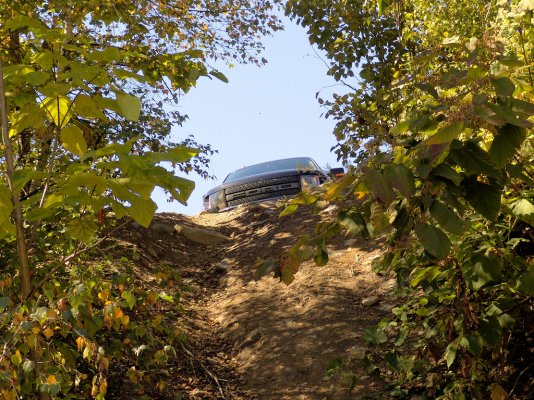
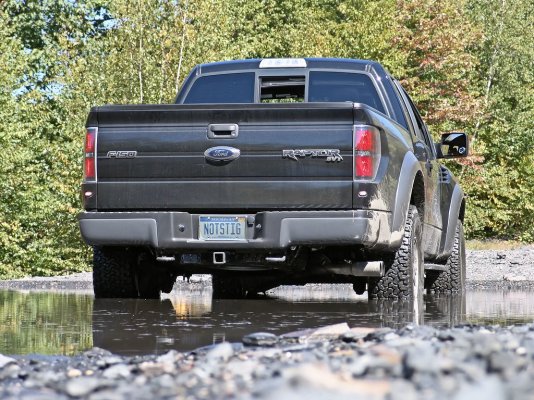
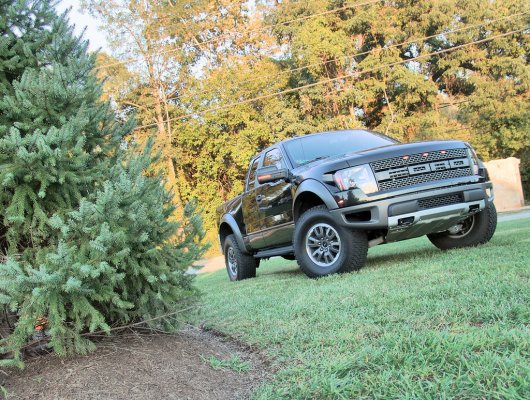
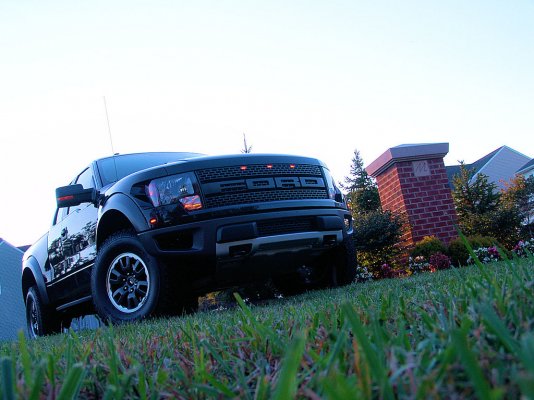
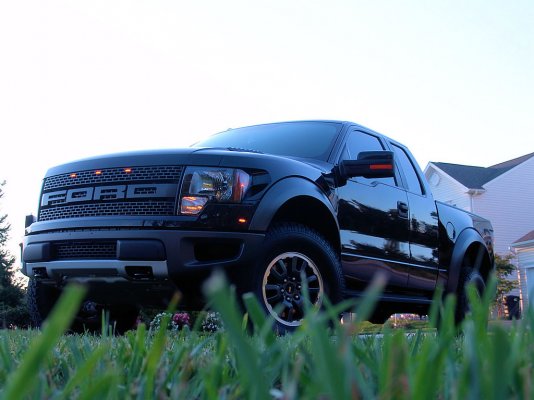
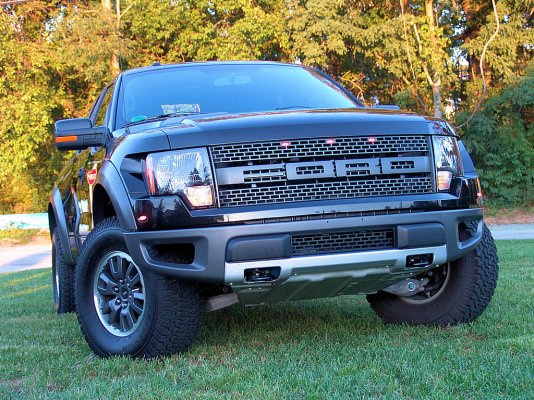
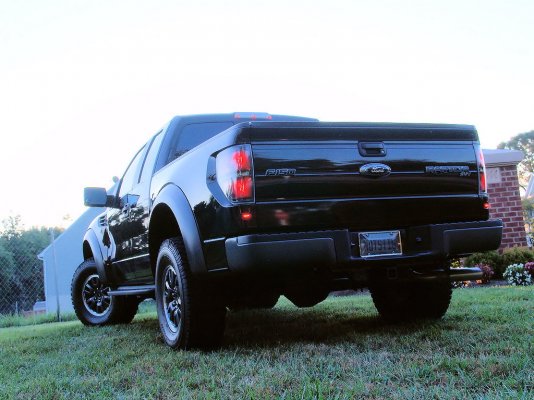
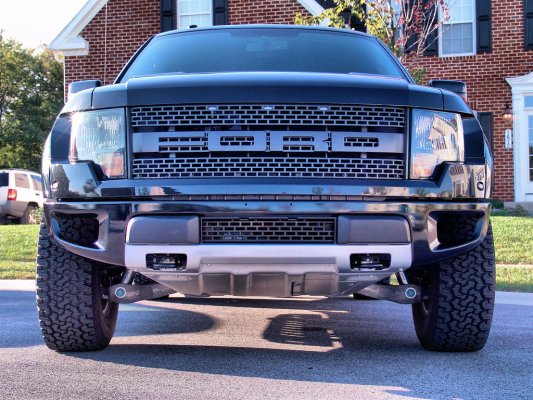
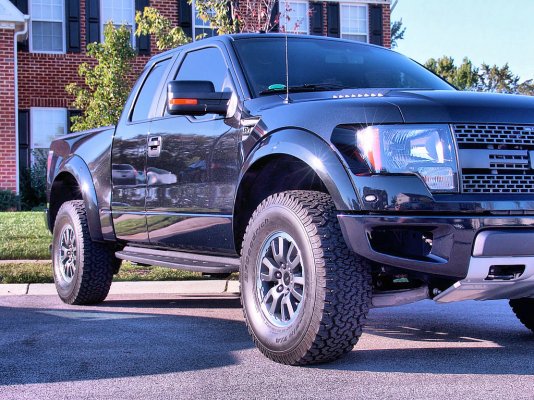
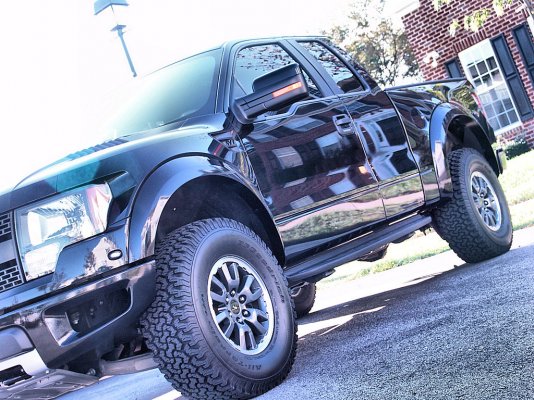
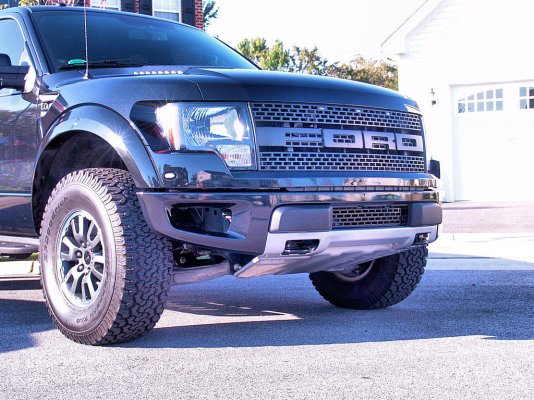
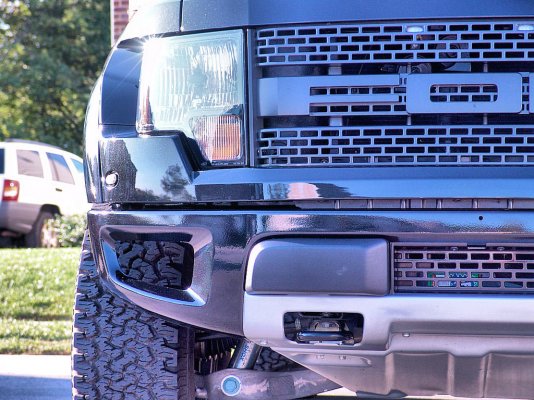
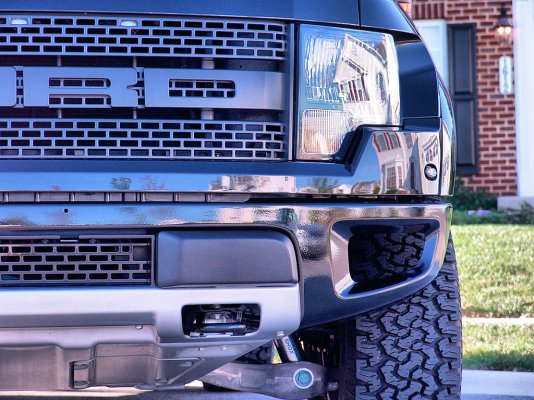
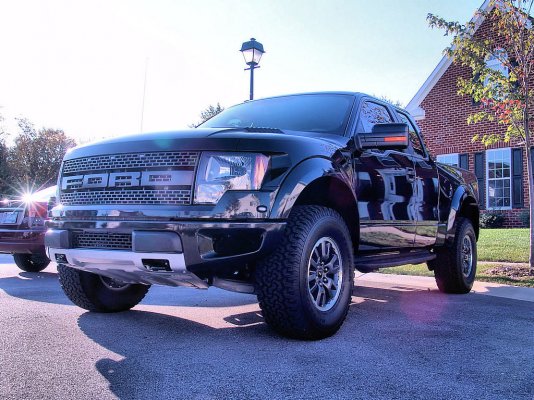
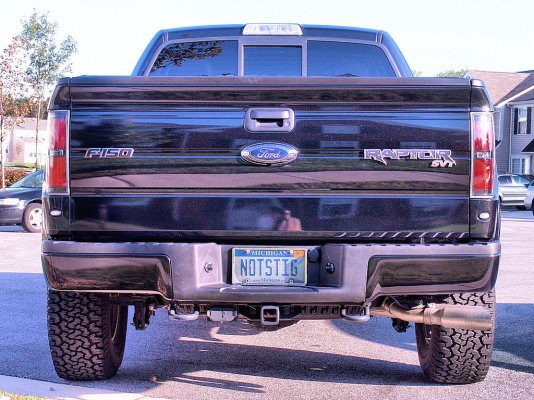
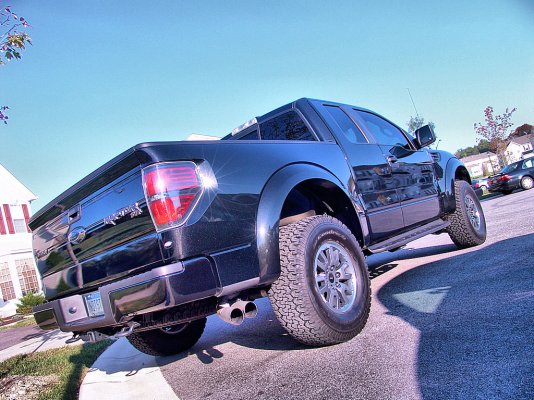
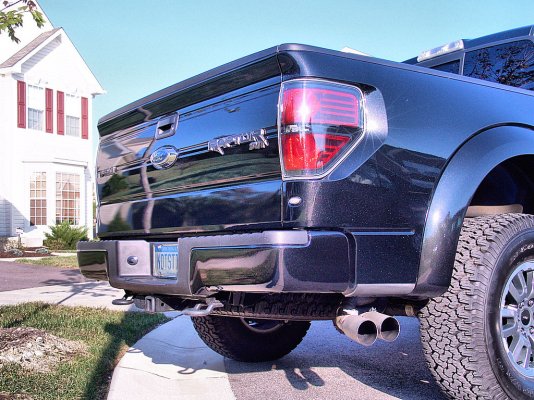
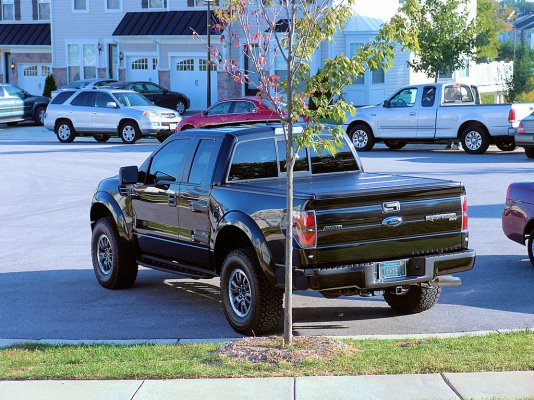
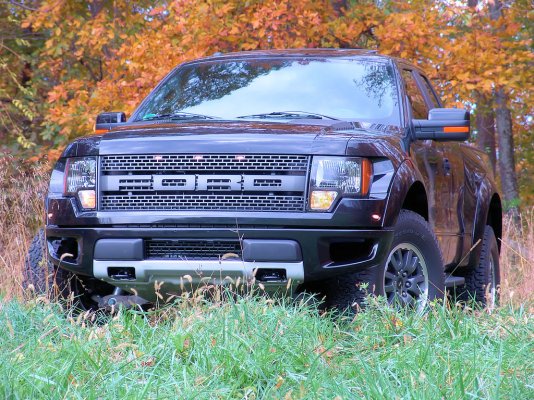
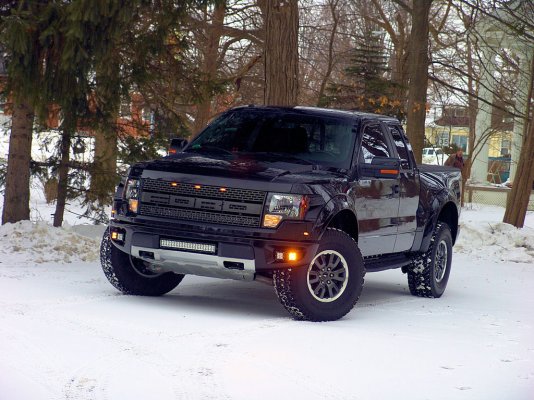
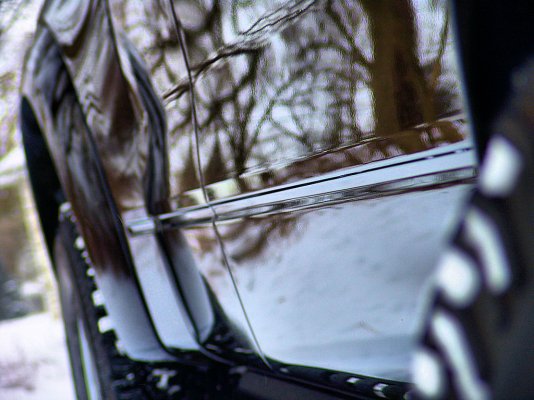
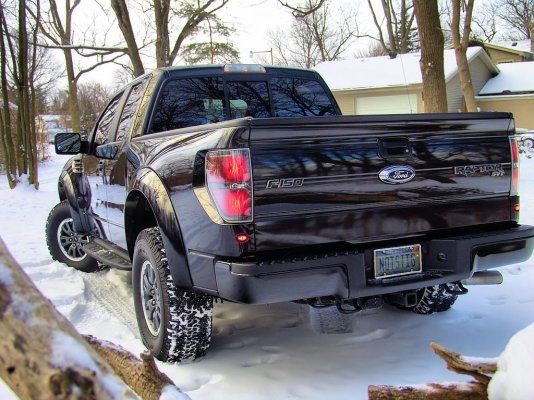
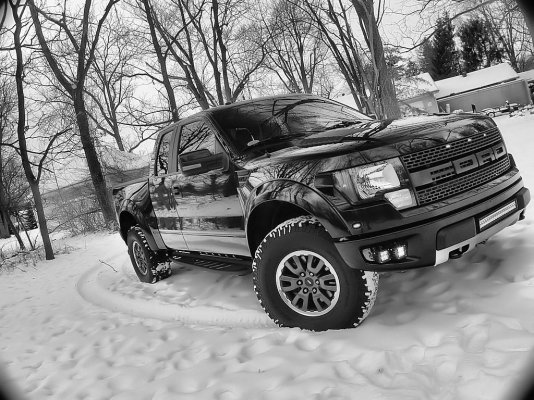
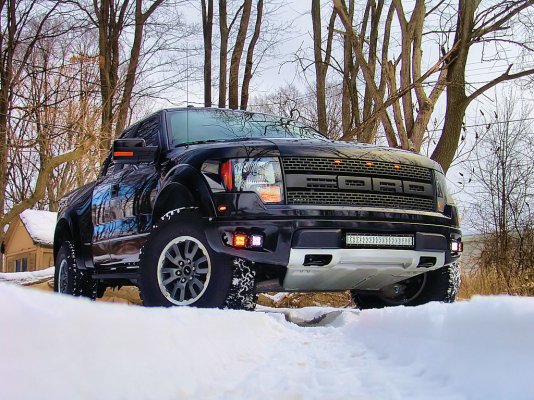
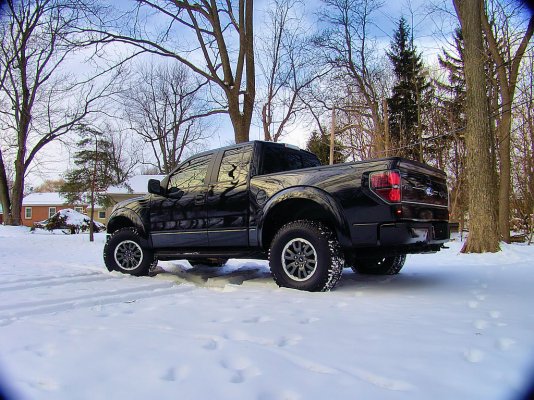
Here are the pictures of my painted flares and bumpers. I'm honestly not too pleased with the job and I plan on having them re-done. My buddy and I did them at his house and while it was a learning experience and fun all at the same time, the quality of the work just isn't there and isn't high enough to meet my standard.
Also, I've noticed that (I think) that everyone who had their bumpers painted in reference to the front -- had the whole thing painted. I taped off the silver part in the front to make it appear like Ford had intended it to, with the skid-plate silver color coming up into the bumper. I liked the look, as it made the skid-plate look that much bigger and to me, looks better. Just something I observed.
Enjoy.
Overall, I absolutely love the painted flares and bumpers. It makes the truck look much more "elegant" or "sophisticated", "luxurious".
I totally missed the rear pieces behind the rear flares, so those will be painted next, along with the main grill at some point in time.
10-31-2010
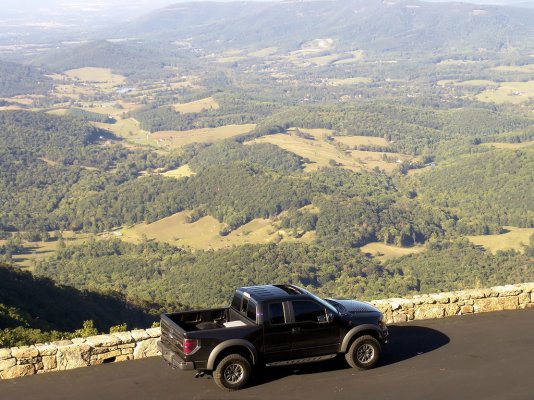
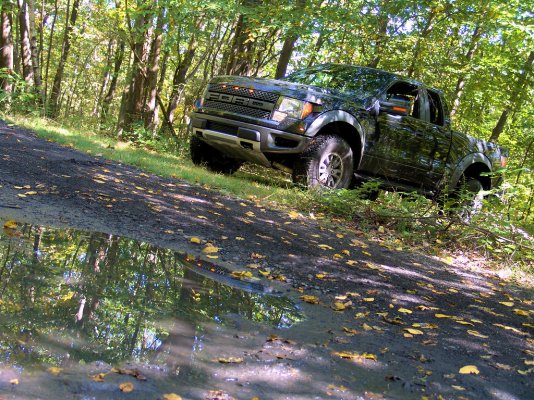
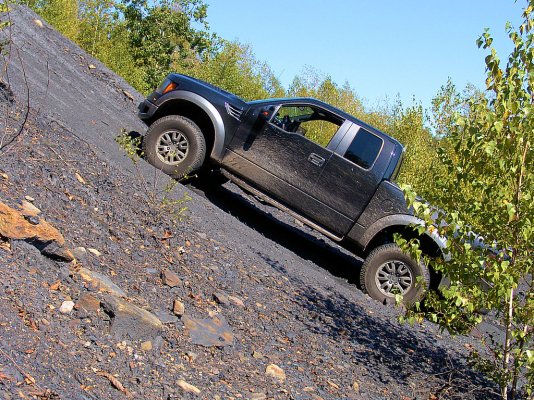
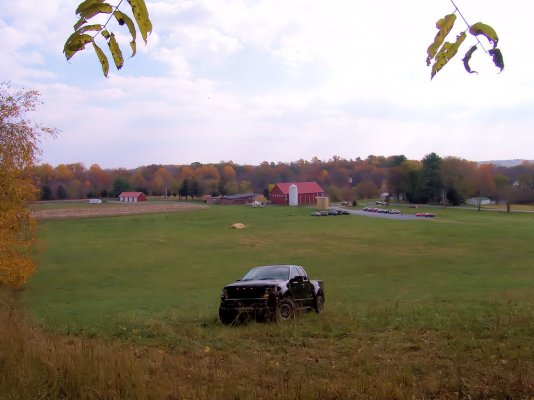
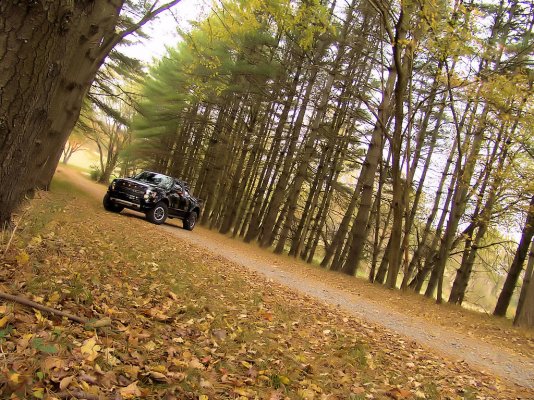
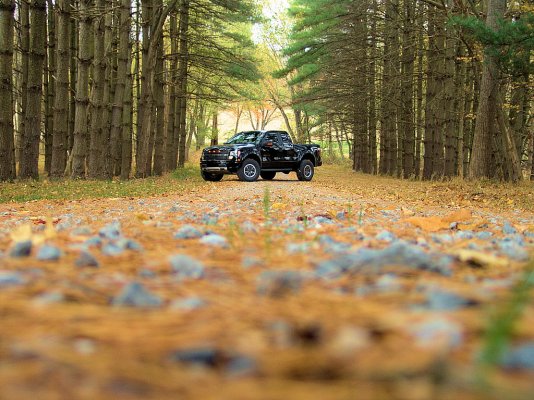
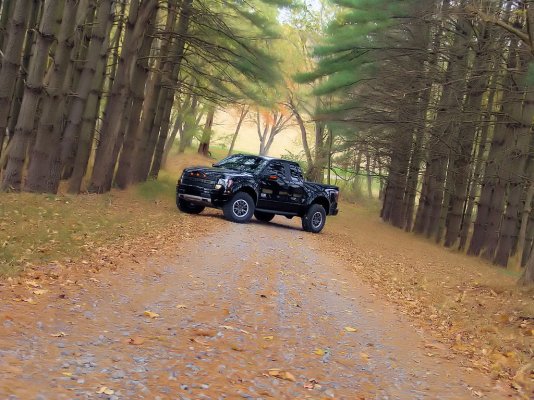
Went out today to North-Western Maryland to see some fall colors and to do some wine tasting... Came out with a few good pictures.
 12-29-2010
I have just over 9,200 miles on her now and have averaged 13.6mpg over the entire span of miles. Just took a 1,300-mile round trip this week and was getting between 15.7 and 18.2 on the highway. I was very impressed. I think that the biggest culprit is wind in this brick-shape-of-a-truck. I found that with no wind around, I can pull about 2-3 more mpg. Sure, it's not aerodynamic -- but she is a beast! I wouldn't have it any other way.
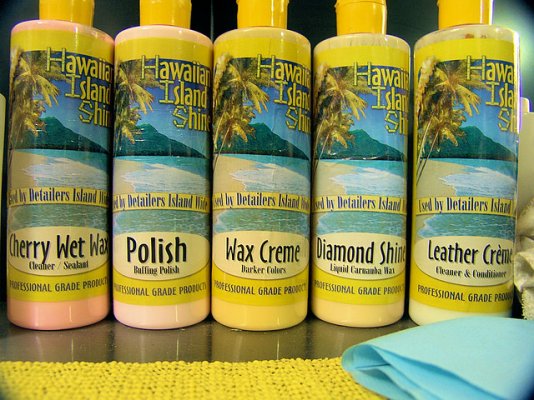
As far as other things that I did to her while I was home on vacation, I took about 18 hours over the course of two days and cleaned her from head to tail, top to bottom. I use my favorite cleaning supplies from
Hawaiian Island Shine and went to work:
My process:
- Wash and Dry Raptor
- Quick Detail using Detailers Pride Detail Spray and microfiber
- Clean Wheels and Tires
- Apply tire shine to terry cloth; wipe across tires for a matte finish
- Apply Detailers Pride Wheel Glaze to wheels; let dry; buff off using microfiber
- Clay-Bar Raptor using Meguiars Clay-Bar and DP Detail Spray
- Apply Pinnacle XMT #2 Fine Swirl Remover with Porter Cable 7424XP; remove with microfiber towel
- Apply KLASSE Paint Sealant by hand; remove with microfiber
- Apply Hawaiian Island Shine Wax Creme by hand; remove with microfiber
- Apply Hawaiian Island Shine Diamond Shine Caranuba Wax with PC7424XP; remove with microfiber
- Detail interior with Hawaiian Island Shine Leather Creme with moistened sponge, buff with microfiber
There are more Hawaiian Island Shine products pictured in the shot above; I alternate the Cherry Wet Wax and Polish products every-other-time with the Pinnacle XMT #2 and KLASSE products.
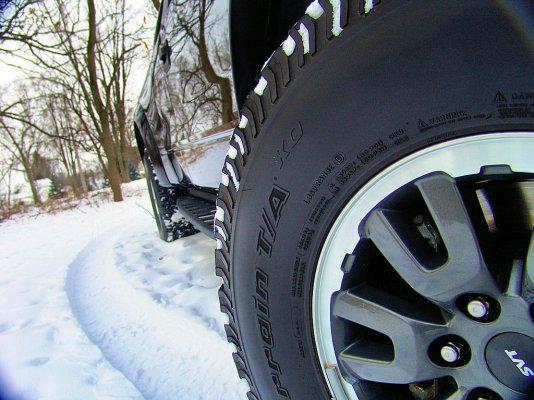
Here are some finished pictures:
01-04-2011
Latest update includes the Fox Shox Perch Adjustment thingy to the second notch. An alignment was done 5-days after and I highly recommend, just as everyone else stated, to get one done after doing this.
I moved mine to the second of the three, or to the "middle" notch. It raised the front end up from about 41.8" to 43.2", measured at the middle of the fender flare. The rear sits at a solid 43.6", so it's just about perfect to me. I like the look, I love the change in handling characteristics and the headlights perform better as an added benefit. I have not been flashed for high beams more or less after doing this modification.
Tips:
Work with the shock off the truck. I tried the non-removal method and it was just a hassle and the whole shock assembly comes off relatively simple. You'll definitely need air-powered tools to get the bolts off. I re-applied Lok-Tite to the bolts that had them on there to begin with.
I followed the instructions that SDHQ posted until I got into it and then you can just see what needs to come apart to get it out. The only snag I ran into was the brake line does not leave a lot of clearance to re-install after expanding the shock. So be ready for that.
I highly recommend this mod, but seriously get an alignment.
Other than that, She has now crossed the 10,000 mile mark, she's running like a ***** ape, drinks gas like I drink beer and I'm loving every minute of it.


