BigJ
FRF Addict
- Joined
- Aug 5, 2010
- Posts
- 5,448
- Reaction score
- 1,561
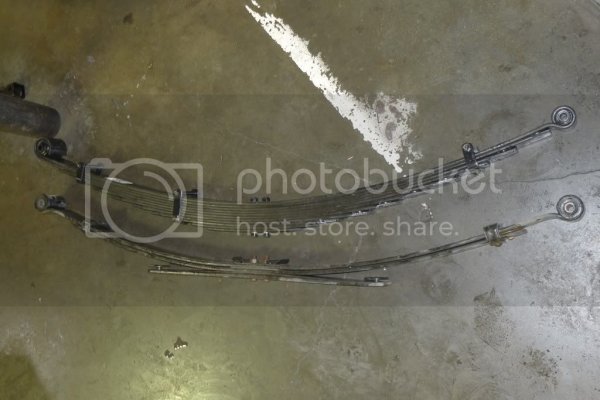
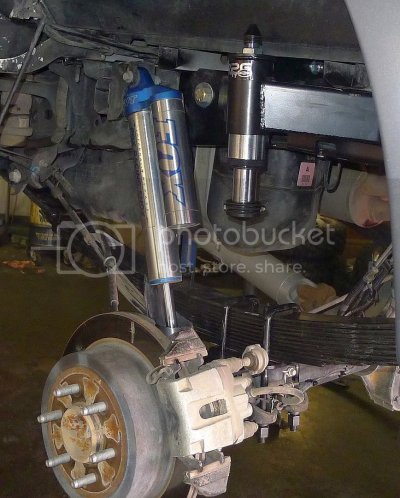
This is a followup to my Stage 2 Kit install thread found here: http://www.fordraptorforum.com/f5/rpgs-stage-2-kit-rear-frame-support-fox-air-bumps-10553/ I wanted to break this install up into two different threads because the issues addressed by each stage are quite different. Where Stage 2 fixes and solves frame, axle hop and duckwalk issues, Stage 3 (http://www.rpgparts.com/rear-suspension/stage-3-kit/) is all about improving off road performance and handling by introducing RPG’s custom National Spring leaf springs.
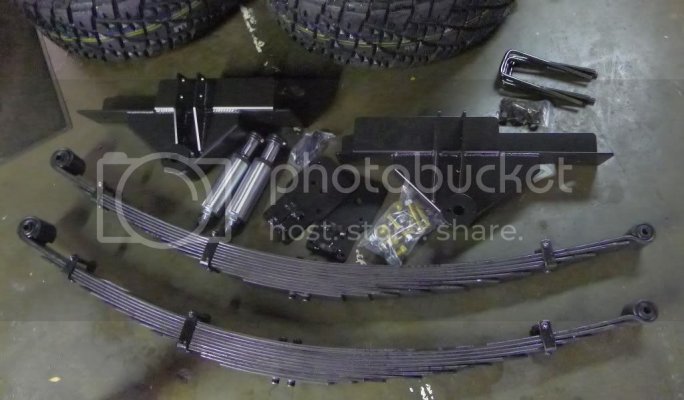
If you were to call up National Spring and ask for their Raptor springs, they’d thank you for the call and politely ask you to contact RPG to complete your order. These springs were co developed by both companies, and are exclusively available via RPG. They went through half a dozen or more iterations before everyone was happy, and production was started. They were installed on Raptors, tested by Raptor owners in various off road situations, removed and inspected by the experts, tweaked to refine desirable ride characteristics and dialed in to remove undesirables. Several sets were thrown away or redone from scratch, reinstalled and then the process was started all over again. The end result are the two types of springs you and I can buy from RPG today; the standard and HD versions.
I went with the HDs. I carry a heavy load in my truck when I off road it; extra fuel, extra water, camping gear, food, cooking equipment, fire wood and on and on. Also, I’m much more the explorer type of off roader; I do not tend to blast thru the dirt at high speed or thru the air at significant heights. If you do, and if you don’t tend to carry heavy loads, the standard springs might be the better choice you. For my money, and for my purposes, the heavier duty HD springs were a no brainer. If you're unsure, talk to Corey or Jarrett (http://www.fordraptorforum.com/members/rpg/) and they'll definitely help you chose.
As I mentioned in my Stage 2 install thread, this install took place at RaptorAddict’s shop. bstoner59 came with Corey of RPG and together with RaptorAddict, these guys busted their butts to get things done, allowing me to take a ton of pics and notes so I could bring these posts to you guys. I can’t thank them enough.
Also as I mentioned, the following is not meant to be comprehensive installation instructions. RPG's website has downloadable written instructions, and videos you can watch that cover all the required steps and specs in great detail. This is only meant to show some of the stuff I found particularly interesting or noteworthy.
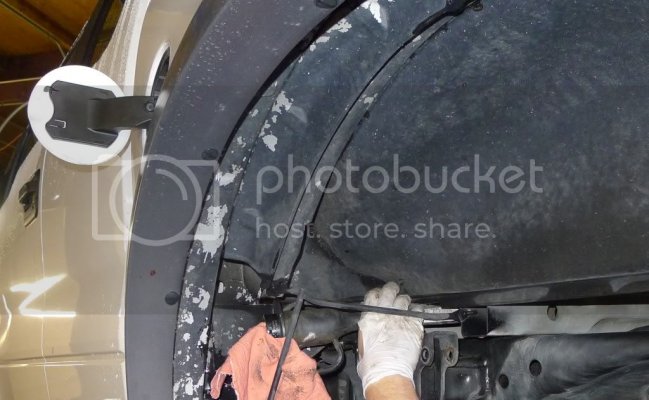
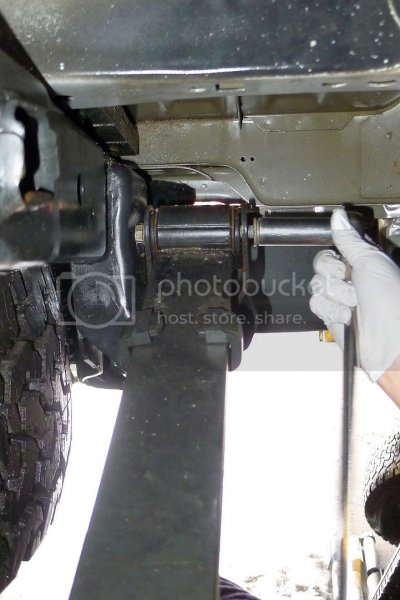
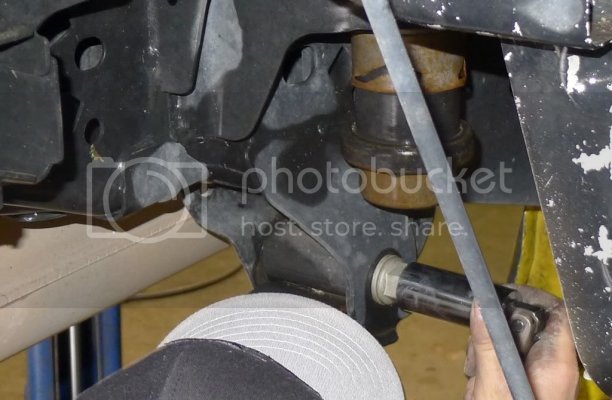
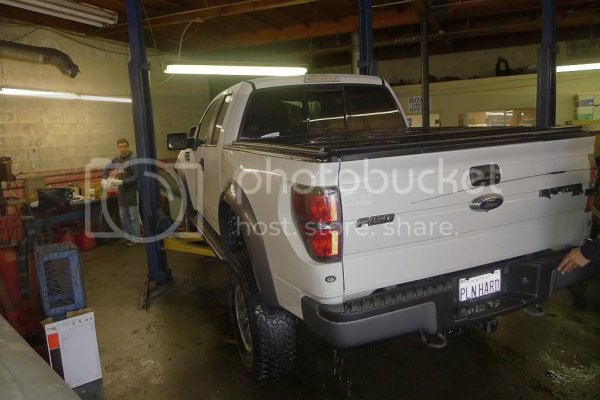
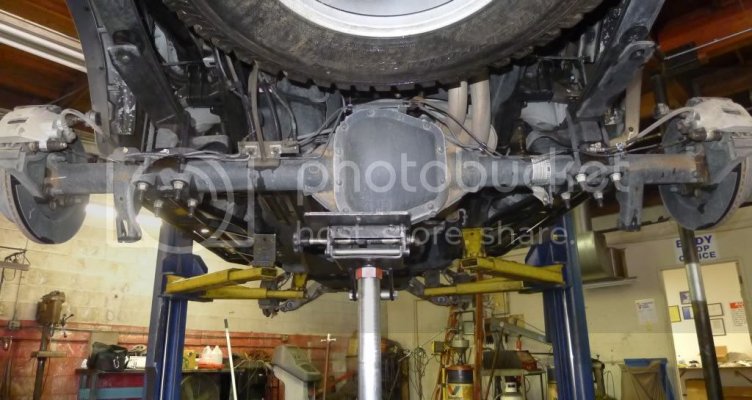
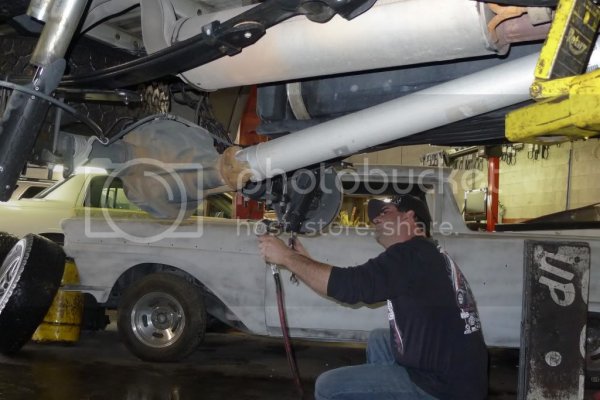
The install started off by unboxing the new hardware, getting my truck on the lift and inspecting the current state of everything underneath. She came up clean in the rear and so the guys set to work uninstalling the stock parts
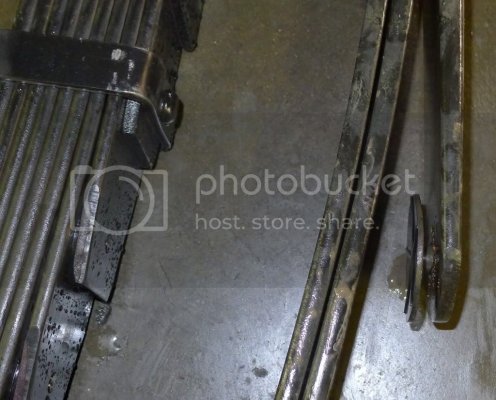
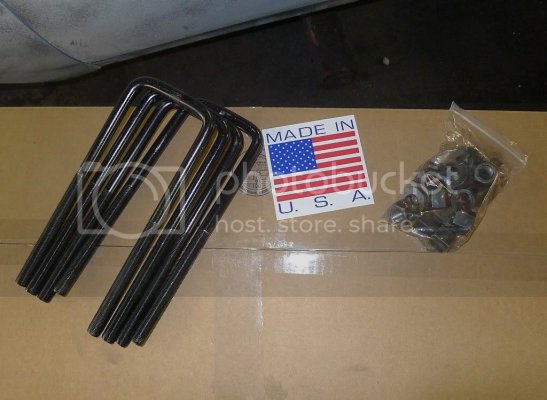
National Spring only uses steel from North American sources, and they make everything in the USA.
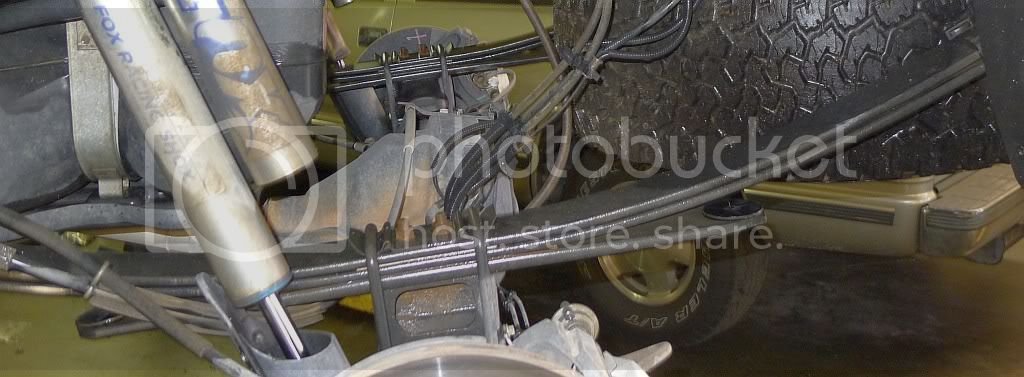
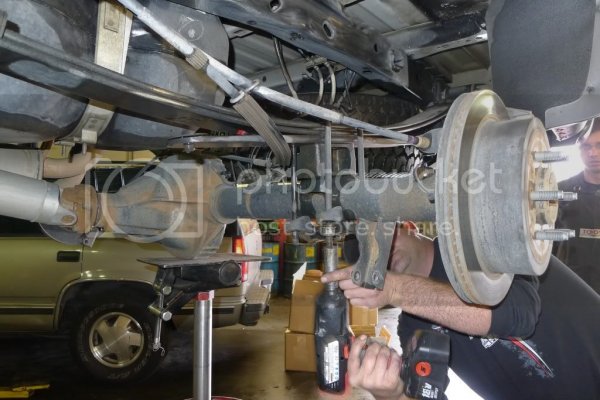
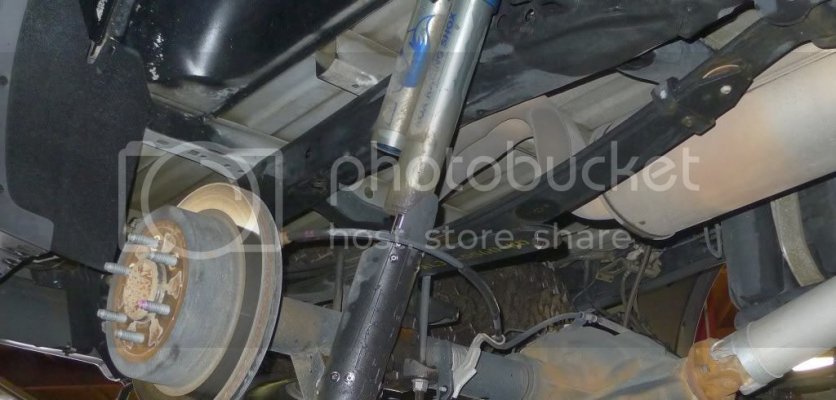
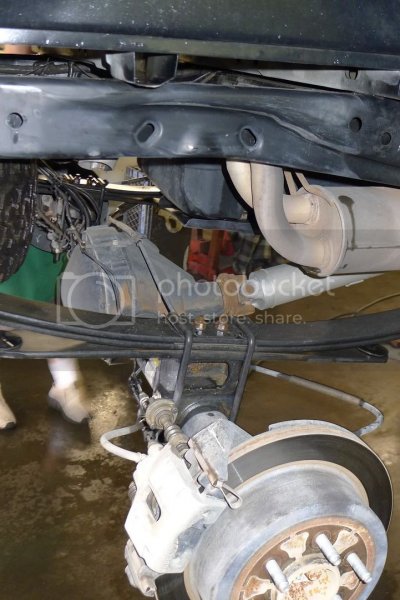
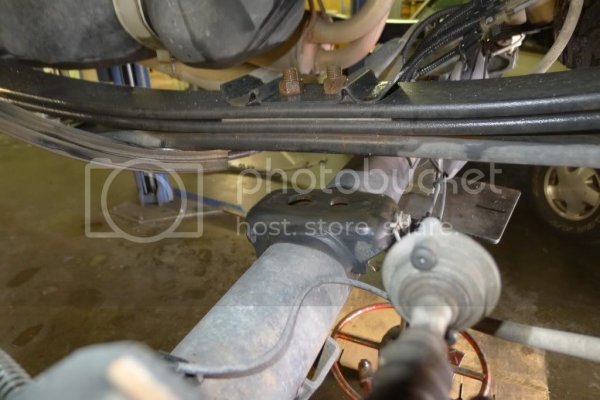
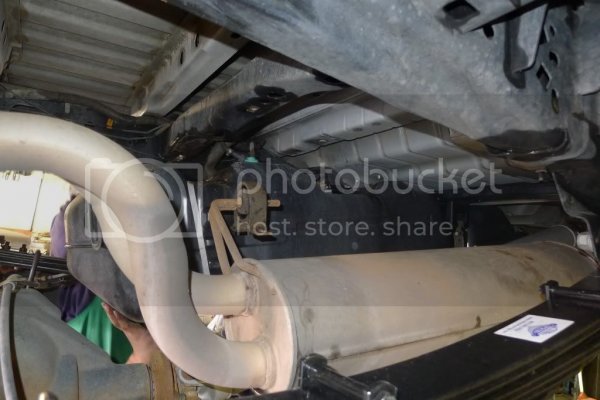
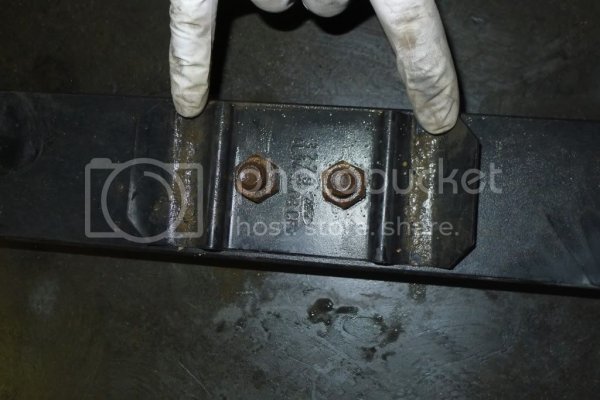
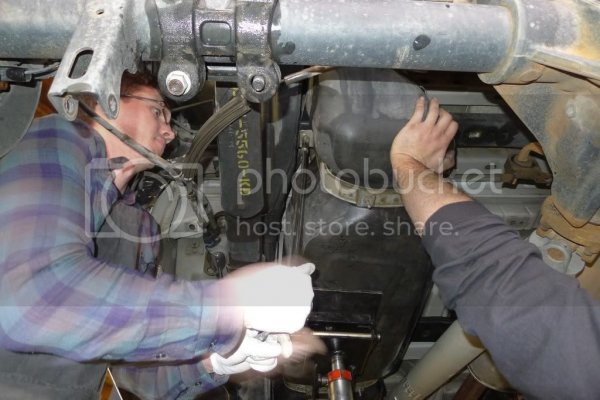
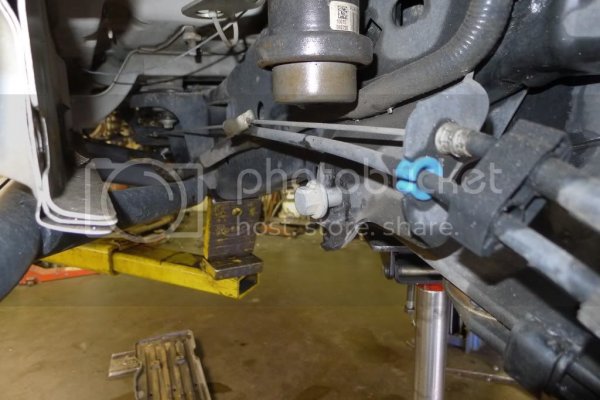
On the driver side, the bolt that holds the stock spring is mounted with the bolt side facing the gas tank. The RPG spring install requires this nut to be cut down and flipped around, so that the nut is facing the tank.
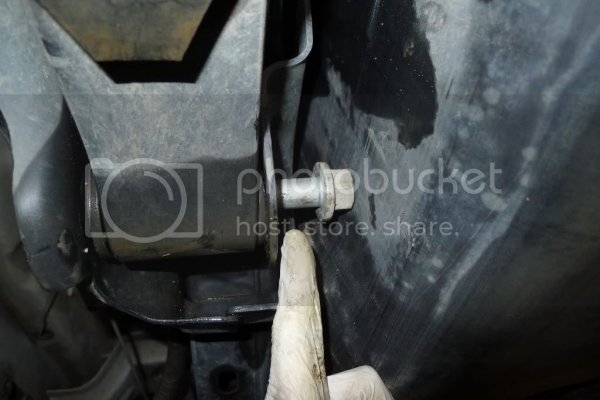
You can safely cut the bolt down to size while its still installed, since there’s a good sized airgap and lots of hardware between you and the tank.
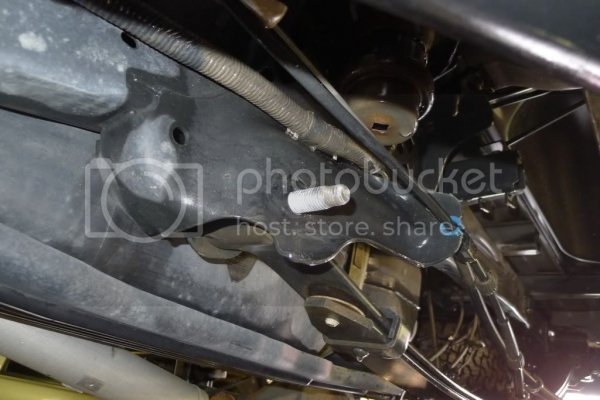
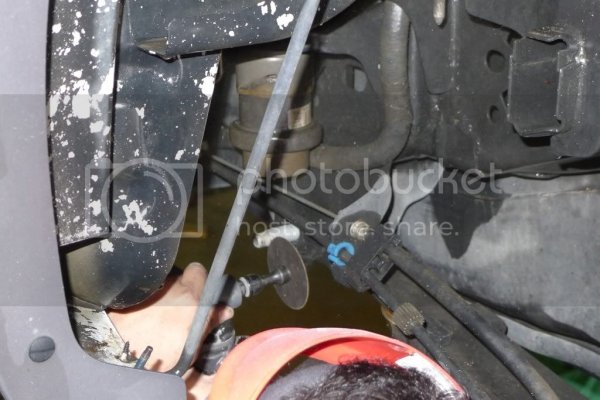
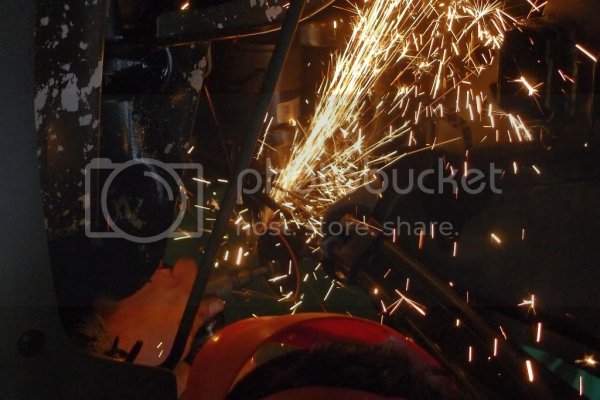
But there’s not enough room to remove it and flip it around with the gas tank installed. You could cut it off and use a new bolt, but keep in mind that sparks and fuel vapors often like eachother a bit too well. RPG recommends dropping the tank to remove the bolt. It adds about ½ hr to the install, but that’s time well spent to stay safe.


If you were to call up National Spring and ask for their Raptor springs, they’d thank you for the call and politely ask you to contact RPG to complete your order. These springs were co developed by both companies, and are exclusively available via RPG. They went through half a dozen or more iterations before everyone was happy, and production was started. They were installed on Raptors, tested by Raptor owners in various off road situations, removed and inspected by the experts, tweaked to refine desirable ride characteristics and dialed in to remove undesirables. Several sets were thrown away or redone from scratch, reinstalled and then the process was started all over again. The end result are the two types of springs you and I can buy from RPG today; the standard and HD versions.
I went with the HDs. I carry a heavy load in my truck when I off road it; extra fuel, extra water, camping gear, food, cooking equipment, fire wood and on and on. Also, I’m much more the explorer type of off roader; I do not tend to blast thru the dirt at high speed or thru the air at significant heights. If you do, and if you don’t tend to carry heavy loads, the standard springs might be the better choice you. For my money, and for my purposes, the heavier duty HD springs were a no brainer. If you're unsure, talk to Corey or Jarrett (http://www.fordraptorforum.com/members/rpg/) and they'll definitely help you chose.
As I mentioned in my Stage 2 install thread, this install took place at RaptorAddict’s shop. bstoner59 came with Corey of RPG and together with RaptorAddict, these guys busted their butts to get things done, allowing me to take a ton of pics and notes so I could bring these posts to you guys. I can’t thank them enough.
Also as I mentioned, the following is not meant to be comprehensive installation instructions. RPG's website has downloadable written instructions, and videos you can watch that cover all the required steps and specs in great detail. This is only meant to show some of the stuff I found particularly interesting or noteworthy.
The install started off by unboxing the new hardware, getting my truck on the lift and inspecting the current state of everything underneath. She came up clean in the rear and so the guys set to work uninstalling the stock parts
National Spring only uses steel from North American sources, and they make everything in the USA.


On the driver side, the bolt that holds the stock spring is mounted with the bolt side facing the gas tank. The RPG spring install requires this nut to be cut down and flipped around, so that the nut is facing the tank.

You can safely cut the bolt down to size while its still installed, since there’s a good sized airgap and lots of hardware between you and the tank.


But there’s not enough room to remove it and flip it around with the gas tank installed. You could cut it off and use a new bolt, but keep in mind that sparks and fuel vapors often like eachother a bit too well. RPG recommends dropping the tank to remove the bolt. It adds about ½ hr to the install, but that’s time well spent to stay safe.


Last edited:


