BigJ
FRF Addict
- Joined
- Aug 5, 2010
- Posts
- 5,448
- Reaction score
- 1,561
Since I picked up my Raptor two years and 40k miles ago, I’ve driven the heck out of it and enjoyed every minute. This truck has served as my daily driver, my professional workhorse and my weekend play toy.
And while I’ve been very happy and satisfied with its performance, the modder in me has always kinda wondered what the ‘next step’ might mean for a Raptor and its suspension. That, combined with the lingering frame bending question and the new evidence showing spacer kits like my Truxxx might not be the best idea, set me on a research and investigative path that eventually lead me to Raptor Performance Group (RPG).
Among other things, RPG offers three kits, broken down in stages. “Stage 1” is their frame support kit (Stage 1 kit), “Stage 2” adds Fox 2.5” Air Bumps to the mix (Stage 2 kit) and “Stage 3” introduces RPG specific National Springs leaf springs (Stage 3 kit).
When I first talked to Jarrett (FORD RAPTOR FORUM - Ford SVT Raptor Forum - Ford Raptor - View Profile: RPG) I explained how I used my Raptor, my concerns about the Truxxx and asked his thoughts. That conversation resulted in what ended up happening yesterday: Corey Kaush, owner and lead designer/engineer behind RPG, agreed to meet me at RaptorAddict’s shop with a truck full of parts, give my suspension and frame a through inspection and we’d go from there. bstoner59 caught wind of all this and joined us too. All the sudden we had a cool little M&G / Tech Session on our hands!
What we found during the inspection straight up shocked me. I discuss that in great detail in another thread, (http://www.fordraptorforum.com/f5/4...ding-blown-shock-bent-frame-10550/#post146422) and I’d ask if you have specific questions about the Truxxx kit, frame bending issues or the blown shock, please ask them in that thread. I’d like to leave this thread about RPG’s kits and install specifically.
The bottom line was we in fact found my frame was about ⅜” bent, and I gave the go ahead to install RPG’s Stage 3 kit in part to 1) fix what’s currently bent, to 2) prevent it from ever happening again and 3) to improve the responsiveness and compliance of the rear. This thread is about those first two goals... this thread is all about RPG's "Stage 2" kit. Their "Stage 3" kit adds National Spring leaf springs, which I cover in a separate thread, found here: http://www.fordraptorforum.com/f5/rpgs-stage-3-kit-national-spring-leaf-springs-10591/
On with the Stage 2 build!
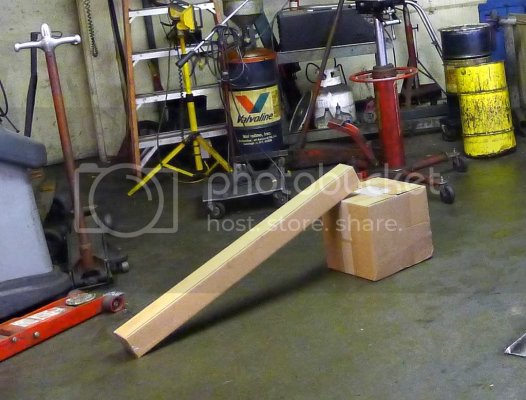
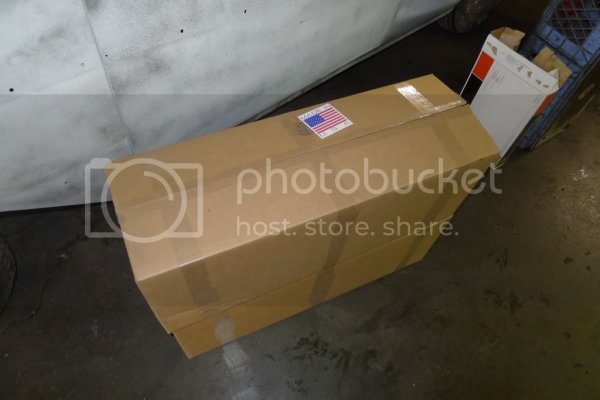
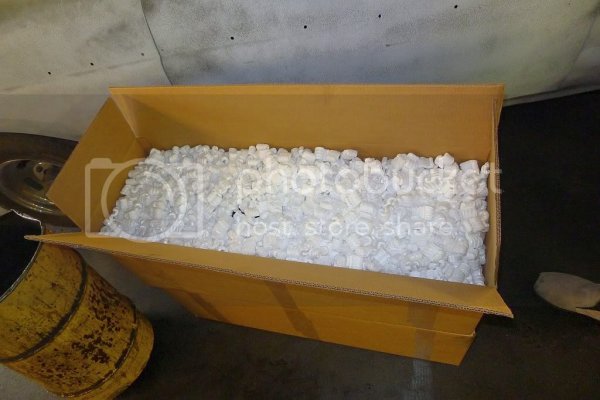
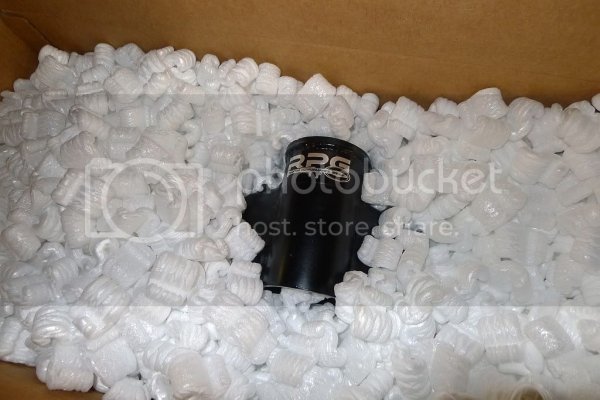
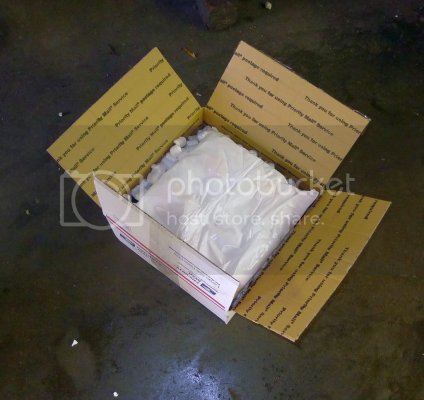
Corey brought me everything just as it ships from their facility.
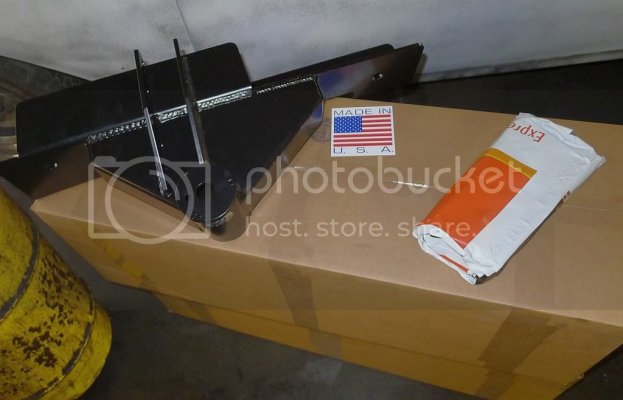
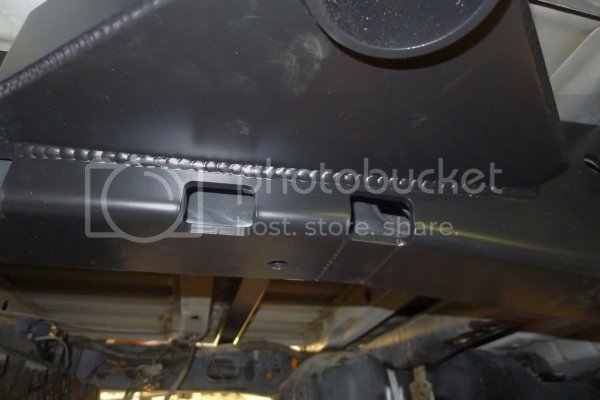
I’m a sucker for pretty welds
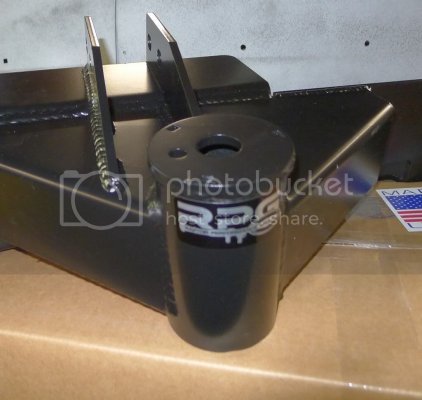
Here’s the cross brace. Check out those laser cuts. Cllleeean

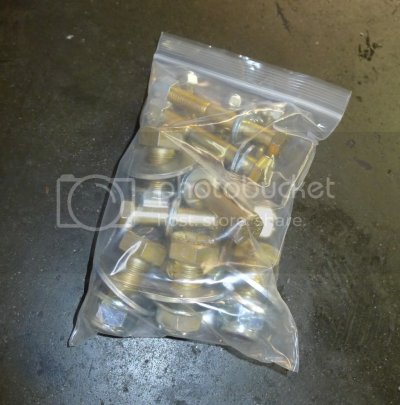
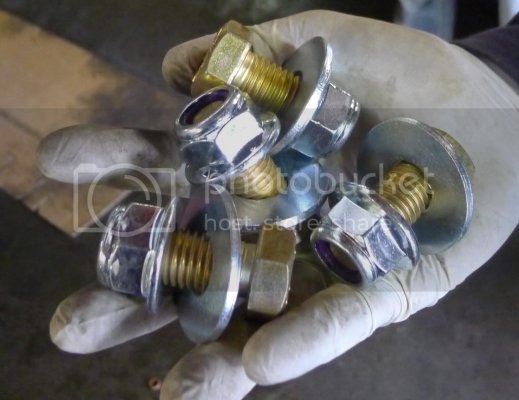
Grade 8 hardware! Anyone who’s read any of my install threads will know this, but just in case... I’m a stickler for grade 8 stuff. RPG is the first company of any that I’ve modded my Raptor with to provide grade 8 hardware. Kudos to them.
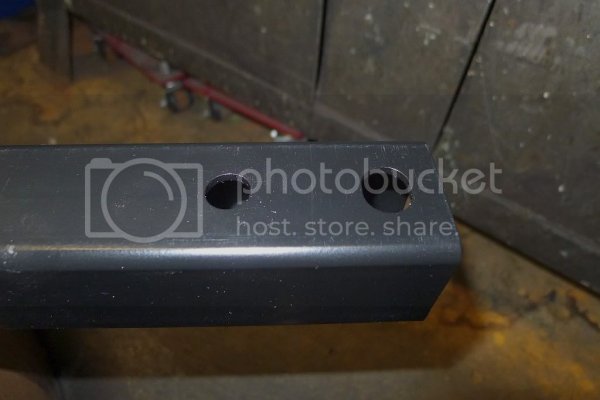
Just a quick point. You can order the Stage 1 kit from RPG without it being bump stop ready, and save a few pennies. If you do, you don’t get the pad, or the welded in tube. Corey said they haven’t sold a single set like that though; it just makes sense to buy the stuff with the parts ready to go. If you ever decide to add the stops, you’ll be all set and install will take you a few minutes, rather than needing to uninstall and basically start over.
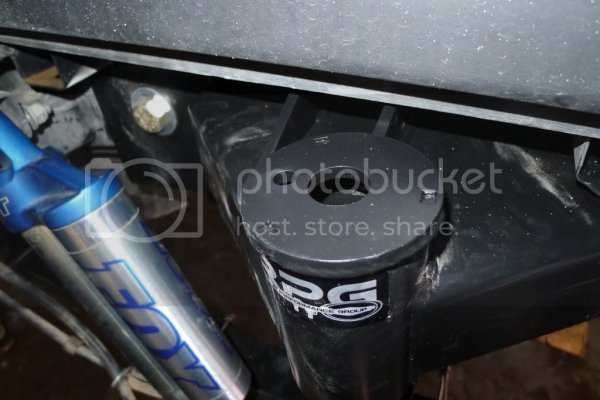
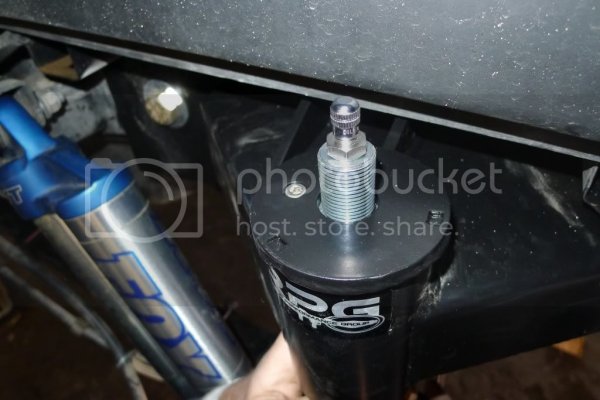
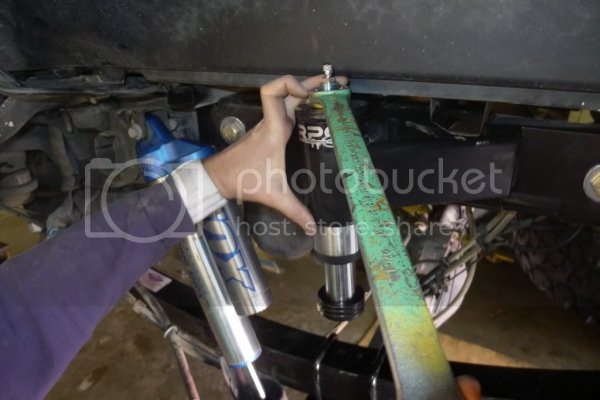
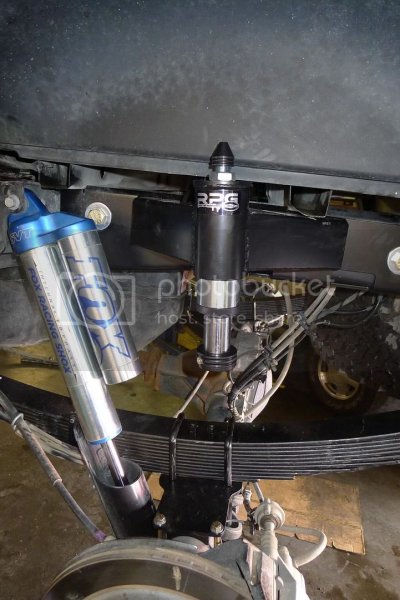
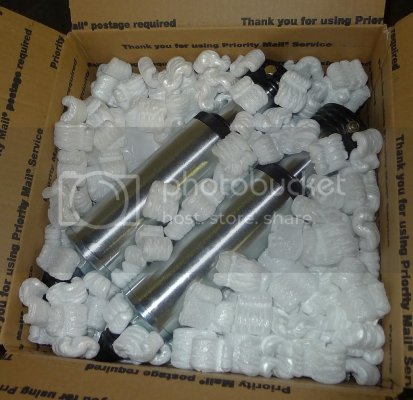
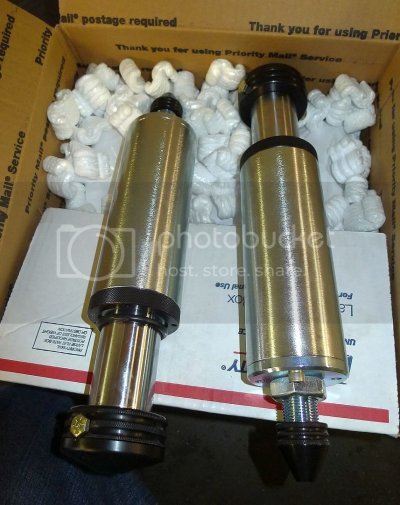
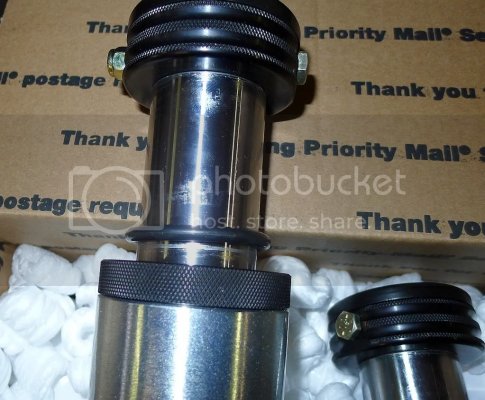
Here’s the bump stop stuffs; the pads and Fox 2.5” Air Bumps.
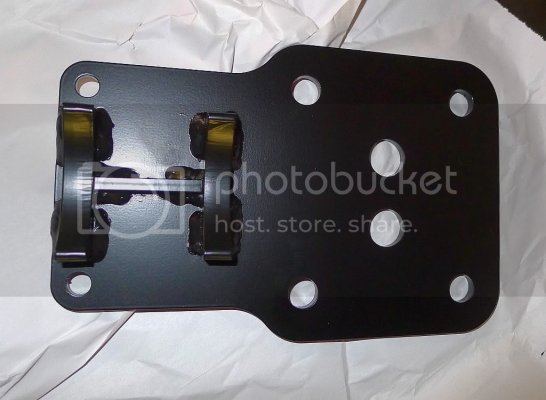
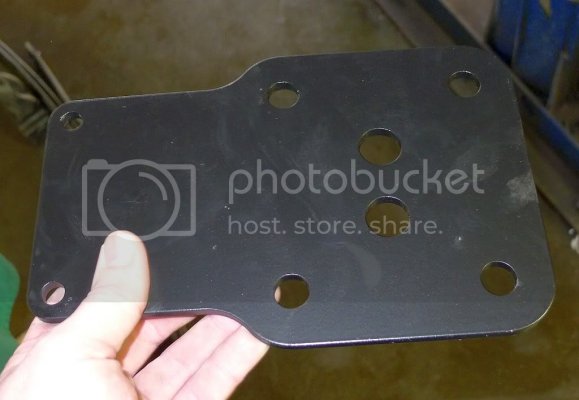
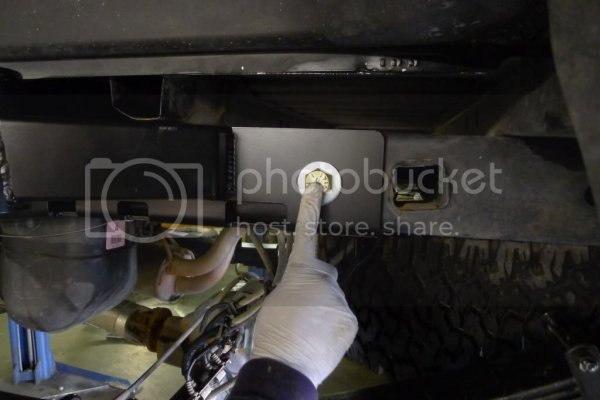
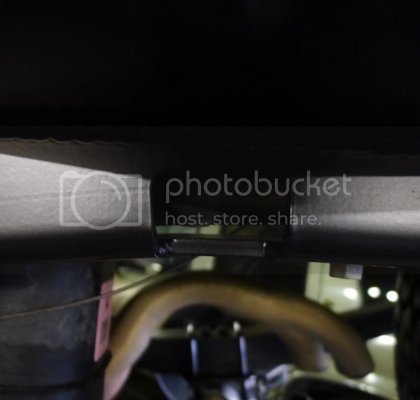
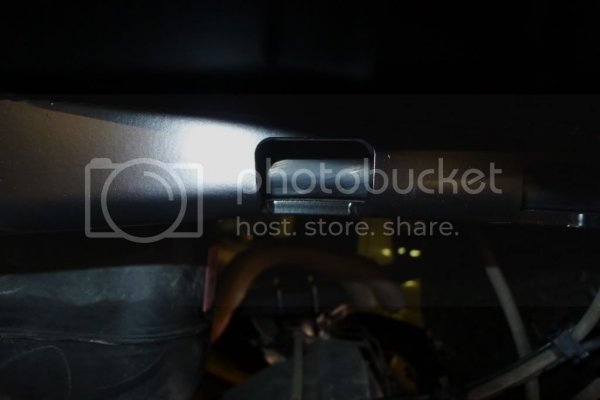
Here’s how the pads install. Please note these are not meant to be comprehensive install instructions. RPG has downloadable written instructions (complete with pics, torque specs hints tips and tricks!) and vids on their website that walk you thru step by step how to do this. So rather that redo all that, I’m just trying to show you the highlights that I found interesting.
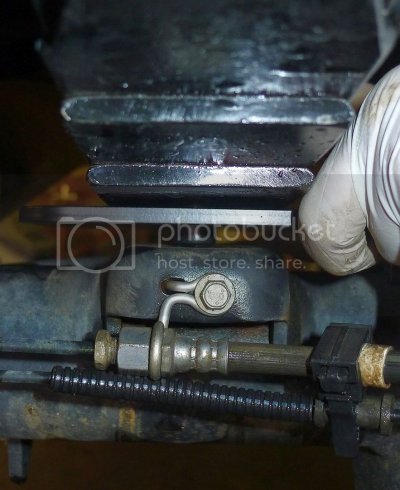
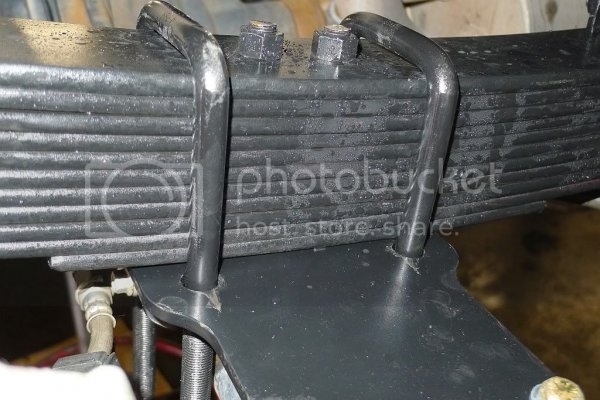
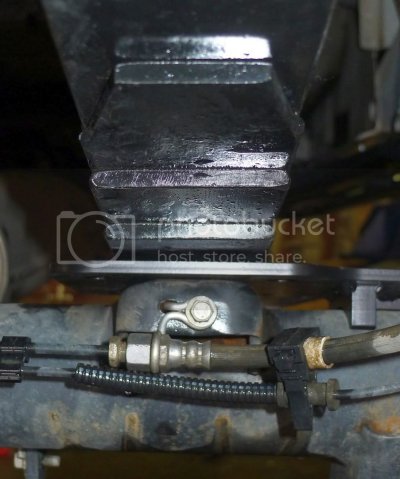
The pad is captured by the locating pins, between the axle and springs (the springs shown are the National Springs, but this is exactly the same and true for the stock springs)
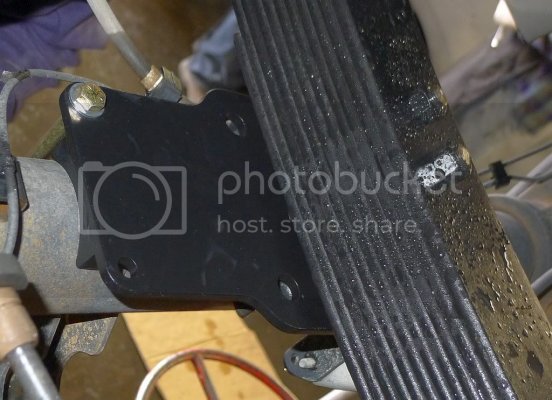
Then the U bolts go thru the pads, locking everything down as one incredibly solid piece
And while I’ve been very happy and satisfied with its performance, the modder in me has always kinda wondered what the ‘next step’ might mean for a Raptor and its suspension. That, combined with the lingering frame bending question and the new evidence showing spacer kits like my Truxxx might not be the best idea, set me on a research and investigative path that eventually lead me to Raptor Performance Group (RPG).
Among other things, RPG offers three kits, broken down in stages. “Stage 1” is their frame support kit (Stage 1 kit), “Stage 2” adds Fox 2.5” Air Bumps to the mix (Stage 2 kit) and “Stage 3” introduces RPG specific National Springs leaf springs (Stage 3 kit).
When I first talked to Jarrett (FORD RAPTOR FORUM - Ford SVT Raptor Forum - Ford Raptor - View Profile: RPG) I explained how I used my Raptor, my concerns about the Truxxx and asked his thoughts. That conversation resulted in what ended up happening yesterday: Corey Kaush, owner and lead designer/engineer behind RPG, agreed to meet me at RaptorAddict’s shop with a truck full of parts, give my suspension and frame a through inspection and we’d go from there. bstoner59 caught wind of all this and joined us too. All the sudden we had a cool little M&G / Tech Session on our hands!
What we found during the inspection straight up shocked me. I discuss that in great detail in another thread, (http://www.fordraptorforum.com/f5/4...ding-blown-shock-bent-frame-10550/#post146422) and I’d ask if you have specific questions about the Truxxx kit, frame bending issues or the blown shock, please ask them in that thread. I’d like to leave this thread about RPG’s kits and install specifically.
The bottom line was we in fact found my frame was about ⅜” bent, and I gave the go ahead to install RPG’s Stage 3 kit in part to 1) fix what’s currently bent, to 2) prevent it from ever happening again and 3) to improve the responsiveness and compliance of the rear. This thread is about those first two goals... this thread is all about RPG's "Stage 2" kit. Their "Stage 3" kit adds National Spring leaf springs, which I cover in a separate thread, found here: http://www.fordraptorforum.com/f5/rpgs-stage-3-kit-national-spring-leaf-springs-10591/
On with the Stage 2 build!
Corey brought me everything just as it ships from their facility.


I’m a sucker for pretty welds

Here’s the cross brace. Check out those laser cuts. Cllleeean


Grade 8 hardware! Anyone who’s read any of my install threads will know this, but just in case... I’m a stickler for grade 8 stuff. RPG is the first company of any that I’ve modded my Raptor with to provide grade 8 hardware. Kudos to them.


Just a quick point. You can order the Stage 1 kit from RPG without it being bump stop ready, and save a few pennies. If you do, you don’t get the pad, or the welded in tube. Corey said they haven’t sold a single set like that though; it just makes sense to buy the stuff with the parts ready to go. If you ever decide to add the stops, you’ll be all set and install will take you a few minutes, rather than needing to uninstall and basically start over.
Here’s the bump stop stuffs; the pads and Fox 2.5” Air Bumps.


Here’s how the pads install. Please note these are not meant to be comprehensive install instructions. RPG has downloadable written instructions (complete with pics, torque specs hints tips and tricks!) and vids on their website that walk you thru step by step how to do this. So rather that redo all that, I’m just trying to show you the highlights that I found interesting.

The pad is captured by the locating pins, between the axle and springs (the springs shown are the National Springs, but this is exactly the same and true for the stock springs)

Then the U bolts go thru the pads, locking everything down as one incredibly solid piece

Last edited:


