Yaesu FT-8800R install

Disclaimer: Links on this page pointing to Amazon, eBay and other sites may include affiliate code. If you click them and make a purchase, we may earn a small commission.

All The Way

FRF Addict
Joined
Sep 18, 2011
Posts
1,878
Reaction score
1,081
Location
Lockport, NY
Yaesu FT-8800R ham radio install (Updated)

The install went pretty smooth. I still have to buy, mount, and run the antenna. I will add that part to the thread later.

I also got the separation kit for the radio which made installation a lot easier.


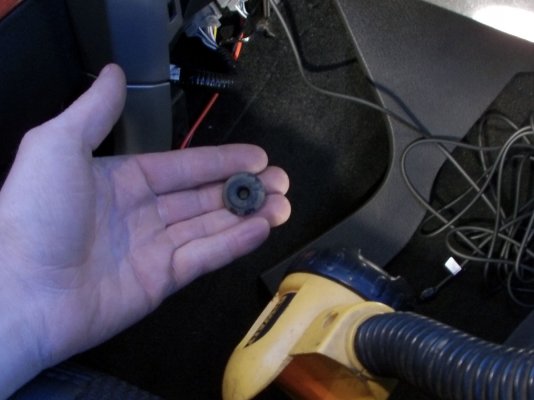
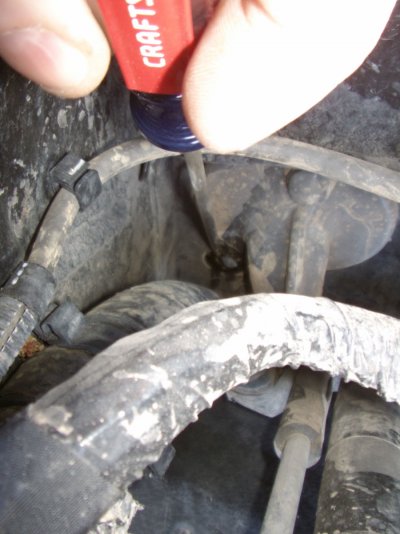
I ran power directly from the battery. I found a small rubber plug on the passenger side of the firewall that was perfect.
IMAG0011_.jpg

I cut the center out for the wires.

IMAG0018_.jpg

Tucked the wires behind the trim

IMAG0012_.jpg
IMAG0013_.jpg


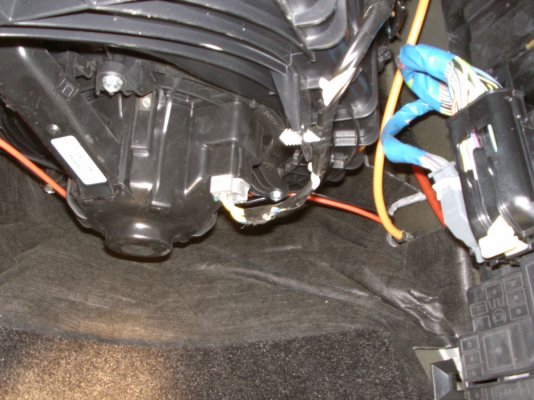
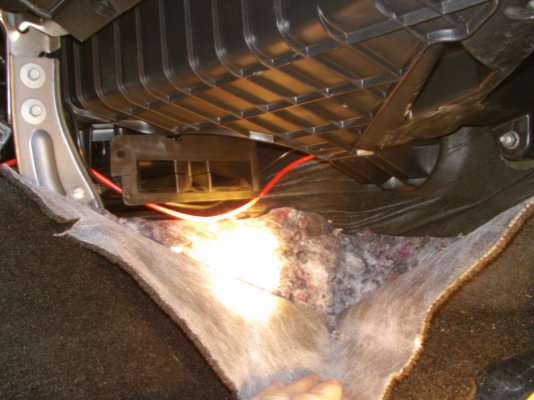
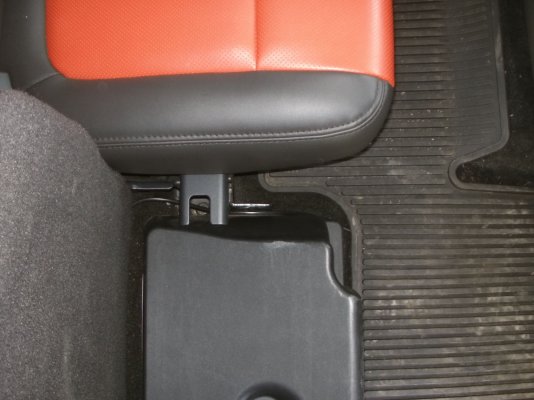
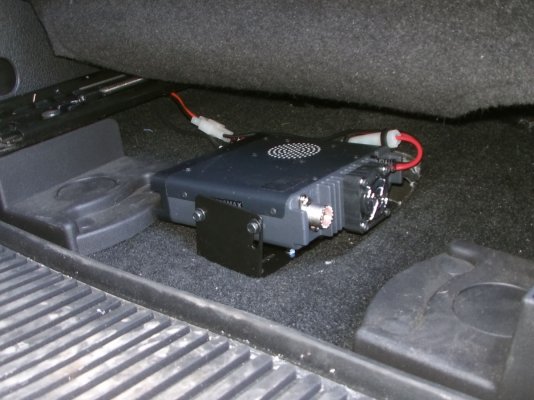
The main part of the radio I put under the passenger seat. I'll have to block off the floor vent for the winter.
IMAG0027_.jpg

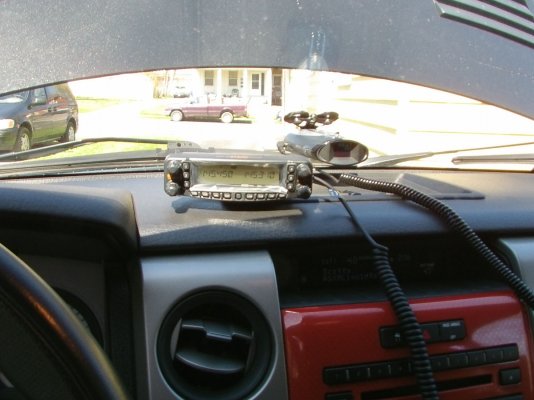
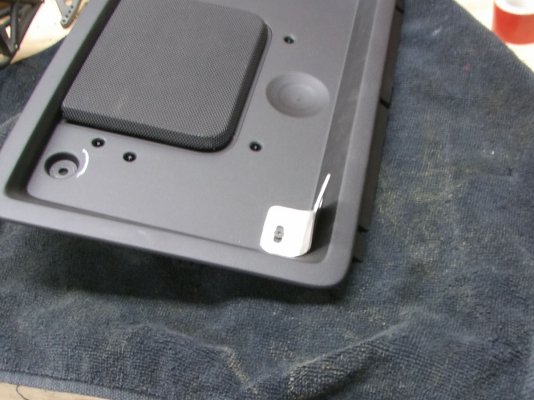
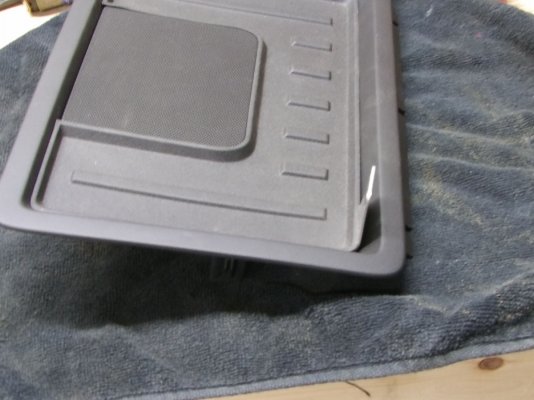
For the front panel I wanted to mount it up as high as I could so I see it with a quick glance. Problem is I didn't want to drill any holes in the dash and I wanted it to look clean. I had some aluminum brackets from work laying around and found it fit perfect for what I had in mind. I only had to drill one small hole in the center speaker tray.
IMAG0020_.jpg
IMAG0022_.jpg

With it mounted and powered.

IMAG0025_.jpg
 
Last edited:

matt33

Full Access Member
Joined
Jun 23, 2011
Posts
246
Reaction score
133
Location
NE PA
That looks great. I'm strongly considering getting my tech license and mounting a mobile in my Raptor like you.

Where do you keep your mic? Also, please post the antenna portion of the write-up when you can, I'd love to see what you come up with.
 
OP
OP
All The Way

All The Way

FRF Addict
Joined
Sep 18, 2011
Posts
1,878
Reaction score
1,081
Location
Lockport, NY
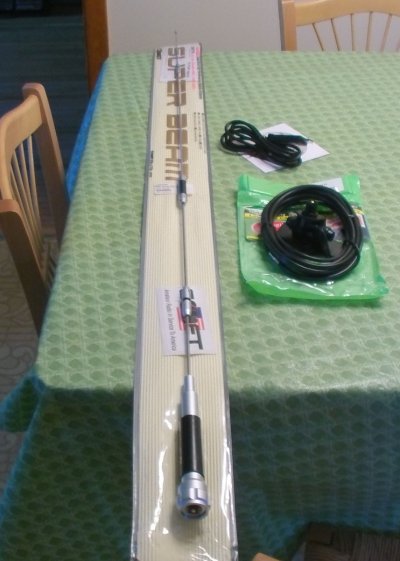
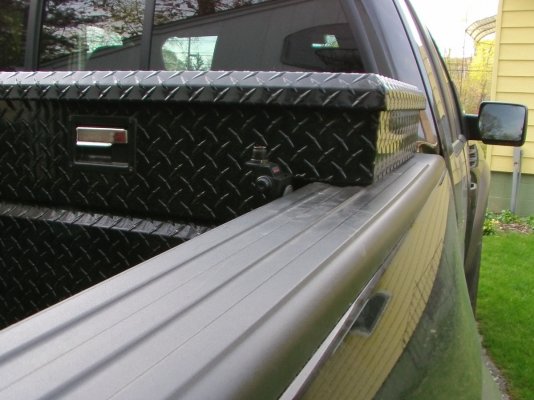
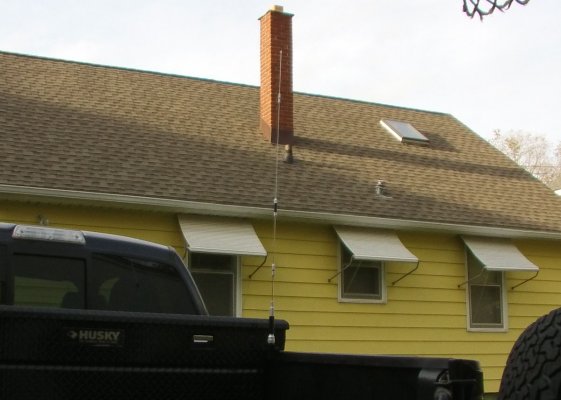
Well got all the goodies I needed for the antenna. I went with a Comet Dual Band antenna and the heavy duty lip mount. I also bought RT Systems radio programming software.

Antenna
R&L Electronics
Mount
R&L Electronics

IMAG0037_.jpg

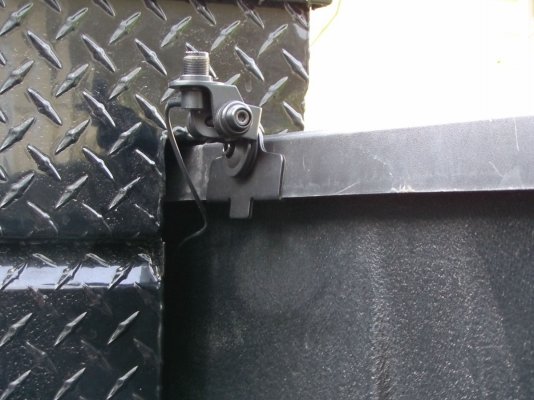
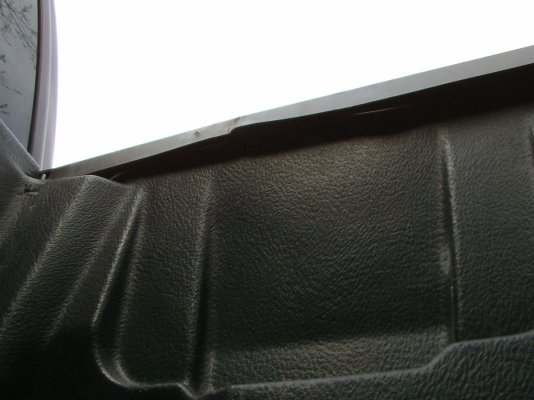
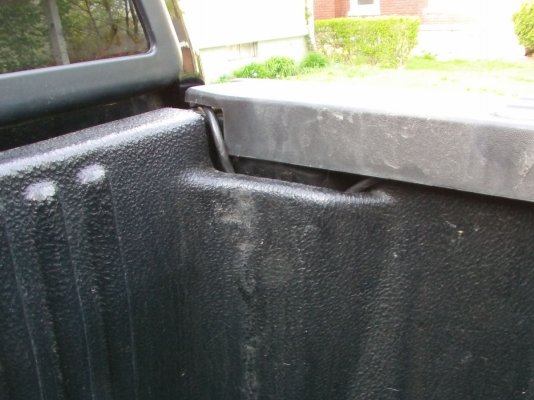
This mount has a lot of adjustment. You could put it anywhere there is a lip and have access to the 4 set screws. I mounted it on the bed rail next to the tool box. I tucked the coax up under the lip and behind the bed liner to keep it out of harms way. The picture of the mount on the truck I didn't have it tucked in yet.

IMAG0043a_.jpg
IMAG0040_.jpg
IMAG0041_.jpg
IMAG0042a_.jpg

Antenna on the mount

IMAG0045_.jpg

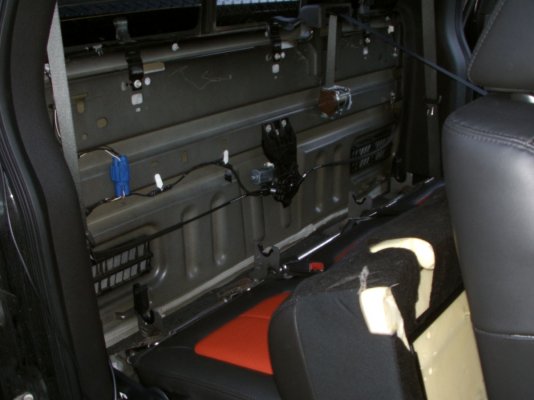
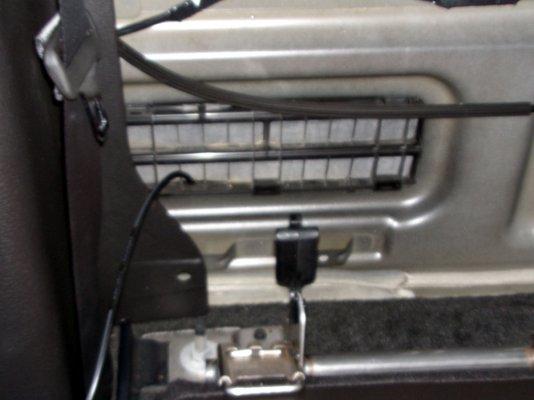
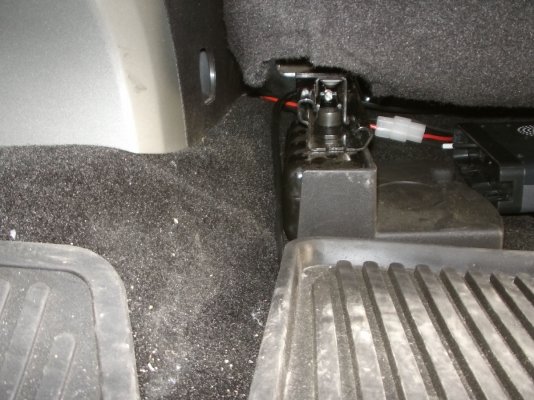
The next part was not fun. The next step was to run the coax into the cab through the rear vent behind the seat. Sounds simple..... if the damn seat release tabs were easy to find. Took me around a hour to get it released. Snaked the coax in through the vent, a couple zip ties and that was done. Under the seat then under the rear floor mat to the radio.

IMAG0038_.jpg
IMAG0039_.jpg
IMAG0046_.jpg
IMAG0047_.jpg

If you have any questions ask away.
 
OP
OP
All The Way

All The Way

FRF Addict
Joined
Sep 18, 2011
Posts
1,878
Reaction score
1,081
Location
Lockport, NY
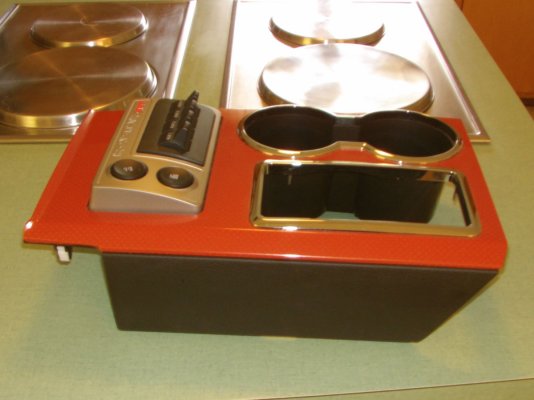
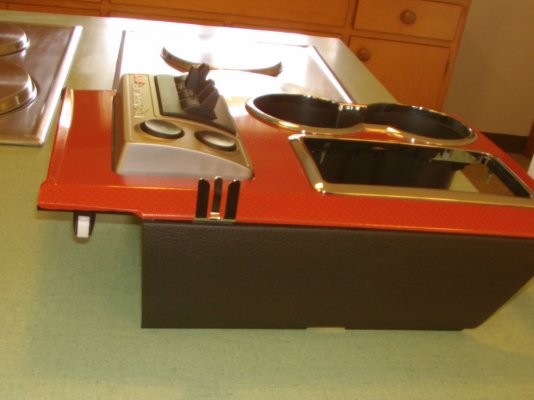
Well after hunting on the web I couldn't find a mic mount that would require no holes. Sooooo after looking at the interior trim for a bit I saw a spot that might be perfect. Off with the center console to investigate.

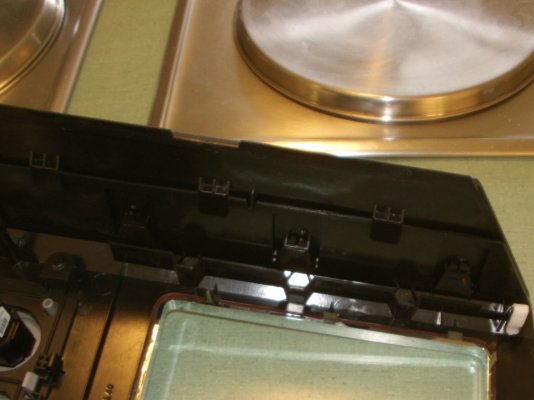
There is a gap between the black plastic and the orange top piece. Looks like its enough for the bracket that came with the radio.

IMAG0057_.jpg

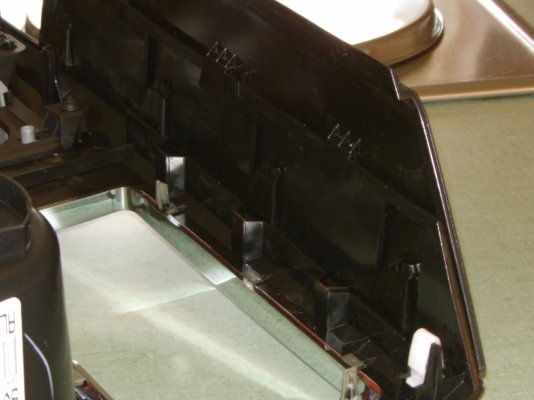
Time to pull the two pieces apart. You can see in the picture there are four tabs you have to pinch together to release.

IMAG0058_.jpg
IMAG0060_.jpg

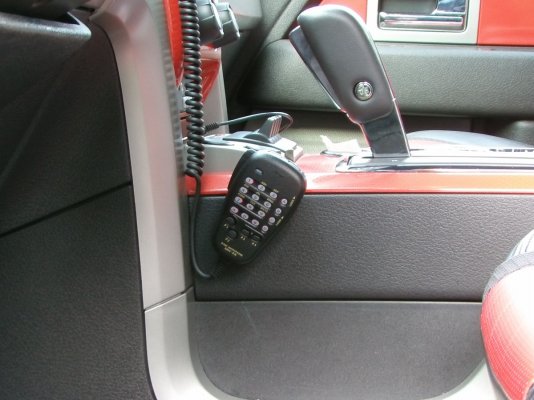
I don't have a picture of this next step, sorry. Once the two parts are separated I put the mic clip between the two parts and put it back together. It's wedged in so it can't come out.

Here is one similar to what I have. Amazon.com: Microphone Clip for Amateur & CB radios - Screw-in: Electronics

Here it is together.

IMAG0062_.jpg

In the truck

IMAG0065_.jpg

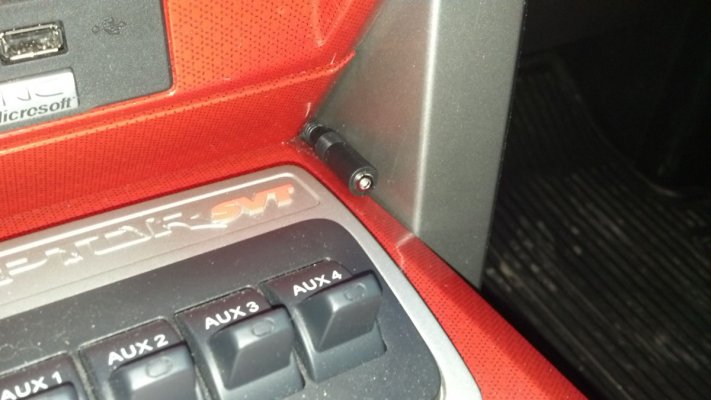
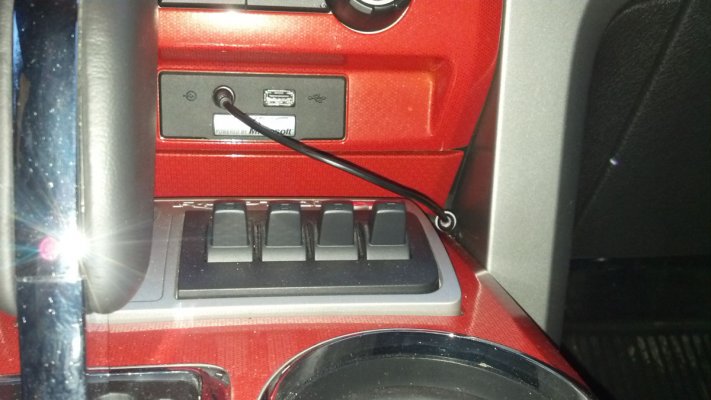
Another thing I did while I was at it was run the aux speaker wire from the radio to just below the sync port. This way if I have to hear everything I can plug it in to the truck.

206.jpg
349.jpg

Now I need to study my ass off. I take the tech test on the 5th.
 
OP
OP
All The Way

All The Way

FRF Addict
Joined
Sep 18, 2011
Posts
1,878
Reaction score
1,081
Location
Lockport, NY
Well time for the follow up. The mic stayed in the holder but the mount for the head unit bounced a bit but didn't bend. I'll make a new mount with stainless.

This is KD2CDV on 445.450 or 147.540 In the Western NY area.
 
Top