OUTCAST
Full Access Member
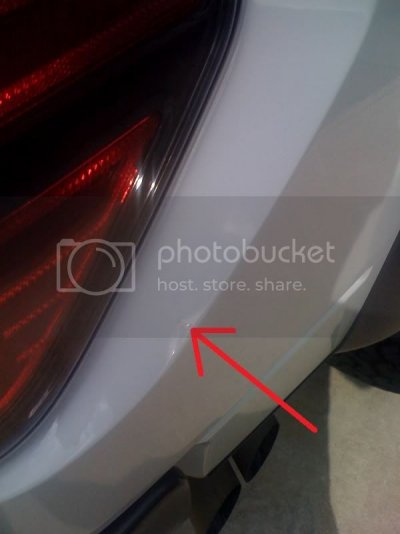
I always felt growing up that mud flaps were for the old folks. You know the old guys that drove the old Dodges with 6 ft CB antennas, bed rails, and whatever else they could buy out of the JC Whitney catalog. After the incident with the rock “spider” cracking my paint near the right rear tail light (posted on that other forum), mud flaps, or, in this case - Rock Guards, became a must. I wanted something kind'a different so I went with the Vortex Vented Mud Flaps. I knew if I just posted a picture I would get the “A detailed install write up and pics would be nice” response to my post. Not that I mind, just have learned better, so for you guys who may have never mounted a mud flap...”wrote a song about it… here it goes!”
Here's some links:
http://www.vortexmudguards.com/index.php
http://www.youtube.com/watch?v=3LX5vWXZstM
http://www.youtube.com/watch?v=GonERle03so
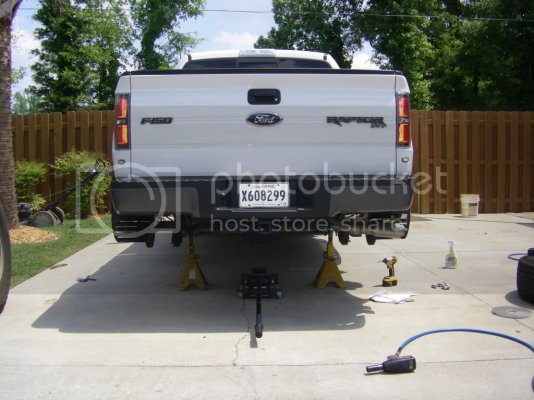
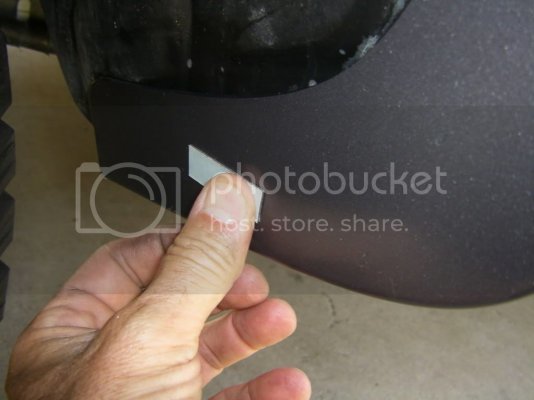
First thing I did was remove the tires and rotated them (since they were coming off anyway) leaving the back ones off for the flap installation since the screw gun I was using wouldn’t fit with the rear tires in the way. When I pulled the flaps out of the packaging, I tried to get the stickers off, no luck, so I threw the flaps in my outside freezer (Trick I learned from someone long time ago) and I started in the back passenger side. Sprayed the flare with 409 and wiped it down. Since I only have two hands, so I put some thin double stick tape to be my other two hands.
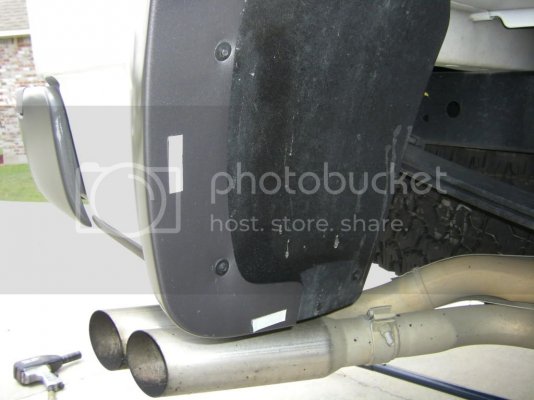
On the rear I used Vortex Mud Guard - C's which are 12" wide by 17" and some change long. Pulled the flaps out of the freezer and went to pull off the stickers but the paper was too thin and was coming off easily but in little pieces - I ain't got that kind ‘a patients, off to the pressure washer after the install. Anyhow, I placed the flap where I wanted it, and got out my ole' Gran Dad's torpedo level and got it level (yes, I checked to see if the truck was level), and stood back for the “thumb look”, Looked great so I nailed it. Now the directions wanted you to drill a ¼ inch hole in the mud flap before installing it. Whatever! The screws are self tappers and until you get the flap exactly where it needs to be you don’t know where these holes are gonn’a be, and since the flap is now where it’s going and stuck, I put the screws to it in suitable spots starting at the top.
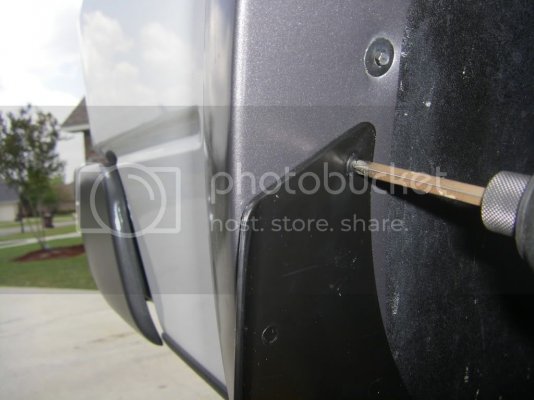
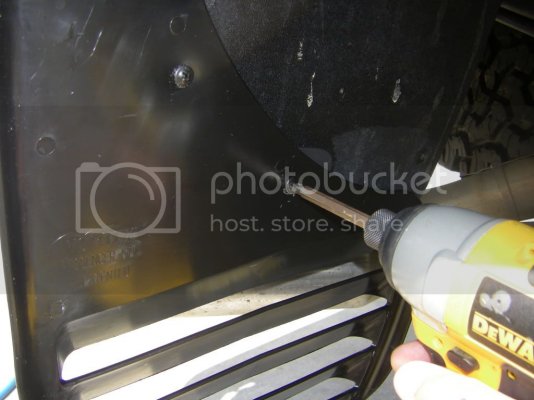
First one down, moved to the other side and repeated the process.
So this is what I got on the rear:
The front is a little different. I used smaller Vortex Mud Guard -B's which are 10" wide by 14" and some change long. Didn't think I needed those BIG *** Flaps on the front. I was right after the things were on, it somehow looks damn near perfect - as far as flaps go - did I mention I don't like 'em? Anyway first thing is with the smaller flaps you don't have as much area to work with and you have a fiber fender to screw into, so a little more care is needed. I used a little extra tape on the front. Got them right and screwed 'em on.
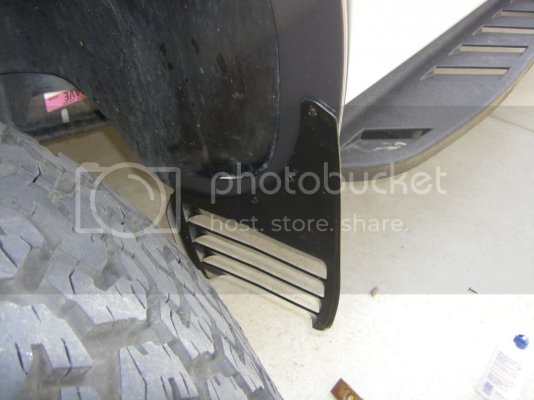
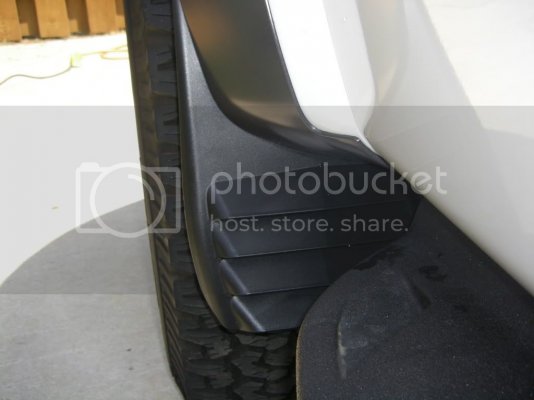
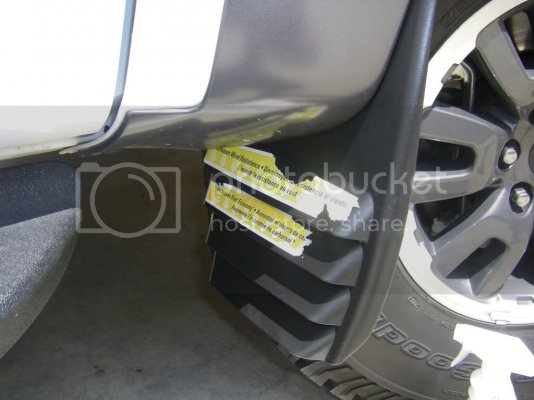
So here's the finished product.
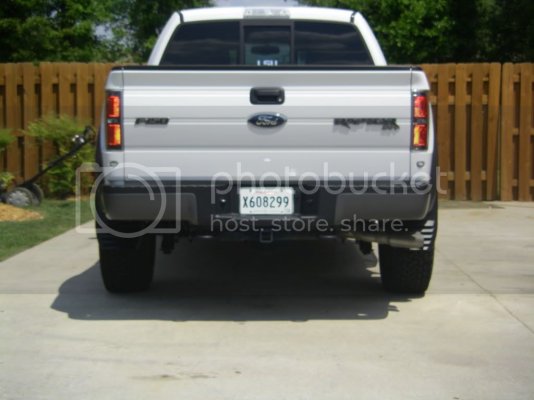
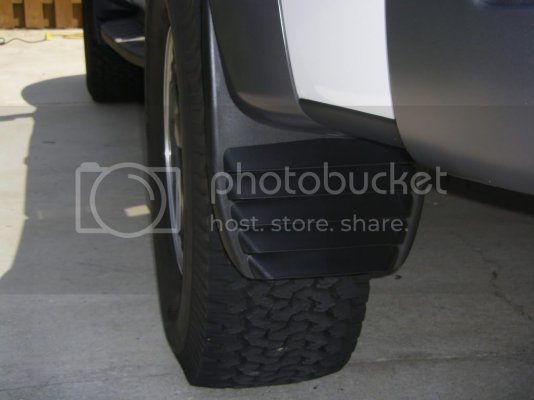
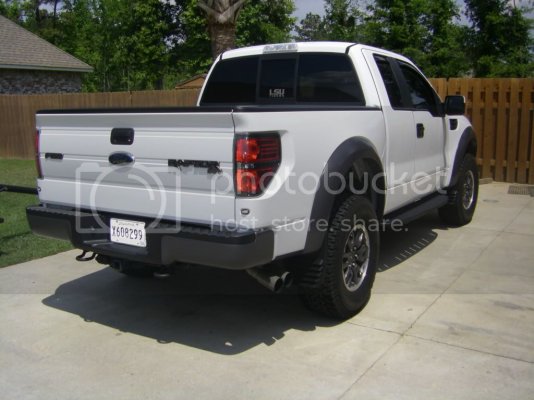
STILL AIN'T SURE I LIKE 'EM! They match the running boards, kind'a, thats a plus, I guess...
Here's some links:
http://www.vortexmudguards.com/index.php
http://www.youtube.com/watch?v=3LX5vWXZstM
http://www.youtube.com/watch?v=GonERle03so
First thing I did was remove the tires and rotated them (since they were coming off anyway) leaving the back ones off for the flap installation since the screw gun I was using wouldn’t fit with the rear tires in the way. When I pulled the flaps out of the packaging, I tried to get the stickers off, no luck, so I threw the flaps in my outside freezer (Trick I learned from someone long time ago) and I started in the back passenger side. Sprayed the flare with 409 and wiped it down. Since I only have two hands, so I put some thin double stick tape to be my other two hands.

On the rear I used Vortex Mud Guard - C's which are 12" wide by 17" and some change long. Pulled the flaps out of the freezer and went to pull off the stickers but the paper was too thin and was coming off easily but in little pieces - I ain't got that kind ‘a patients, off to the pressure washer after the install. Anyhow, I placed the flap where I wanted it, and got out my ole' Gran Dad's torpedo level and got it level (yes, I checked to see if the truck was level), and stood back for the “thumb look”, Looked great so I nailed it. Now the directions wanted you to drill a ¼ inch hole in the mud flap before installing it. Whatever! The screws are self tappers and until you get the flap exactly where it needs to be you don’t know where these holes are gonn’a be, and since the flap is now where it’s going and stuck, I put the screws to it in suitable spots starting at the top.


First one down, moved to the other side and repeated the process.
So this is what I got on the rear:

The front is a little different. I used smaller Vortex Mud Guard -B's which are 10" wide by 14" and some change long. Didn't think I needed those BIG *** Flaps on the front. I was right after the things were on, it somehow looks damn near perfect - as far as flaps go - did I mention I don't like 'em? Anyway first thing is with the smaller flaps you don't have as much area to work with and you have a fiber fender to screw into, so a little more care is needed. I used a little extra tape on the front. Got them right and screwed 'em on.


So here's the finished product.


STILL AIN'T SURE I LIKE 'EM! They match the running boards, kind'a, thats a plus, I guess...


