DezRaceSVT
Full Access Member
What’s going on guys. So ever since I got my truck something about the interior colors didn't look right to me. The light grey panels seem to break up the flow of the dash. So I decided to give vinyl wrap a shot. After looking at different colors and types of vinyl I decided on 3M's scotchprint 1080 brushed steel. Scotchprint is one of the best if not the best wrap on the market. I chose the brushed steel because I wanted a textured look so to speak and the brushed steel is a few shades darker than the light grey panels and it think it helps on blending the rest of the black and darker grey interior colors.
If you are going to try this I would recommend on watching a lot of You Tube videos. I found a good channel to watch is “3M Cookie’s Tips” he goes into detail about what types of tools are needed, pre stretching the vinyl, different types of chemicals that can be used on the vinyl, the use of a heat gun so on and so on. Other videos to look at are how to go about getting rid of wrinkles in the vinyl. Some of the curves are a pain in the ass to work around and get rid of the wrinkles but in watching the videos you can get a good idea on how to tackle them.
The tools that I used for this was:
- Razor blade
- Scissors
- Felt tipped squeegee
- 3M primer 94(for the deep recesses and tight curves)
- 70% Isopropyl Alcohol
- Lint free rag
- heat gun
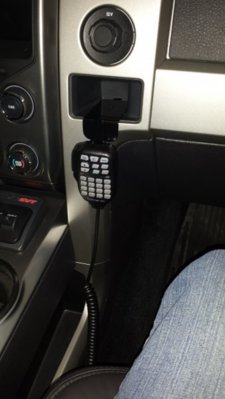
Here you can see the original stock color layout of the light grey panels next to the dark grey control panel and the black interior panels.
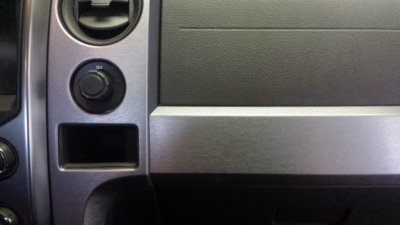
Now you can see the brushed wrap next to the same panels. The darker color helps the dash flow and everything blend a little better in my opinion.
Again you can see what the light grey looks like on the center console with the rest of the interior and the wrap.
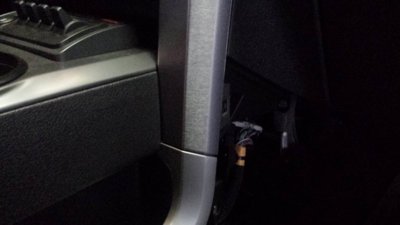
In this pic the primer was used to help hold the wrap into place if you don’t use any primer the wrap will stay for a while but it will lift after a while. The primer is applied after the panel is cleaned with the alcohol. When you put the primer on you let it dry completely then apply the wrap after the wrap is in place then you will need to post heat the entire panel especially where the primer is applied. The primer will hold the wrap in place after it is used.
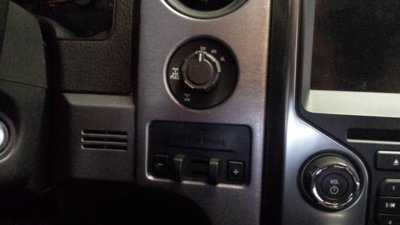
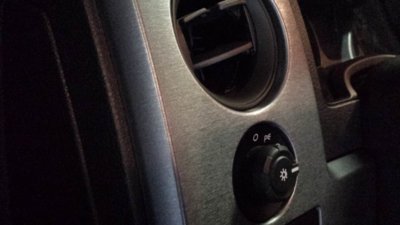
Close up of the driver’s side panel.
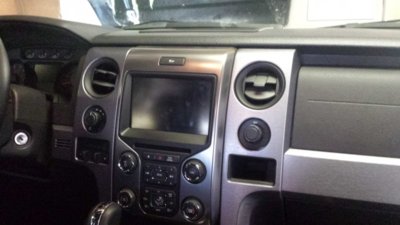
Here is a pic of the dash with all the panels installed.
The center console panel took the longest to do just because of all the curves and different angles.
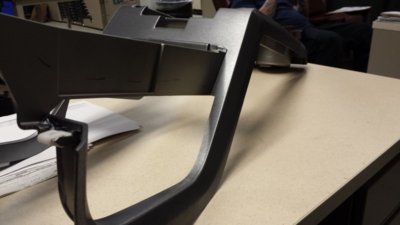
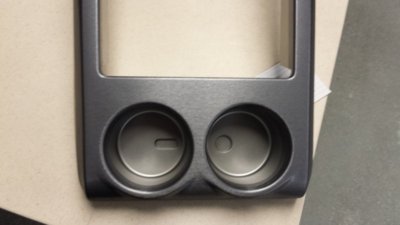
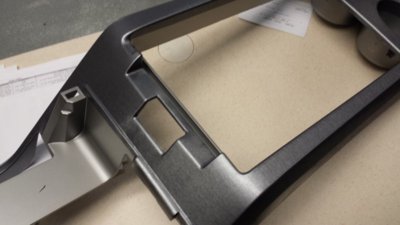
Here is the back of the center console. I disassembled the air vents on the back of the center console and painted them black to match the rest of the vents.
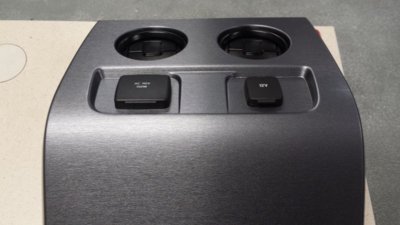
Let me know what you guys think and if you have any questions i think we can get it figured out.


If you are going to try this I would recommend on watching a lot of You Tube videos. I found a good channel to watch is “3M Cookie’s Tips” he goes into detail about what types of tools are needed, pre stretching the vinyl, different types of chemicals that can be used on the vinyl, the use of a heat gun so on and so on. Other videos to look at are how to go about getting rid of wrinkles in the vinyl. Some of the curves are a pain in the ass to work around and get rid of the wrinkles but in watching the videos you can get a good idea on how to tackle them.
The tools that I used for this was:
- Razor blade
- Scissors
- Felt tipped squeegee
- 3M primer 94(for the deep recesses and tight curves)
- 70% Isopropyl Alcohol
- Lint free rag
- heat gun
Here you can see the original stock color layout of the light grey panels next to the dark grey control panel and the black interior panels.

Now you can see the brushed wrap next to the same panels. The darker color helps the dash flow and everything blend a little better in my opinion.

Again you can see what the light grey looks like on the center console with the rest of the interior and the wrap.

In this pic the primer was used to help hold the wrap into place if you don’t use any primer the wrap will stay for a while but it will lift after a while. The primer is applied after the panel is cleaned with the alcohol. When you put the primer on you let it dry completely then apply the wrap after the wrap is in place then you will need to post heat the entire panel especially where the primer is applied. The primer will hold the wrap in place after it is used.

Close up of the driver’s side panel.

Here is a pic of the dash with all the panels installed.

The center console panel took the longest to do just because of all the curves and different angles.


Here is the back of the center console. I disassembled the air vents on the back of the center console and painted them black to match the rest of the vents.

Let me know what you guys think and if you have any questions i think we can get it figured out.


