Crabtreepaw
Member
- Joined
- Mar 17, 2011
- Posts
- 9
- Reaction score
- 0
So this is my first post but I have been lurking the site for awhile planning our build.
Not going overboard but hope you guys enjoy the small build. All about the details baby. Its a daily driven concrete cowboy most of the year, and in the woods hunting the rest.
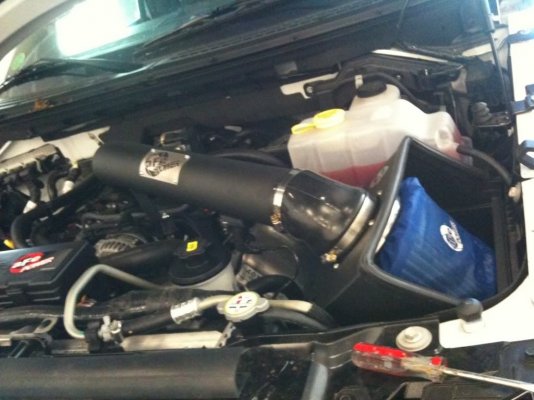
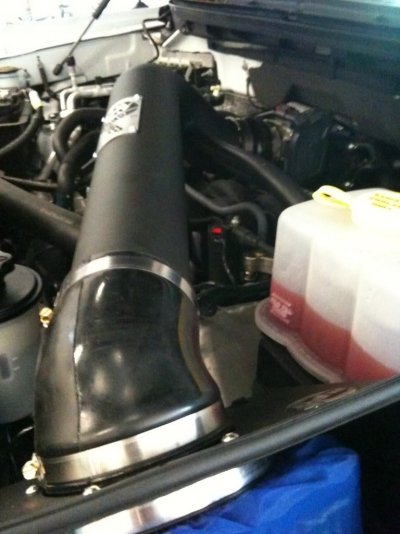
First we went with the AFE intake. Easiest install in the world 26 minutes from start to end. Plastic clips took the longest.
Was impressed with ease and the fact that it came with an extra filter, recharge kit, and filter screen.
Last week i installed the Borla exhaust i forgot to take pics but its just the standard bolt on. If anyone attempts to install one just make sure you rem. to twist then slide out or you will be makin a soup sandwich.
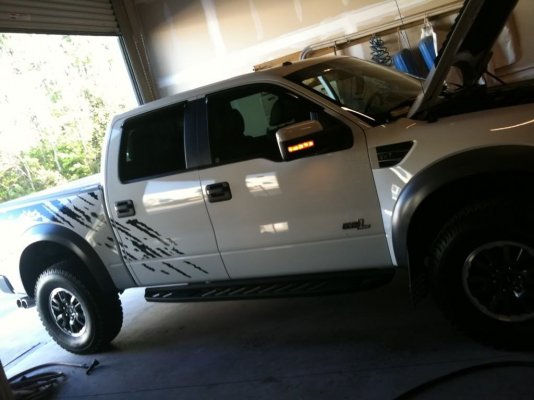
Also rhino lined the bed and wheel wells, and put a hard cover over the bed. can't rem what kind it was but it was a dealer install
And it came with the blue lay lighting which i am gonna enhance next week.
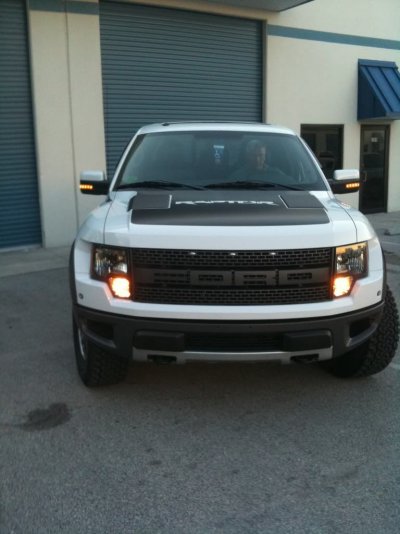
Next came the famous side mirror light upgrade.
Didn't think much of it and went about it a lil diff. than most.
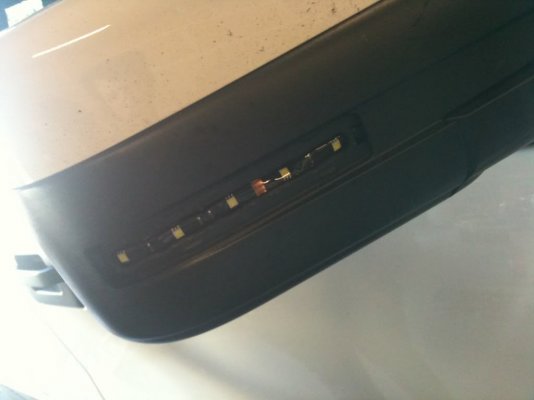
Instead of removing the glass i took the reflector off and grinned down the reflector then grinned down the slot that the light would fit in. Took a sec or two on the first, but i was able to fish out the stock side blinker wire (green/white) and tap'd my light directly into it. I used a slim line marine led strip of five lights total. Used cool white because the reflectors where already there.
Pic of the grinned slot and light strip installed.
Pic of the Light OFF
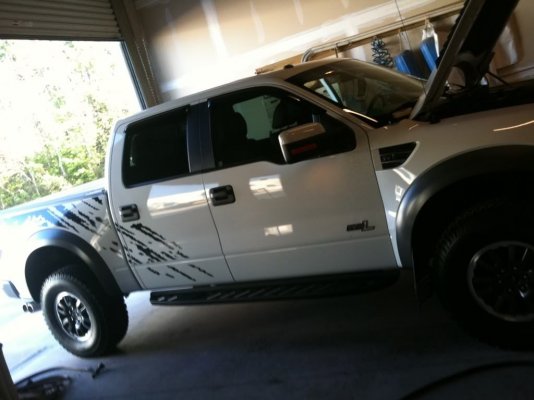
Pic of the light ON.
OFF
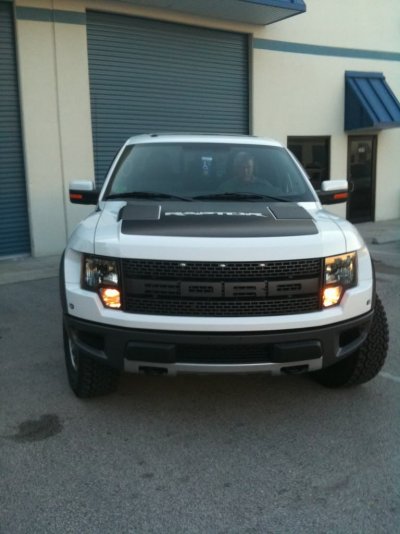
On
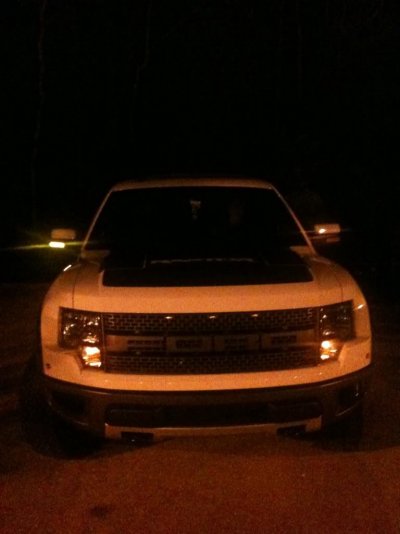
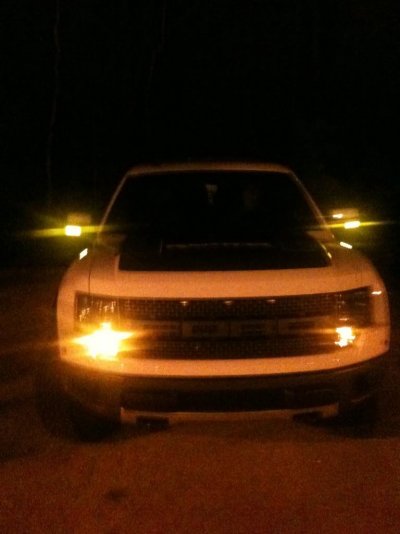
Night Shot
(These things turned out well and only took roughly an hour)
Next for this is i am going to put a relay in so that they turn on with parking lights, full time, or when the door is ajar. Should be fairly easy with the rest of the rats nest that will be adding.
Mods for this upcoming weekend and week will be.
-Custom rear brake light bar.
-XVision light bar (not gonna give it all away hehe)
-Step board will get 4 pods of 3 yellow led's underneath the running board, it will be inline with the puddle and running stock lights. should be each side and will be hidden underneath and inside of the
-Rear bed lay lights
-Replacement of dome light (super cool white, should be able to get a sun tan)
-Few more interior lay lights from my company.
Lights lights lights for hunting season.
-Im also going to do a few Ford airbrush stencils in the bed for looks, should look pretty neat on top of the rhino liner.
Not going overboard but hope you guys enjoy the small build. All about the details baby. Its a daily driven concrete cowboy most of the year, and in the woods hunting the rest.
First we went with the AFE intake. Easiest install in the world 26 minutes from start to end. Plastic clips took the longest.
Was impressed with ease and the fact that it came with an extra filter, recharge kit, and filter screen.


Last week i installed the Borla exhaust i forgot to take pics but its just the standard bolt on. If anyone attempts to install one just make sure you rem. to twist then slide out or you will be makin a soup sandwich.
Also rhino lined the bed and wheel wells, and put a hard cover over the bed. can't rem what kind it was but it was a dealer install
And it came with the blue lay lighting which i am gonna enhance next week.
Next came the famous side mirror light upgrade.
Didn't think much of it and went about it a lil diff. than most.
Instead of removing the glass i took the reflector off and grinned down the reflector then grinned down the slot that the light would fit in. Took a sec or two on the first, but i was able to fish out the stock side blinker wire (green/white) and tap'd my light directly into it. I used a slim line marine led strip of five lights total. Used cool white because the reflectors where already there.
Pic of the grinned slot and light strip installed.

Pic of the Light OFF

Pic of the light ON.

OFF

On

Night Shot
(These things turned out well and only took roughly an hour)


Next for this is i am going to put a relay in so that they turn on with parking lights, full time, or when the door is ajar. Should be fairly easy with the rest of the rats nest that will be adding.
Mods for this upcoming weekend and week will be.
-Custom rear brake light bar.
-XVision light bar (not gonna give it all away hehe)
-Step board will get 4 pods of 3 yellow led's underneath the running board, it will be inline with the puddle and running stock lights. should be each side and will be hidden underneath and inside of the
-Rear bed lay lights
-Replacement of dome light (super cool white, should be able to get a sun tan)
-Few more interior lay lights from my company.
Lights lights lights for hunting season.
-Im also going to do a few Ford airbrush stencils in the bed for looks, should look pretty neat on top of the rhino liner.


