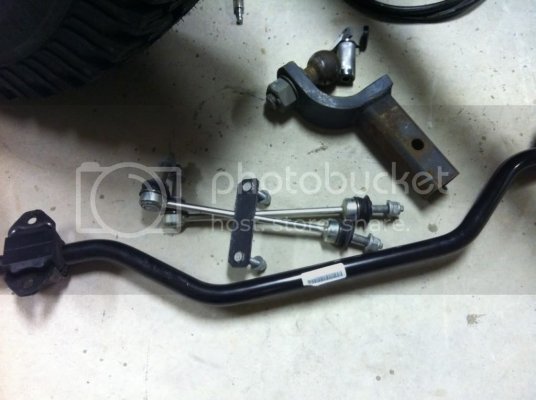
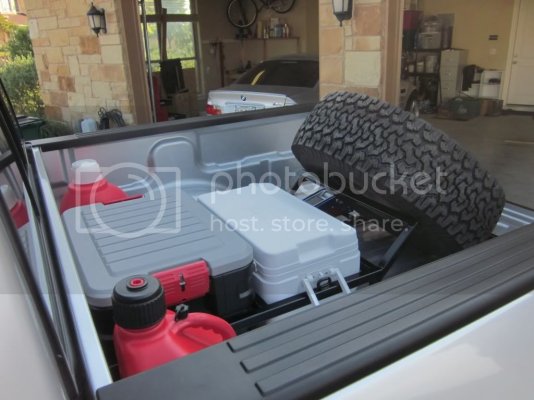
Next mod is the RPG stage 2 rear frame support and bumps.
I did this in my garage, was kind of a pain in the ass, very tedious trying to tighten all the bolts properly.
Notes from my install:
1. You will need jack stands and 2 floor jacks, one for raising/lowering the diff and the other for jacking the front of the diff so the pinion angle is correct when you tighten everything down.
2. You will need a grinder
3. Have a metric tap/die set handy, you may or may not need this
4. Dead blow hammer
5. Can of spray paint
6. Die grinder with straight burring bit
7. Drill with various sized bits
8. Lots of patience
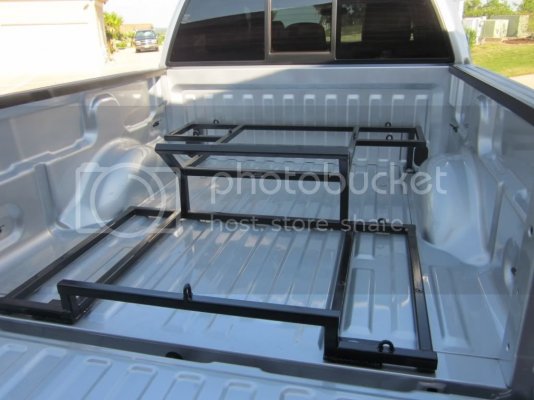
I removed the spare tire also to make more room under the truck, but I couldn't get the rear cross bar to install under the truck in a diagonal fashion like the install video, the stock exhaust gets in the way.
SO....you must slide in from the side and it will get bound up as it's not a straight shot, so I had to hammer the bed a bit on the seam weld to make it slide in, scraped a lot of paint off so this is where the spray can comes in.
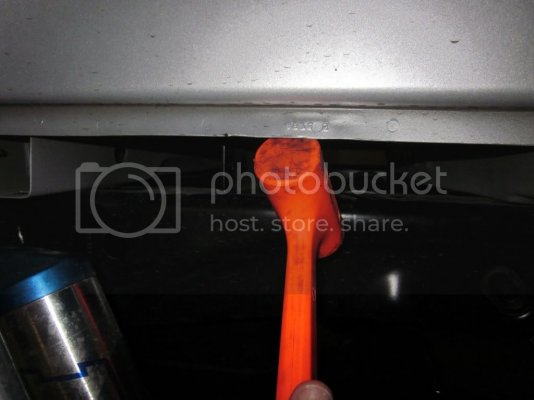
Another pic to show how the bed seam is bent.
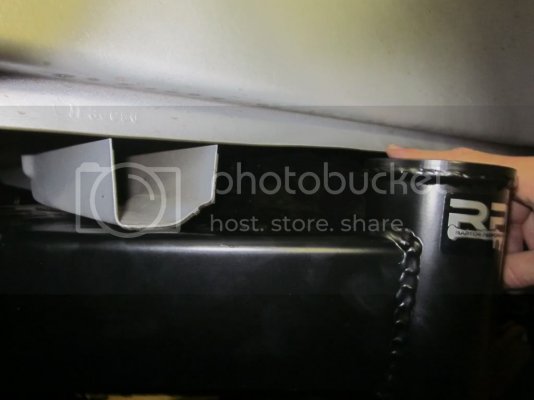
The rest of the install is pretty straight forward per the instructions with a few exceptions.
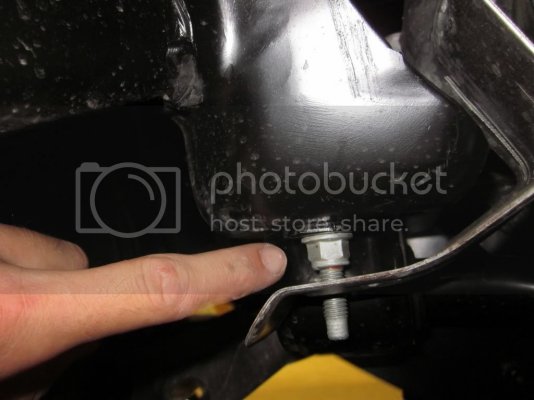
Here I had to drill and tap the hole for the factory exhaust hanger, the RPG bracket was drilled and tapped, but the hole didn't line up with the hole in the frame, so I had to drill and tap, I believe the tap was a 8mmx1.25, I also used a longer bolt.
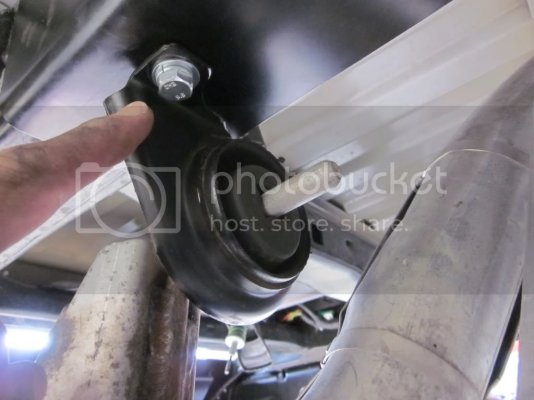
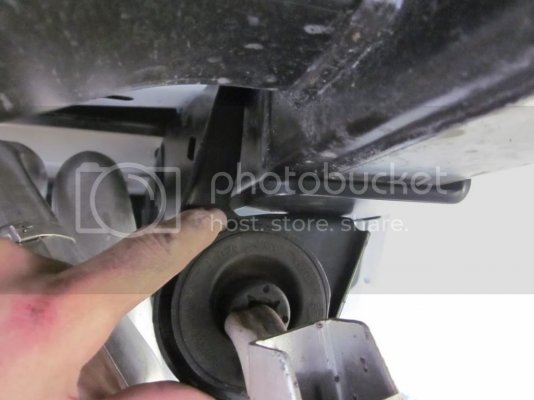
In this pic get your grinder and grind out the corner of the factory exhaust bracket to get a nice fit without any binding.
Next is the install modification of the factory leaf blocks, per RPG there is variation in the manufacturing of the blocks, they have little nipples on them and those are supposed to align the diff housing with the leaf springs.
Well when you add the RPG bump pad the little nipples are too short to align into the diff housing.
RPG sends some bolts for this to create a longer nipple so that alignment is possible.
But.....you must perform some grinding and drilling for install.
Factory block with nipples:
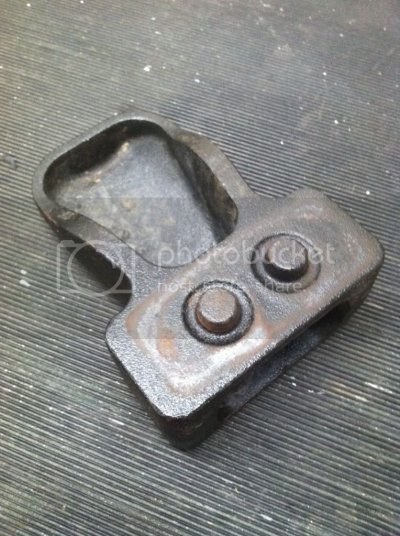
Now flush cut off the nipples:
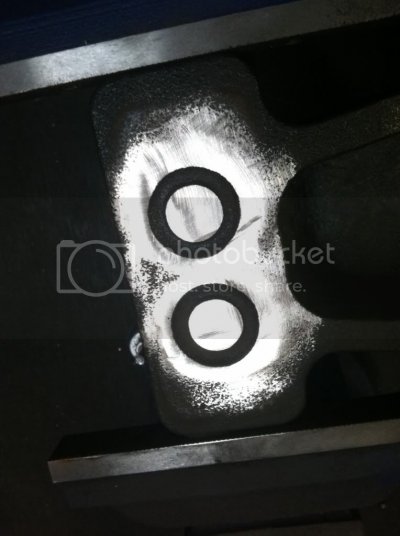
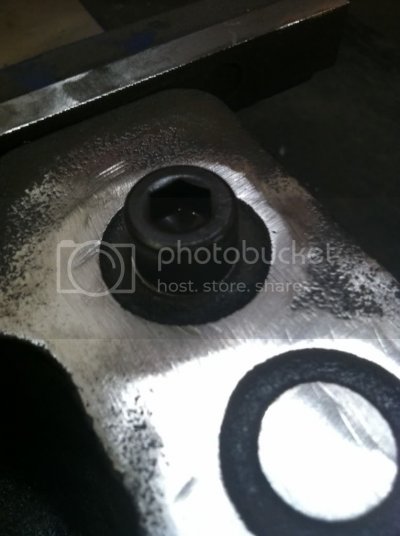
You must now find dead center of the nipples you cut off and drill holes big enough for the supplied nuts/bolts that RPG sent to you.
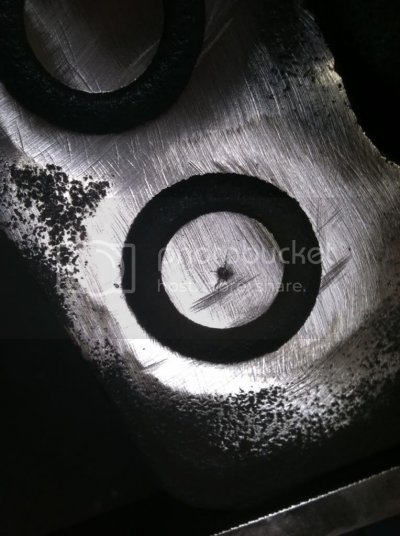
Block modified with nuts/bolts.
 EXTREMELY IMPORTANT!!!!!
The factory blocks say "front" on them, make sure the block is facing the correct direction.
From here follow the instructions for tightening all the bolts etc.. pretty straight forward. Use the two floor jacks to help make things easier and line things up.
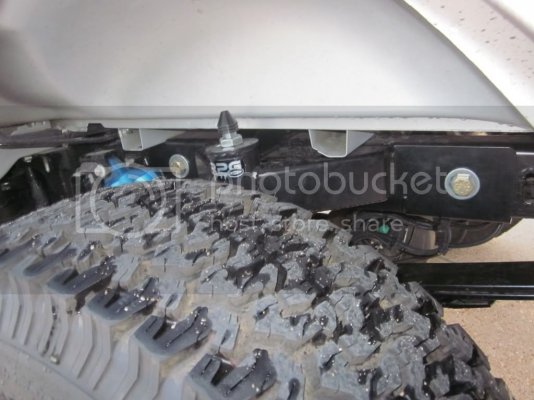
The final step was to actually install the Fox bumps.
Well....the bumps wouldn't sit flush inside the tube, which I was a bit frustrated about, so I shined a flashlight inside the tube and could see a bunch of powder coat caked up on the inside not allowing the bump to sit flush in the tube.
This is where a SMALL die grinder with burring bit comes in, shove it up in there and grind out the powder coat. Now the bump fits properly.
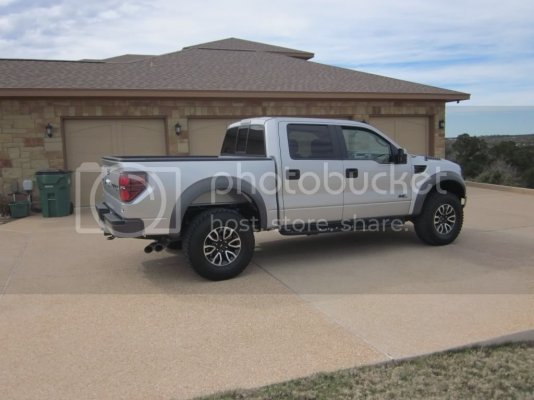
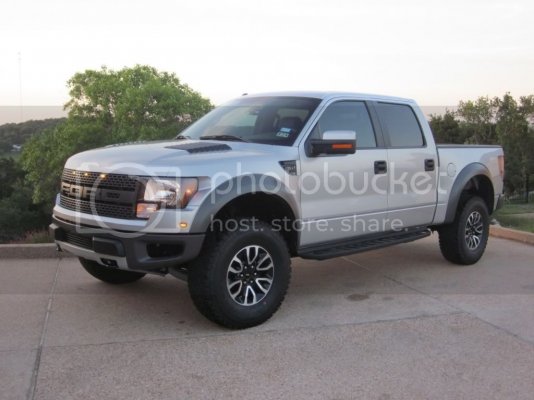
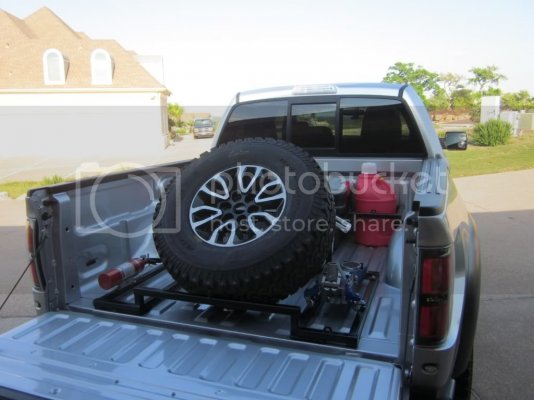
All ready for the Texas Raptor Run, I sure won't worry about my frame!
Final installed picture:
